
Hello, crafty friends!
Are you excited to embark on a creative journey with me? Today, I’m thrilled to guide you through a step-by-step tutorial on how to craft your very own mixed media flower card!
In this tutorial, we will be working with mixed media by combining acrylic paint with delicate stamping and colouring techniques to create a beautiful floral card.
Let’s get started! Gather all the necessary materials and let’s create this Mixed Media flower card together.
Materials and Tools Needed
To create our mixed media flower card, we need to make sure we have all the necessary materials and tools ready. Here’s a list of what you’ll need:
Materials
- Acrylic paint sprays (in blue and green): for creating a colorful background.
- White ink: for adding subtle details and highlights to the background to create dot effects on the background
- Stippling stencil: Creates dot effects on the background.
- Blending brush: for smoothly applying ink through the stencil
- Sunflower clear stamp set: Tor stamping our main flower image and the sentiment onto the card.
- Tuxedo black ink: for stamping the sunflower image and the sentiment.
- Alcohol markers: for colouring and shading our stamped image
- Rectangle die: for cutting our background panel into a neat shape with stitched edges
- White gel pen: for adding final highlights and details to our card.
- Clear rhinestones or other embellishments: optional, but great for adding a touch of sparkle and dimension to our design.
Tools
- Die-cutting machine (optional): if you’re using a die to cut your background, you’ll need a machine to cut out your background panel.
- Stamping platform (optional): helps ensure precise and consistent stamping results. But you can also use an acrylic block.
Now that we have everything we need, let’s move forward with creating our mixed media flower card!

Step-by-Step Tutorial: Crafting Blooms – A Creative Journey to Your Mixed Media Flower Card
In this section, we will take a creative journey through a step-by-step tutorial on how to create your mixed media floral card. I will guide you through the entire process, from creating a colourful background to adding details and finishing touches. Let’s unleash our creativity and bring our mixed media flower card to life, one step at a time!
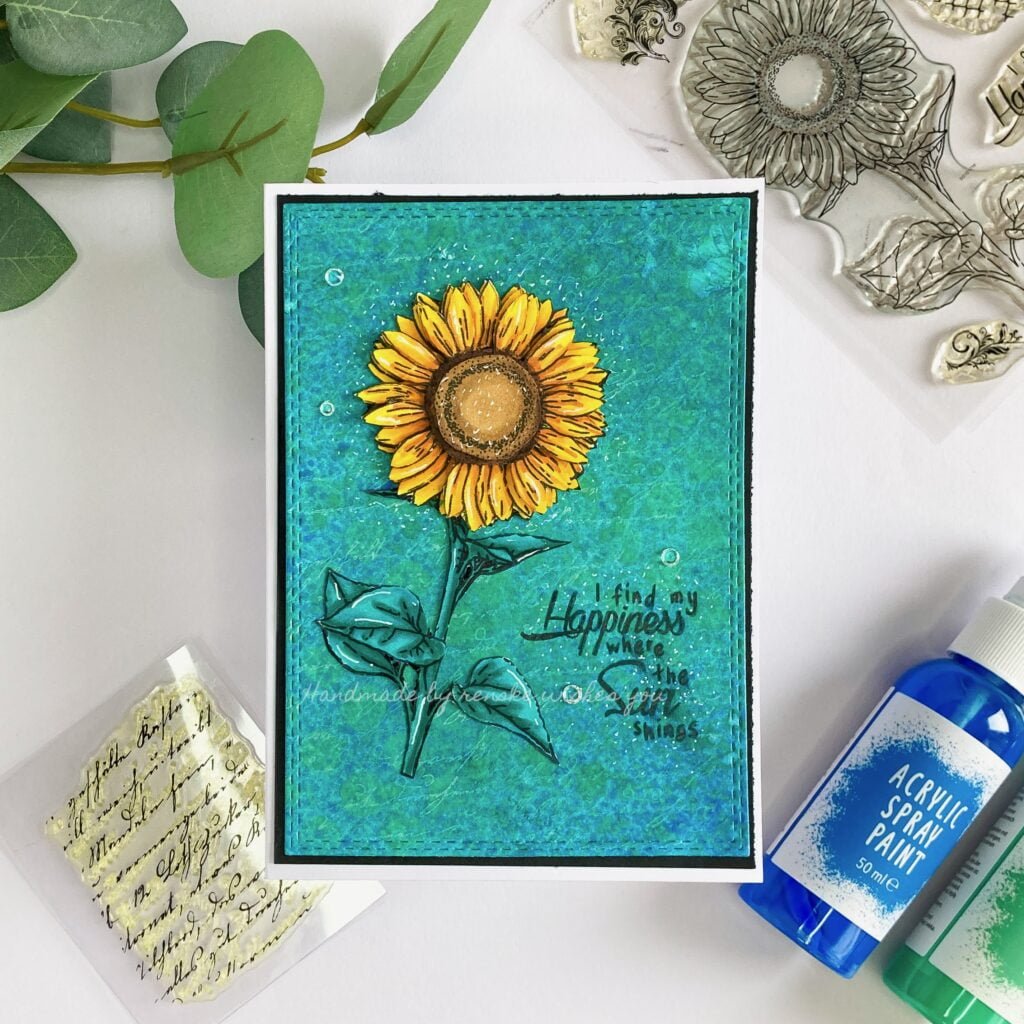
Step 1: Creating the Mixed Media Background
Let’s start our tutorial by creating a vibrant background for our mixed media flower card. Here’s how you can create this background:
What is Mixed Media?
Mixed media is a combination of different materials and techniques used to create a unique work of art. In our case, we’re mixing acrylic spray paints and white ink, and using stencils and stamps to achieve a dynamic and textured background for our card.
Now that we have a better understanding of mixed media, let’s get started on our background creation journey!
Preparing the Cardstock
I use sturdy white cardstock in the desired size, which is approximately 10.5 centimetres by 14.8 centimetres. This gives me room for adjustments later. You can also use watercolour paper.
Applying Acrylic Paint Sprays
I collect my acrylic spray paints in blue and green shades. These will be the stars of our show as we bring our background to life.
I lay down the cardstock on a protected surface, such as a box, to prevent my surroundings from getting dirty.
I shake my acrylic paint sprays well to make sure they are well mixed. Then I start spraying the blue and green paint onto the cardstock, focusing on the areas where I want the colours to blend and overlap.
Drying the Background
Once I’m happy with the coverage, I use my heat tool to gently dry the painted background. I make sure it isn’t completely dry because I want to retain some moisture for the next step.
Adding Dots with a Stippling Stencil
Now it’s time to add some extra flair to the background. I take my polka dot stencil and place it on the painted surface. Using white ink and a blending brush, I add dots through the stencil to add subtle dots to the background.
As I apply the dots, the partially dried acrylic paint interacts with the ink, resulting in a soft, blended effect that adds depth and interest to the background.
Adding White Written Text to the Background
Finally, I use a stamp that shows written text. I apply this written text over my background with white ink. This makes the background even more interesting. Creating the perfect mixed media background is all about experimenting and embracing the creative process.
Don’t be afraid to let your imagination run wild and try new techniques to achieve the look you want for your card. For me, this is also a new area where I’m experimenting with new techniques. And the nice thing about mixed media is that you can’t do it wrong.
Stay tuned for Step 2, where we’ll bring our sunflower stamp to life with vibrant colours and intricate details!

Step 2: Stamping and Colouring the SunFlower Stamp
Now let’s bring our sunflower stamp to life by stamping and coloring it with alcohol markers. Follow these simple steps to create a vibrant and detailed floral accent for your card:
Stamping the Sunflower Image
- First, prepare your stamping platform or acrylic block and your sunflower clear stamp set.
- Use white paper to stamp on. I usually use scraps to stamp on. We are going to colour this stamp and cut it out, so it doesn’t matter what you stamp it on.
- Place your cardstock on the stamping platform or hold it firmly on the table. Position the sunflower stamp on the desired spot in the background.
- Ink the stamp with Tuxedo black ink or any black ink you have, ensuring even coverage across the entire image. Keep an eye on which black ink you stamp with. Not every ink is suitable for every colour medium. This black memento tuxedo black ink is suitable for alcohol markers.
- Gently press the stamp onto the cardboard, applying gentle and even pressure. Hold it in place for a few seconds to ensure the ink is completely transferred. This is certainly important if you use an acrylic block. With a stamping platform, you have the advantage that you can stamp the stamp several times in a row because you can be sure that it will return to the same place.
Once stamped, carefully lift the stamp to reveal the beautifully detailed sunflower image on your background.
Colouring with Alcohol Markers
Now, it’s time to add colour to our sunflower. Grab your alcohol markers and let’s get started!
- For the flower petals: Red Barn (245), Orange Ochre (219), Golden Yellow (222), and Lemon Yellow (35).
- For the centre of the sunflower: Grey Brown (104), Walnut (100), Clay (116), and Chocolate (118).
- For the stem and leaves: Teal Green (60), Peacock Green (61), Turquoise Green Light (57).
Apply the dark shades to the base of the elements and blend outwards with lighter colours. Take your time and layer the colours to achieve the desired depth and shade.
By following these steps, you’ll create a stunning sunflower focal point that adds vibrancy and beauty to your mixed media flower card. Get ready to see your creation come to life!

Step 3: Preparing the Sunflower for Dimension
Before we add additional details to our card, let’s give our sunflower some depth and dimension. Follow these steps to create a beautiful 3D effect for our floral focal point:
Creating the 3D Layers
Using scissors, carefully cut out four additional sunflower images stamped on white paper. Remove different parts of the petals for each layer to create depth and dimension.
Colour each layer of the sunflower images with alcohol markers, following the same colour combinations used previously.
Once coloured, stack the layers on top of each other using foam tape. Start with the entire sunflower image as a base and add layers on top of it, gradually reducing the number of petals.
By following these steps you will bring our sunflower to life with depth and dimension, adding visual interest and sophistication to our mixed media flower card.

Step 4: Adding the Sentiment
With our sunflower and background ready, let’s now add a heartfelt message to our card. Follow these steps to incorporate the sentiment seamlessly:
- Prepare your stamping platform or acrylic block along with your sentiment stamp.
- Position your cardstock on the stamping platform or hold it securely on the table.
- Carefully place the sentiment stamp in the desired location on the background, ensuring it complements the sunflower placement.
- Ink the stamp with black ink, ensuring uniform coverage across the entire sentiment.
- Press the stamp gently onto the cardstock, applying even pressure.
- Hold it in place for a few moments to ensure the ink transfers completely.
- Lift the stamp carefully to reveal the sentiment on your background.
By following these steps, you’ll seamlessly integrate a heartfelt message into your mixed media flower card. Let’s move on to Step 5, where we’ll assemble our card.
Step 5: Assembling the Card
Now that we have all the components ready, let’s bring our mixed media flower card together. Follow these steps to assemble the card with finesse
Preparing the Card Base
Take the sturdy white paper for the card base, measuring approximately 21 centimetres by 14.8 centimetres. Score it at 10.5 centimetres and fold it in half to create the base.
Next, cut a piece of black paper measuring 10 centimetres by 14.3 centimetres. This will serve as the matting layer, providing a striking contrast to our colourful background.
Die-cutting the Background Panel
Before assembling the card, use a rectangle die with stitched edges to cut the mixed media background into a neat shape. This adds a decorative border to the background panel, enhancing its visual appeal.
Layering the Components
Start by adhering the colourful mixed media background onto the black matting layer using adhesive. Ensure it’s centred and aligned correctly.
Now, attach the 3D sunflower onto the background using glue. Position it diagonally from the bottom left corner to the top centre, creating a visually pleasing composition.
Step 6: Final Touches
We’re almost there! Let’s put the finishing touches on our mixed media flower card to elevate it to the next level of elegance. Follow these steps to add those final details:
Adding Highlights
Take your white gel pen and carefully apply highlights to the sunflower petals, leaves, and stems. Start by adding highlights along the edges of the petals to create dimension and depth. Then, add smaller highlights to the centre of the petals to mimic light reflections. Don’t forget to add highlights to the leaves and stems as well, enhancing their realism and texture.
Embellishing the Card
Now, it’s time to add some extra sparkle and dimension to our card with rhinestones or other decorations. Adhere clear rhinestones strategically around the sunflower and sentiment to add a touch of glamour and elegance. You can also add rhinestones to other areas of the card where you feel it needs a little extra shine.
Adding White Stippling
Using your white gel pen, create delicate white stippling around the text and the sunflower. Add small dots around the edges of the sentiment to make it pop, and scatter tiny dots around the sunflower to enhance its beauty. These subtle details will add a touch of whimsy and charm to your card, making it truly stand out.
Congratulations on completing your mixed media flower card! Now, go ahead and share your creation with the world. Spread joy and positivity with your handmade masterpiece, and inspire others to unleash their creativity too.
")
Inspire, Create, Share and More
As we near the end of our tutorial, let’s take a moment to reflect on the journey we’ve been on together. From creating a vibrant mixed media background to bringing our sunflower stamp to life with beautiful details, we explored different techniques and tips to create a beautiful floral card.
Now, let’s continue our creative exploration and discover even more inspiration for card-making.
More Sunflower Card-Making Inspiration
Looking for more sunflower-themed card-making inspiration? Check out these related articles featuring additional ideas and techniques for creating beautiful sunflower cards:
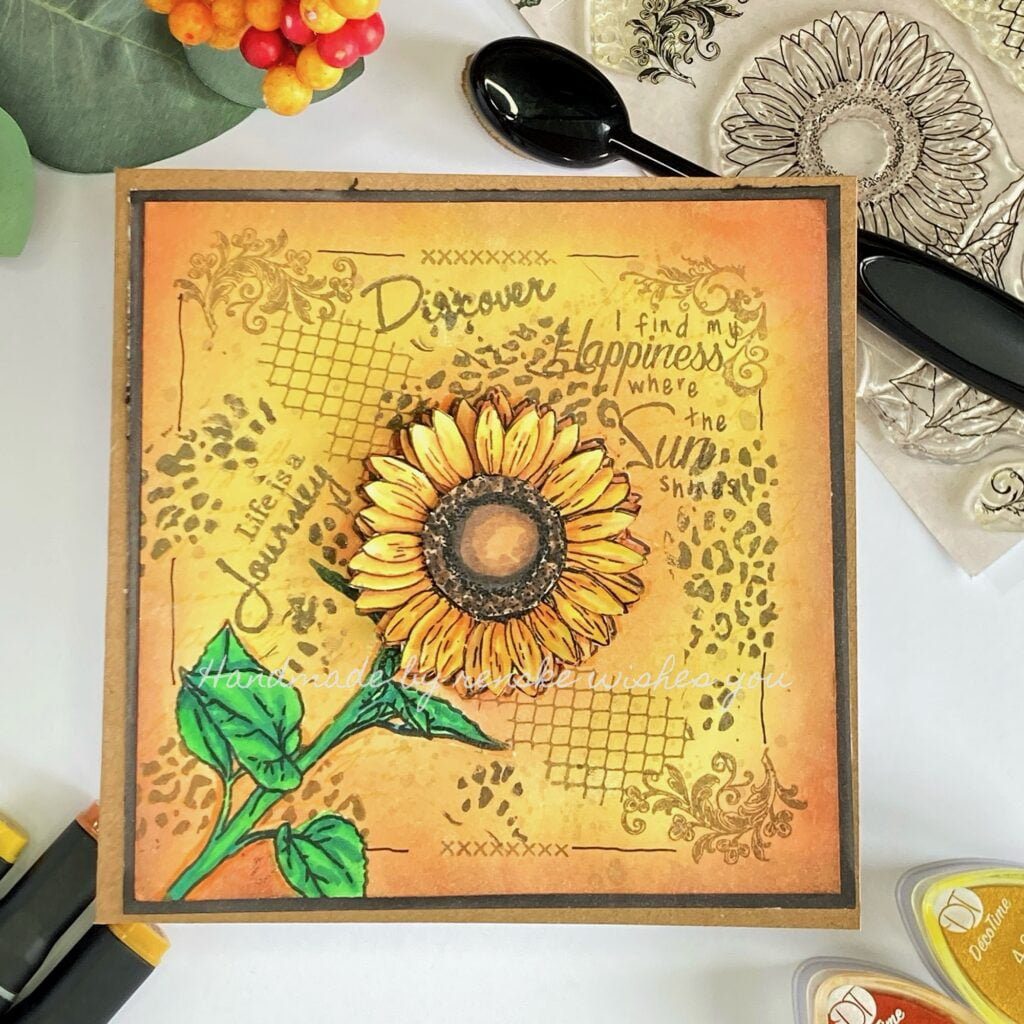
Sunflower Card tutorial: Step-by-Step Guide to Crafting Your Own Floral Greeting
This card is made with the same stamp set.
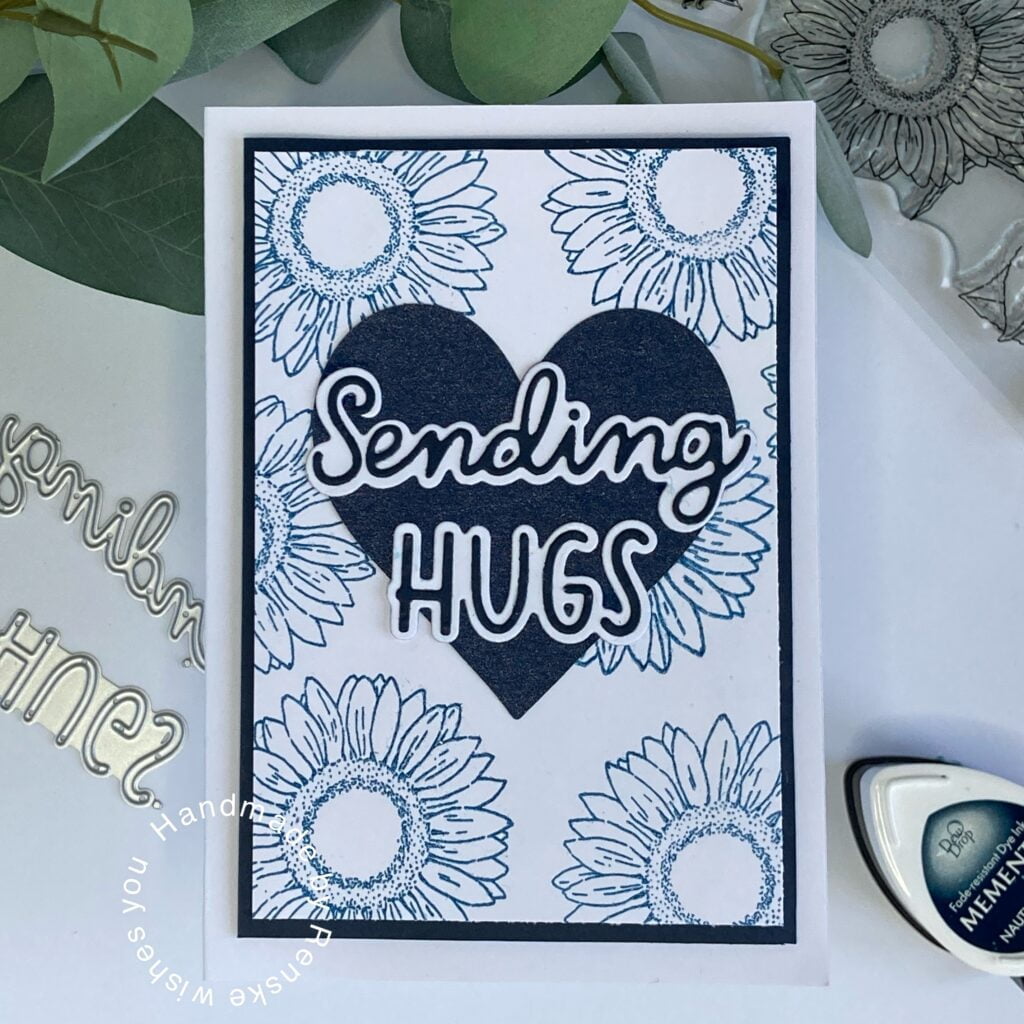
Crafting Tranquility: Monochrome Blue Flower Card Tutorial
This card is also made with the same stamp set
Explore these articles to discover new techniques, designs, and ideas for incorporating sunflowers into your card-making projects. Let your creativity bloom and spread sunshine with every handmade creation!
Products I used for this mixed media flower card
Disclosure: Some of the links in this post are affiliate links. This means that if you click on a link and purchase the item, I may receive an affiliate commission at no extra cost to you. As an Amazon Associate, I earn from qualifying purchases.
Products with affiliate links used
Blending brush from Nellie Snellen

Spring Gnomes Digital Paper set

Versacraft White Ink

White gelly roll pen 08

Products used without affiliate links
- Acrylic spray paints from Aveccreative
- Clear stamp writing Nellie Snellen
- Sunflower clear stamp set Studiolight NL ( Unfortunately I couldn’t find a link to mention here).
- Alcohol markers from Decotimecrafts
- Foam tape brand unknown.
- Embellishments (brand unknown).
I would like to enter my card in the following challenges:
- Make My Monday Challenge Blog: Spring, flowers, weather
- Crafty Gals Corner: Anything goes
- Simon Says Wednesday challenge: A bit O’Green
- The Sisterhood of Crafters: Use the colour green
- CREATIVE INSPIRATIONS: Anything goes
- Cardz 4 Galz: Use some green
- Crafty Catz: Anything goes
- Lil Patch of Crafty Friends Challenge …: Anything goes
- A Perfect Time To Craft Open Challenge: Anything goes
- Creative Moments: Flora and Fauna
- SheepSki Designs Challenges: Anything goes