
Hello everyone!
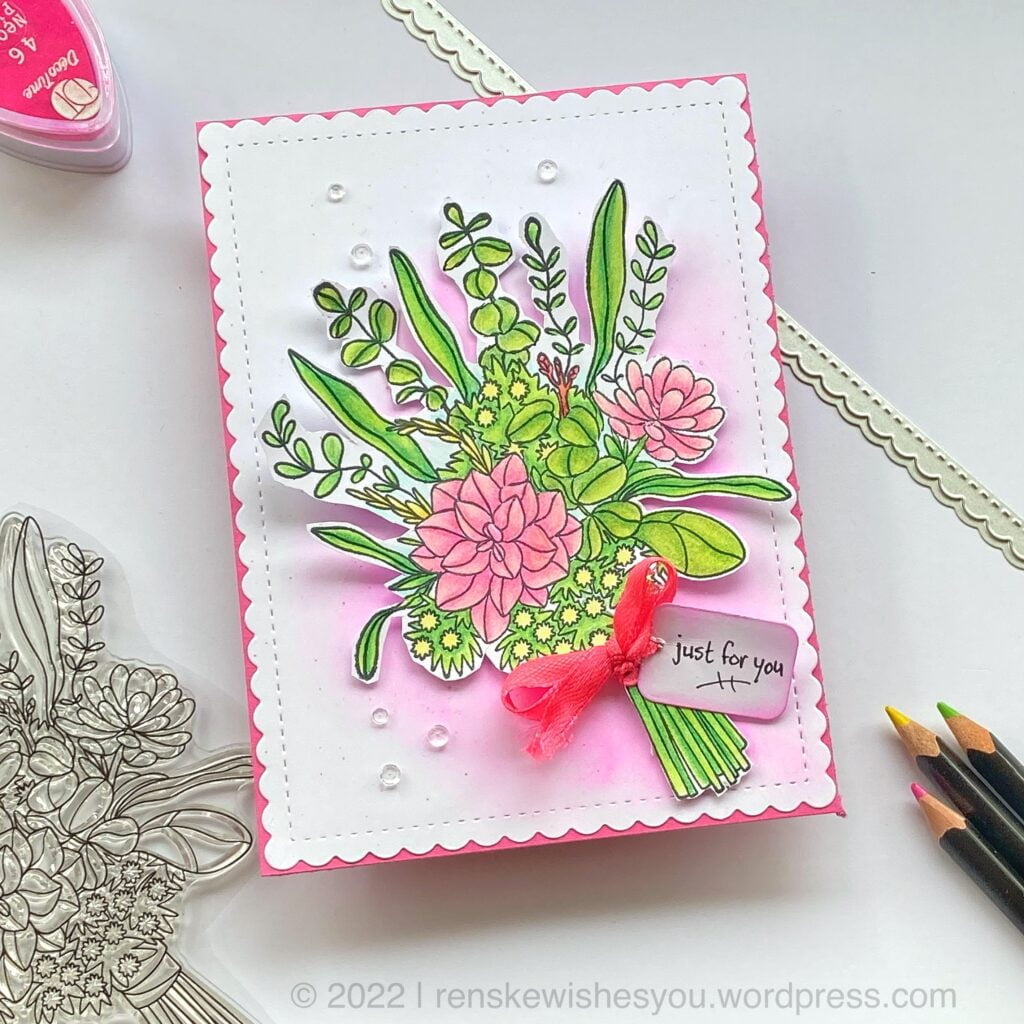
Recently I bought new stamps from CraftSensations, including this beautiful flower stamp. A beautiful stamp to make a beautiful flower card.
Materials used
Before we get started, we first collect the materials we need for this card. I used the following material:
- Stamps: I used a floral stamp for this card.
- Colouring medium: I used pencils for this card, but you can, of course, use any colour medium you like.
- Ink: I used pink ink for the background
- Cardstock: I used pink paper for the base of the card and white paper for the background panel.
- Dies: I used a slimline die to create the background panel. And I used a tag die for the small tag.
- Ribbon: I used pink ribbon for the bow
- Embellishments: I used transparent rhinestones as embellishments
Step by step tutorial how to make this flower card
In this section, we will create this card step by step. Let’s get started.
Step 1. Stamping and colouring the flowers
First, we will stamp our flowers. I stamp them on white paper with memento tuxedo black ink. Once we have stamped these, we can start colouring the flowers. I chose to colour them with my pencils.
I use different shades of pink and different shades of green to colour the flowers.
Once the image has been colored we can go to the next step, namely creating the background panel.
Step 2. Creating the background panel

For the background I used this die from Aveccreative. It is a slimline die. My card, on the other hand, measures 10.5 cm by 15 cm. But you can still use this die by partially die-cutting it.
Then you don’t get the die through the die-cutting machine. For the first time through the machine, I put tape at about 12 cm. The first time I run this through the die-cutting machine to the tape and then back again. The paper is then die-cut at 12 cm from the edge, but not yet from the bottom. The bottom also needs to be die-cut. I placed the die on the dimension where the bottom should be. I fit the sides exactly into the part that has already been cut out. Now I run the bottom through the die-cutting machine. Then you have your background ready.

Step 3. Adding details to the card
On the die-cut background, I apply some pink ink to get behind the flowers. I place a ribbon around the stems of the flower with a tag attached with the text ‘just for you”. Just a few little transparent stones on top and the card is finished.

Inspire, Create, Share, and More!
As we come to the end of our journey in creating a flower card, let’s take a moment to appreciate the creative process and celebrate the joy of card making. Let’s continue to inspire and share our love of crafting with others.
More flower card-making inspiration
Products I used:
- Clear stamp from CraftSensatons
- Slimline die from Aveccreative
- Pencils from Decotimecrafts
Challenges I would like to participatie in:
- 4-Season Swap Challenge Blog: Door het lint
- Cardz 4 Galz: Spring flowers for Mother’s day or Spring Flowers.
- Creative Knockouts: Pick two or more. I picked ribbon, die-cuts and flowers.
- Stamping Sensations: Stamp something for spring
- Challenge kleuren met potloden: Alles mag
Wat een lieverd ! mooi en leuk kaartje. Leuk dat je meedoet met onze challenge bij Cardz 4 Galz
Very nice card? Thanks for playing at Cardz 4 Galz
Claudia
DT Cardz 4 Galz
http://creativesketchygirls.blogspot.be
http://girlzrebelchallenge.blogspot.com
https://girlzcreativecrafts.blogspot.com
Dank je wel!
Such a pretty card Renske!
Thank you for joining us for our Pick 2 or more challenge at Creative Knockouts, I hope you will play along again this week!
Thank you!
A totally delightful floral creation, many thanks for joining in with our Spring theme at Stamping Sensations challenge.
B x
Thank you