

Some links in this post are affiliate links. This means I may earn a small commission if you make a purchase, at no extra cost to you. I only recommend products I use and genuinely enjoy in my own cardmaking. Read more here.
Hello Crafty Friends!
Welcome to yet another tutorial. In this tutorial, I will be guiding you to create a beautiful travel shaker card. This card was designed to provide inspiration for the new challenge that has started on Penny’s Paper-Crafty Challenge blog, with two fantastic sponsors, Dr. Digi House of Stamps and Last Minute Manda.
I’m pleased to introduce you to our generous sponsors, whose support allows us to create great projects and award fantastic prizes to our participants. Take a moment to check out their logos below:
Doctor Digi House Of Stamps

Prize: 2 digital images of winner’s choice
Last Minute Manda

Prize: Voucher for 3 sets
Now, let’s talk about the star of the show: the travel shaker card. Inspired by wanderlust, I had the pleasure of working with a digital stamp from Dr. Digi House of Stamps, the “Cancun Cankels Karen” digital stamp. This beautiful stamp features Karen, a spirited traveller ready for her next adventure, complete with a suitcase in hand and tickets in the air.
In this tutorial, I’ll walk you through every step of creating your own travel shake card using this charming digital stamp. From preparing the base to colouring our adventure traveller, Karen, and assembling the shaking element, we cover it all. So grab your craft supplies and let’s get ready to create a card that’s as exciting as the adventures that await us!
- 2. Materials Needed and Measurements
- 3. Crafting Magic: Your Ultimate Guide to Crafting a Travel Shaker Card
- Inspire, Create, Share, and More!
- Products Used
- I would like to enter my card in the following challenges:
2. Materials Needed and Measurements
To create our travel shaker card, let’s start by gathering all the necessary materials and tools. Here is a list of everything we will need:
Materials
- Kraft card base or paper for the base of the card
- Patterned paper for the first layer on the base card
- White cardstock for the second layer on the base card
- Clear acetate sheet
- Dr Digi House of Stamps: Cancun Cankels Karen digital stamp
- Inkjet or laser printer for printing digital stamp
- DCP Paper to print the digital stamp on.
- Alcohol markers or other coloring medium
- White gel pen for highlights
- Foam tape or adhesive foam squares
- Liquid glue or double-sided tape
- Assorted small embellishments for shaker elements (e.g., sequins, beads, rhinestones)
- Adhesive rhinestones or gemstones for decoration
- Blue rhinestones for window decoration (optional)
Tools
- Paper trimmer or scissors
- Die-cutting machine (optional)
- Stitched rectangle dies (optional)
- Circle dies (optional)
- Cloud stencil (optional)
- Blue ink pad for creating clouds (optional)
Measurements
- Card base: 10.5cm x 14.8cm (standard A6 size)
- Blue patterned paper layer: slightly smaller than the card base. For example, 10 centimeters by 14,3 centimeters.
- White layer for the digital stamp: smaller than the blue patterned paper layer. 9,5 centimetres by 13,8 centimetres.
These are all the materials and tools we need to create our Travel Shaker Card. Stay tuned for the upcoming steps where we will reveal the secrets behind each element.
3. Crafting Magic: Your Ultimate Guide to Crafting a Travel Shaker Card
Welcome to the tutorial’s core, where I will walk you through the process of creating a beautiful travel shaker card step by step. In this section, I have broken down the process into simple, easy-to-follow steps that will guide you through each stage of creating this card.
Step 1: Preparing the Base
Before we begin the exciting process of creating a shaker card, we need to prepare a sturdy and visually appealing foundation. Follow these simple steps to ensure a strong base for your card:
- Choose Your Base Material: Select a durable cardstock or patterned paper for the base of your card. For example, you can opt for kraft cardstock, like I did, to enhance the rustic charm that complements a travel theme. However, feel free to choose a material that best suits your vision.
- Cutting to Size: If you’re making the base yourself, use a paper cutter or scissors to trim your cardstock to the desired dimensions. For a standard A6 card size, aim for 10.5 centimetres by 14.8 centimetres. Score and fold the cardstock at the 10.5-centimetre mark to create a clean fold.
- Layering with Patterned Paper: Cut a piece of patterned paper slightly smaller than the base card to create a layered effect. This adds dimension and visual interest to your card design. You can use a stitched rectangle die for precision or manually cut a rectangle to size, approximately 10 centimeters by 14.3 centimeters.
- Cutting the White Layer: Next, cut a white rectangle layer to fit on top of the patterned paper. This layer adds contrast and provides a clean canvas for our focal image. Use a rectangle die for precise cutting, or simply trim a piece of white cardstock to match the dimensions of the patterned paper layer.
By following these steps and considering colour coordination and pattern selection, you’ll create a strong foundation that sets the stage for the rest of your card design. With the base prepared, let’s move on to the next step and bring our shaker card to life!
Step 2: Print and Coloring the Digital Stamp “Cancun Cankels Karen” with Twin Markers
Now that our card base is ready, it’s time to add some colour to our adventure traveller Karen using vibrant markers. Follow the instructions below to print and colour the “Cancun Cankels Karen” digital stamp:
- Printing the Digital Stamp: Start by printing the “Cancun Cankels Karen” digital stamp on DCP paper. Make sure that the image is appropriately sized for your card design.
- Colouring with Alcohol Markers: Once printed, it’s time to colour Karen using alcohol markers. Here are the colour combinations I used for each element of the stamp:
- Skin: Barely Beige (29), Salmon Pink (25), and Peachy Blush (259).
- Hair and Slippers: Cool Grey 5 (CG5), Cool Grey 4 (CG4), and Cool Grey 1 (CG1).
- Yellow Shirt and Flowers: Primary Yellow (221), Pastel Lemon (39), Lemon Yellow (35), Yellow (34), and Orange (23).
- Pants and Suitcase: Sky Blue (76), Midi Sky (190), and Dark Sky (191).
- Ticket: Cardinal (244), Cool Grey 4 (CG4), and Cool Grey 1 (CG1).Glasses: Cool Shadow (178).Bag: Brown Grey (104), Walnut (100), Clay (116), and Chocolate (118).
- Highlighting with a White Gel Pen: After colouring, use a white gel pen to add highlights to Karen’s shirt, bag, suitcase, hair, and other key details. Doing this will enhance the realism of the image and make it stand out against the background.
By following these steps carefully and using alcohol markers to create realistic colours, you will bring Karen to life on your card. Don’t forget to add the finishing touch with the white gel pen to make her shine! Now let’s move on to the next step and build our shaker card.


Having trouble editing or colouring digital stamps? Download my free guide for extra tips and tricks to help you perfect your digital stamps!
Step 3: Creating the Shaker Element
Let’s add some interactive fun to our card by creating the shaker element. Follow these steps to create the shaker window for your card and add the ocean and sky background:
Making the Shaker Window
To make the window of a boat, you can use a special die set from Aveccreative that contains a punch to create a boat window. If you don’t have this, you can use two circle punches to make a round frame. Cut the window from a piece of white cardstock or any sturdy paper. This will serve as the frame for our shaker element.
Next, cut a piece of clear acetate that fits behind the window frame. This will create a transparent barrier for our shaker elements. Using foam tape or adhesive foam squares, adhere the acetate to the back of the window frame. Ensure that there are no gaps for the shaker elements to escape.
Creating the Ocean and Sky Background
Start by cutting a circular piece of white cardstock that fits behind the shaker window, making sure it covers the entire area. Using a light pencil, lightly sketch waves onto the white cardstock to represent the ocean. Then, colour in the waves using shades of blue alcohol markers, such as Cerulean Blue Light, Cerulean Blue, and Indian Blue. With a white gel pen, add highlights and foam details to the waves to give them texture and dimension.
For the sky background, use a cloud stencil and blue ink pad to create fluffy clouds along the top portion of the circular background. Once you’re satisfied with the background, carefully adhere to the completed ocean and sky background behind the shaker window.
Adding the Shaker Elements
Now it’s time to add the shaker elements. Choose small embellishments such as sequins, beads, or rhinestones to represent drops of water in our ocean scene. Carefully place the shaker elements inside the window frame, making sure not to overcrowd or underfill the space. Once the elements are in place, carefully remove the backing from the foam tape and adhere to the piece we made the background on to seal the window shut.
By following these steps, you’ll create a dynamic shaker element that mimics the movement of waves in the ocean. Get ready to shake up some fun with your handmade travel shaker card!
Step 4: Assembling the Card
Let’s bring our travel shaker card to life by assembling all the components. Follow these steps for a flawless assembly process:
Layering the Card
Start by adhering the white rectangle layer onto the blue patterned paper. Make sure that it is centred and aligned correctly. Once the white layer is in place, attach the blue patterned paper onto the kraft card base using liquid glue or double-sided tape. Ensure that it is positioned neatly for a polished finish.
Placing the Shaker Element
Decide on the placement of your shaker element. It’s recommended to position it slightly towards the upper left corner to allow the digital stamp to fit nicely in the bottom right corner without obstructing the view of the shaker. Carefully place the shaker element onto the card, ensuring that it fits snugly and aligns well with the rest of the design.
Placing the digital stamp Karen
Since the shaker element is elevated due to the foam tape, elevate Karen using foam tape as well. Apply foam tape only to the part of Karen that does not overlap with the window. For the overlapping area, use liquid glue for a secure hold.
Now that we have these elements in place, it’s time to add the text to the card.
Step 5: Adding the Text
In this step, we will add text to our travel shaker card to capture the adventurous spirit of our design. I found the perfect sentiment for our card from an old paper block by Decotimecrafts: “Let’s Go.”
To position the text, we need to be strategic and ensure that it complements Karen’s pose and doesn’t block the view of the shaker element. The sentiment “Let’s Go” fits the theme perfectly as Karen holds up her cards and is ready to go on an adventure. I used foam tape to enhance the text and let it overlap with her legs slightly. I applied glue to the part that overlaps.
By including this sentiment, we not only enhance the story of our card but also evoke a sense of wanderlust and adventure. Now that our sentiment is clear, we can move on to assemble the card.
Step 6: Adding the Finishing Touches
Now that we have assembled our travel shaker card, let’s give it some final touches to make it more special.
- Placing Rhinestones: Add some sparkle to your card by decorating it with rhinestones. I placed the stones on the window, which adds extra glamour.
- Stitched Details: Use a fine-tip marker or gel pen to add stitched details around the edges of the card. This simple technique adds texture and visual interest to your design, giving it a handmade feel.
- Adding strass stones: In the top right corner, I have used the same transparent stones as in the shaker element. I placed three stones below each other, which gives the card an added touch of elegance.
Adding these finishing touches will transform your travel shake card from beautiful to breathtaking. Be creative and have fun while adding your unique flair to the design!

Inspire, Create, Share, and More!
As we come to the end of our tutorial, I hope you feel inspired to create your version of the Travel Shaker card.
Throughout this tutorial, we’ve learned how to craft a stunning travel shaker card step by step. From preparing the base to adding the finishing touches, we’ve explored various techniques to bring our card to life.
Join the Penny’s Paper-Crafty Challenge Blog
I encourage you to take your crafting journey a step further by participating in the Penny’s Paper-Crafty challenge blog. Joining the challenge is a fantastic way to showcase your creativity, connect with fellow crafters, and possibly win some amazing prizes! Click the button below to join the challenge and share your creations with the crafting community.
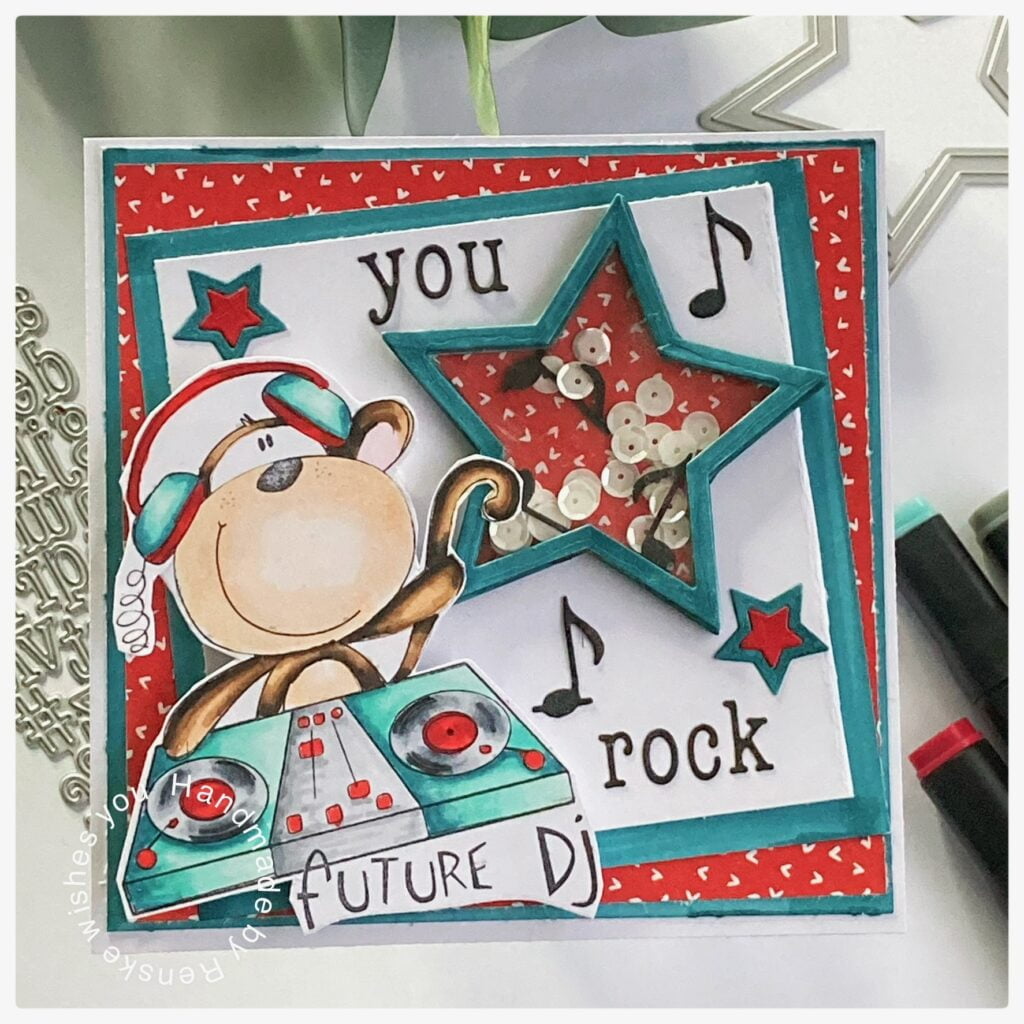
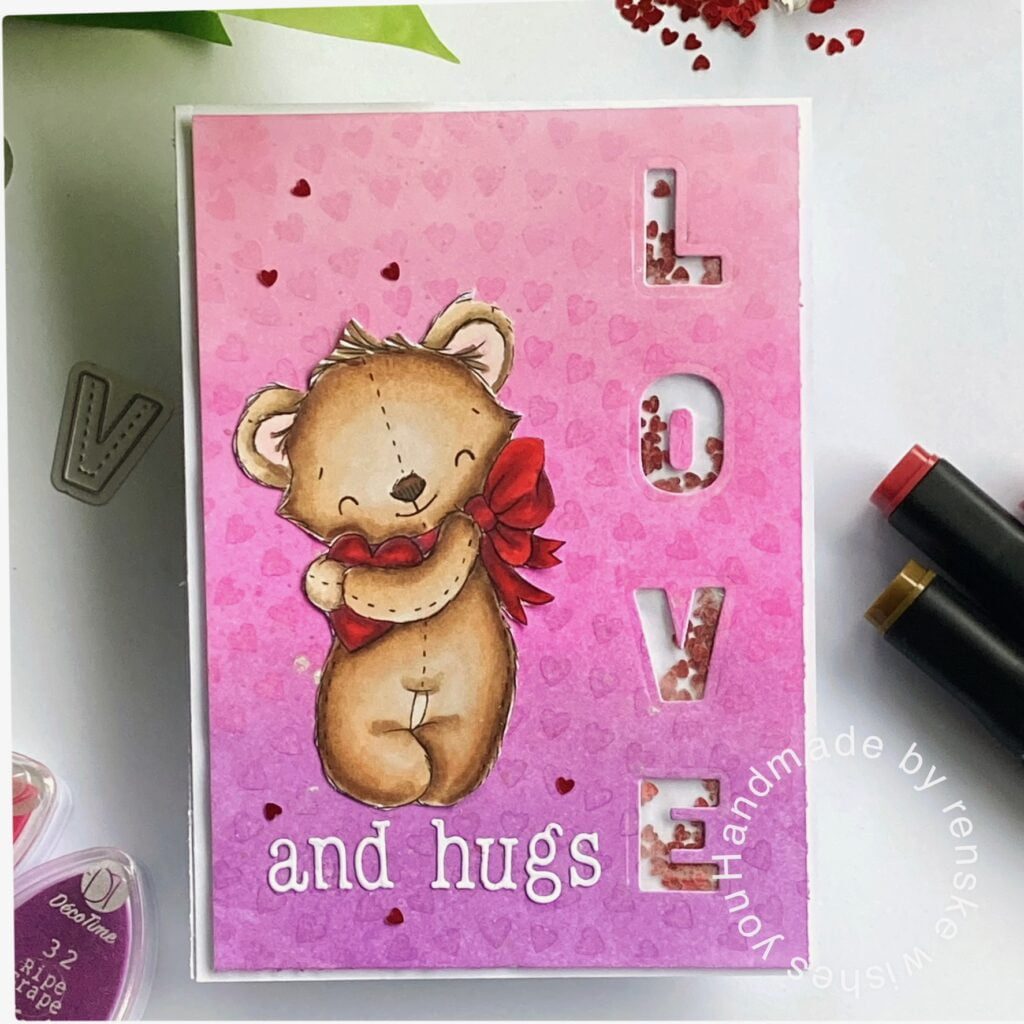
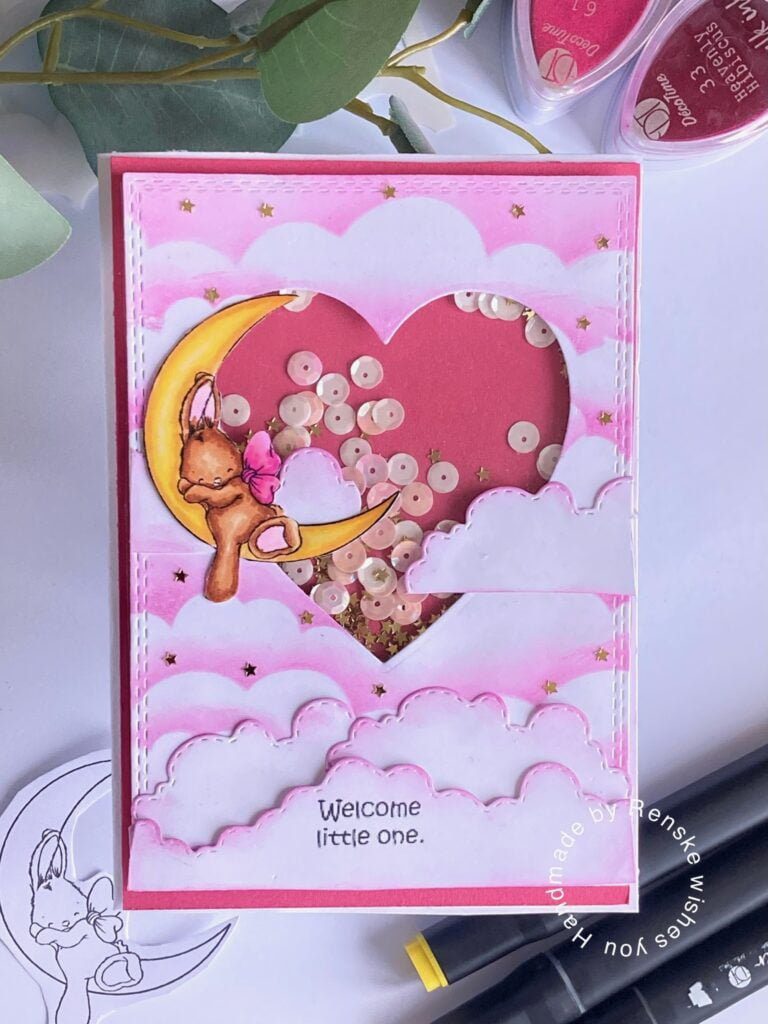
More Shaker Card-Making Inspiration
Looking for more card-making inspiration? Check out these articles for additional ideas, techniques, and projects to fuel your creativity:
I hope you’ve enjoyed crafting along with me and that you’ll continue to explore your creative talents. Remember, the possibilities are endless when it comes to card making, so don’t be afraid to experiment and have fun!
Products Used
Disclosure: Please note that some of the links below are affiliate links, and at no additional cost to you, I may earn a commission if you make a purchase. However, I only recommend products that I personally use and love. Your support helps keep this blog running and allows me to continue creating valuable content for you. Thank you for your support!
Products Used with Affiliate Links

Cancun Cankels Karen Digital Stamps

Gelly Roll Pen 08
Products Used without Affiliate Links:
- Kraft Card base from ActionNL
- Patterned Paper from Marianne Design
- Clear Acetate Sheet brand unknown.
- Sticky glue from ActionNL
- Blue Rhinestones from Aveccreative
- Ocean dies set with boat window die from Aveccreative.
- Circle die set from Card & Deco
- Sentiment from an old luxe paper block from Decotimecrafts
- Twin markers (alcohol markers) from Decotimecrafts.
- Blue chalk ink from Decotimecrafts.
Thank you for your understanding and support. Happy crafting!
I would like to enter my card in the following challenges:
- The Paper Funday Challenges: Anything goes + No pattern paper
- Cardz 4 Galz: Sequins
- A Perfect Time To Craft Open Challenge: Anything goes
A brilliant card depicting the use of the required sequins. Bold and strong colour use I admire. Thanks for sharing with us at Cardz 4 Galz. Caz. DT.
Thank you
How fun! Love the Cruise themed scene and fabulous coloring. Thanks for sharing your lovely card with us at The Paper Funday Challenge. We hope you’ll play again soon.
Donna xx
Paper Funday Challenge
Inspiration Station Challenge
Beautiful Blossoms Challenge
Thank yo-yos much
Your card is fabulous and so detailed. Thanks for joining my challenge at Cardz4galz. Love Dawn x
Thank you