
Some links in this post are affiliate links. This means I may earn a small commission if you make a purchase, at no extra cost to you. I only recommend products I use and genuinely enjoy in my own cardmaking. Read more here.
Hello and welcome, fellow crafters!
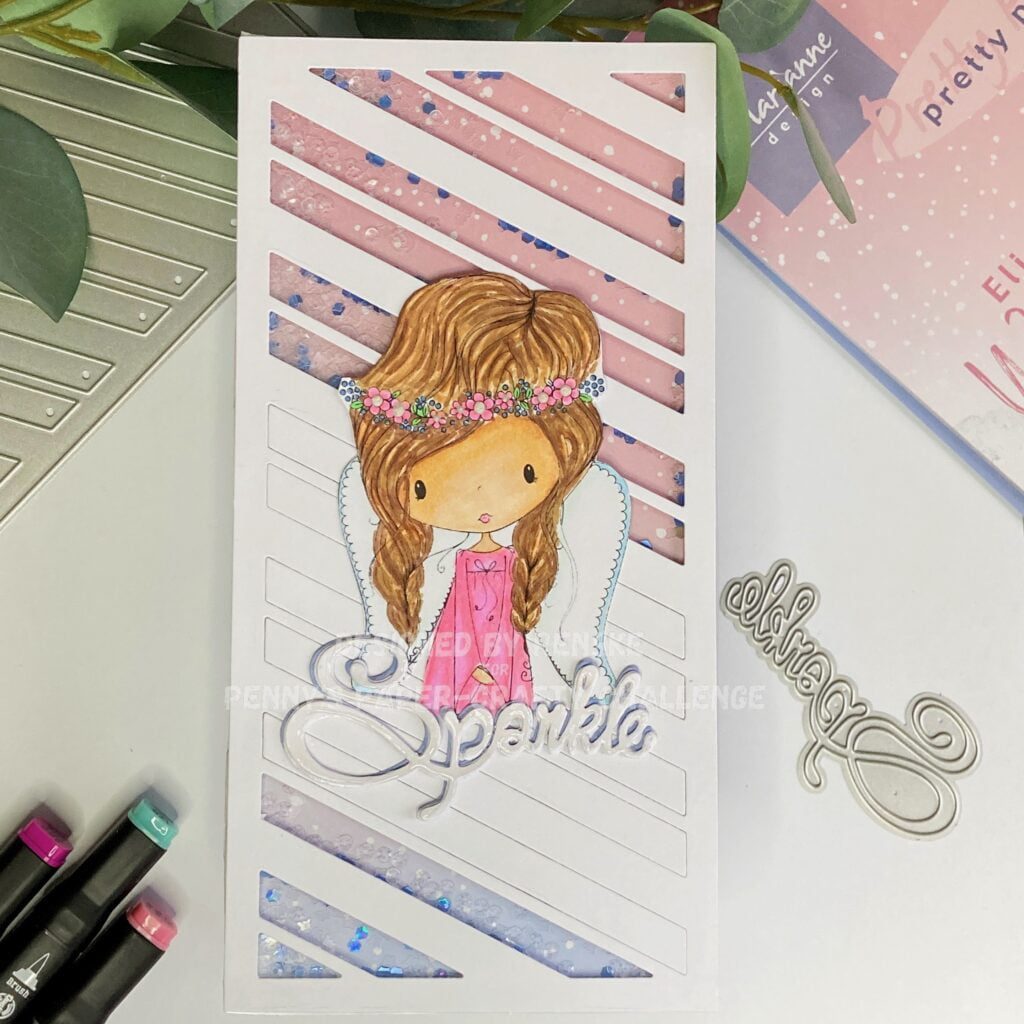
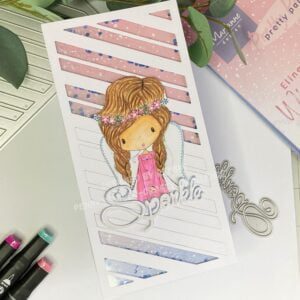
Today, I invite you to join me on a creative journey as we craft a dazzling masterpiece – an Amazing Shaker Slimline Card tutorial that is sure to inspire and enchant. As a proud member of the design team at Penny’s Paper-Crafty Challenge Blog, this card serves as an inspiration for all those who are eager to participate in the upcoming challenge.
This creation is made specifically for the new challenge at Penny’s Paper-Crafty Challenge blog, proudly sponsored by Colour of Love and All Dressed Up Stamps.
Coloured of Love

Prize: 2 Digi images of the winner’s choice
All Dressed Up Stamps

Price: 2 Digi images of the winner’s choice
Let’s infuse our cards with love, artistry, and the magic of crafting!
Materials and Slimline Card Measurements for this Shaker Slimline card tutorial
To create a dazzling Slimline Shaker Card, you will need the following materials and measurements:
Materials You’ll Need
- Slimline Card Base: Cut your cardstock to 21 cm x 21 cm for a standard slimline card size. Score at 10.5 centimetres and fold in half.
- Background Die or Patterned Paper: Use a slimline background die or cut your patterned paper to the same dimensions (10.5 cm x 21 cm) for a perfect fit.
- Acetate Sheet: A piece of acetate measuring 10.5 cm x 21 cm for crafting the shaker window.
- Foam Tape: To create the raised edges for the shaker window.
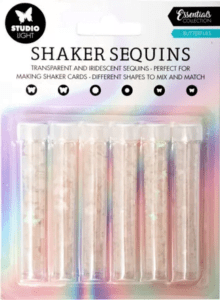
- Sequins or Confetti: Choose sequins or confetti to fill your shaker window for that magical effect.
- Digital Stamp: Select your preferred digital stamp for the main design. I used the digital stamp Angel Wings from All Dressed Up stamps.
- Colouring Tools: Alcohol markers or any medium for colouring the digital stamp.
- Die-cut Sentiment: Craft a sentiment using a die-cut or your preferred method.
These measurements ensure a harmonious assembly of your Slimline Shaker Card, creating a stunning visual impact.
Step-by-Step Tutorial: Make a shaker card in simple steps.
Are you interested in creating a slimline shaker card?
In this step-by-step tutorial, I will guide you through the process of making one. Shaker cards are a fun and interactive way to add a unique element to your handmade creations.
This guide is suitable for both seasoned crafters and beginners, as we will cover every stage of the process, from building the card base to assembling the shaker window and adding intricate details.
Follow along and discover the magic of creating a beautiful Slimline Shaker Card in simple, easy-to-follow steps!
Step 1: Create the Card Base
To create the base of your slimline card, you will need a sturdy white paper that measures 21 centimetres by 21 centimetres. Score a fold line at 10.5 centimetres and then fold along the score line. This will create your slimline card base.
Step 2: Prepare the Shaker Window
Let’s move on to the second step, which is preparing the shaker window. To create the shaker, we need to follow these steps:
- Die-cut the Background: Use the slimline background die to cut a frame from white paper that matches the dimensions of your card base (10.5 cm x 21 cm). This die-cut frame will form the shaker window, which is a slimline rectangular frame with diagonally cut strips that create an intricate design within the frame.
- Attach the Acetate Sheet: Take an acetate sheet measuring 10.5 cm x 21 cm and carefully adhere it to the back of the die-cut frame. Make sure it precisely covers the open areas to create a transparent window for the shaker elements.
- Put die-cut strips back in place: I put some of the die-cut-out strips back in place. So that a certain part of the front is closed. I can then place the digital stamp and sentiment here.
- Create the Shaker Border with Foam Tape: Use foam tape to create dimensions at the back of the frame for our shakers. Ensure that the foam tape provides a continuous and secure barrier, leaving no gaps for the rocking elements to become trapped.
- Fill with Shaker Elements: Generously fill the space created by the foam tape on the card base with sequins, confetti, or other desired shaker elements. This abundant filling guarantees a dynamic and captivating shaker effect within your card.
- Close the shaker with pattern paper: Take the patterned paper you want to use and attach it to the back of the shaker. Make sure you place the pattern paper correctly so that the colours are not suddenly in a different place than you had planned.
This detailed process forms the basis for your Slimline Shaker Card’s interactive window, creating an enticing display of shaker elements through the elegantly designed frame.
Step 3: Colour Your Digital Stamp Angel Wings
Colouring the digital stamp is an essential step that brings the picture to life. In this step, we will bring the Angel Wings digital stamp to life by providing it with beautiful matching colours.
- Print the Digital Stamp: Print the Angel Wings digital stamp on suitable paper. Ensure that the paper is compatible with your chosen colouring medium. For instance, if you are using alcohol markers, print the digital stamp on DCP paper.
- Colouring Process: use your preferred colouring medium to bring the digital stamp to life with your preferred colour scheme. For this tutorial, I used alcohol markers. Below are the colour combinations used for the different elements of the Angel Wings digital stamp:
- Skin: Barely Beige (29), Salmon Pink (25), Peachy Blush (257), and Tanned Skin (260).
- Hair: Caramel (253), Brown Grey (104), Walnut (100), Clay (116).
- Dress and Flowers: Pastel Pink (17), Pale Pink (09), Rose Pink (08).
- Berries: Dark Sky (191).
- Leaves: Weeds Green (162).
- Wings: Baby Boy (144), Cool Shadow (178).
The detailed colouring process adds depth and vibrancy to the digital stamp, allowing you to customize the Angel Wings image to suit your creative preference.

Step 4: Assemble the Card
To assemble the Slimline Shaker Card, follow these steps:
- Attach the Colored Digital Stamp: Using glue, carefully attach the coloured digital stamp to the closed area in the shaker window. Make sure the stamp is placed prominently and secured properly to enhance the visual appeal of the shaker window.
- Add the Shaker to the Card Base: Place the assembled shaker element onto the prepared card base. Align it meticulously to achieve a cohesive look and ensure it complements the overall design of the card.
By assembling the elements thoughtfully, your Slimline Shaker Card starts to take form, presenting a delightful fusion of the digital stamp and the captivating shaker feature.
Step 5: Finish with Sentiment and Details
In this step we will create the sentiment.
- Craft Your Sparkling Sentiment: Follow this process to create a sparkling sentiment:
- Die-Cut the Sentiment: Use a die-cut that spells out the word “Sparkle” and cut it three times from white paper and once from blue/purple paper.
- Layering for Dimension: Stack the white die-cuts together, creating a layered effect, while slightly offsetting the blue/purple version. This technique forms a captivating blue/purple shadow around the word, adding depth and dimension.
- Apply Glossy Highlights: Enhance the word’s appearance by applying Glossy Highlights or a similar glossy medium. Apply it over the sentiment to give it a beautiful glimmering effect, perfect for emphasizing the word “Sparkle”.
- Allow for Drying Time: Ensure adequate drying time for the applied mediums to preserve the intended sparkle and texture.
- Adhere the Sparkling Sentiment: Once the sparkle and embellishments are applied and dried, securely attach the sentiment onto your card front, ensuring it harmonizes with the overall design.
- Add Details: For a bit more detail and dimension I added 3D paint drops in the middle of the flowers.
By meticulously following this process, your Slimline Shaker Card becomes a mesmerizing creation, merging sentiments with meticulously crafted sparkling details.
By thoughtfully assembling the elements, your Slimline Shaker Card takes form, presenting a delightful fusion of a digital stamp and a captivating shaker feature.
With each careful step, your Slimline Shaker Card has taken shape and grown into a vibrant and captivating creation. The combination of a subtly designed shaker window, the coloured digital stamp, and the sparkling sentiment has made this card a true work of art. As you continue on this creative journey, delve deeper into the next section to discover more inspiration and tips for your card-making endeavours.
Inspiration and Challenges
had a great time creating a Slimline Shaker card, as I love interactive cards. The digital stamp “Angel Wings” from All Dressed Up Stamps inspired me to design a card that exudes elegance while keeping the focus on the central image.
My main goal was to incorporate the stamp into a shaker card while keeping it in the centre of the card. That’s why I kept the card simple and didn’t add any embellishments.
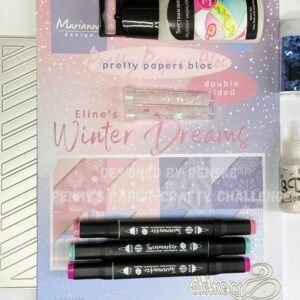
The “Winter Dreams” paper pad from Marianne Design catalyzed the card’s colour scheme, transitioning seamlessly from pink tones to a captivating blue and purple gradient. This colour shift, combined with the ethereal snowflakes, set the stage for a card that exuded a serene, wintry charm.
As a member of the design team for the Penny’s Paper-Crafty Challenge blog, I created this card as an inspiration for the challenge. I hope you find it inspiring and will participate in the challenge on Penny’s Paper-Crafty Challenge blog.
Additional Tips and Variations
Crafting a Slimline Shaker Card involves intricate steps and inventive techniques. Alongside the step-by-step process, here are two valuable tips that might streamline your card-making journey:
Tip 1: Easier Foam Strip Cutting
When dealing with wide foam strips, adhering them to parchment paper makes cutting them into narrower strips a breeze. Simply affix the foam tape to parchment paper, simplifying the process and enabling effortless, precise cutting.
Tip 2: Reducing Static for Sequins
Before sealing the shaker window, eliminate static that causes sequins to cling. Use an anti-static tool, readily available in stores, or create your own by placing talcum powder in a pantyhose. Gently run the tool over the foam strips and acetate to diminish static, ensuring sequins move freely within the shaker.
These tips provide practical solutions for manoeuvring through the intricate aspects of shaker card crafting, making the process more efficient and enjoyable.
Get Crafty and Join the Creative Fun!
Crafting is more enjoyable when shared with fellow enthusiasts. Explore the opportunities to engage, learn, and showcase your talent by participating in challenges and staying connected with our vibrant crafting community. Check out the sections below to dive into the creative realm:
Participation in the Challenge
Ready to showcase your creative prowess? Participate in the challenge hosted on Penny’s Paper-Crafty Challenge blog! The theme is like always “Anything goes using paper”. Create your card inspired by the theme or this tutorial and share your masterpiece with the crafting community.
How to Participate:
- Create Your Masterpiece: Craft a card or any other craft using paper.
- Submission Guidelines:
- Upload a photo of your creation to the challenge post on Penny’s Paper-Crafty Challenge blog.
- Add a link to your blog post or gallery showcasing your project.
- Add a link on your blog post to our challenge blog.
- Deadline: You have until 8 pm UK time on the 5th of December to get your entries in to qualify for a chance to win fantastic prizes.
- Inspiration Awaits: Peruse the entries submitted by fellow crafters for an extra dose of inspiration and admiration.
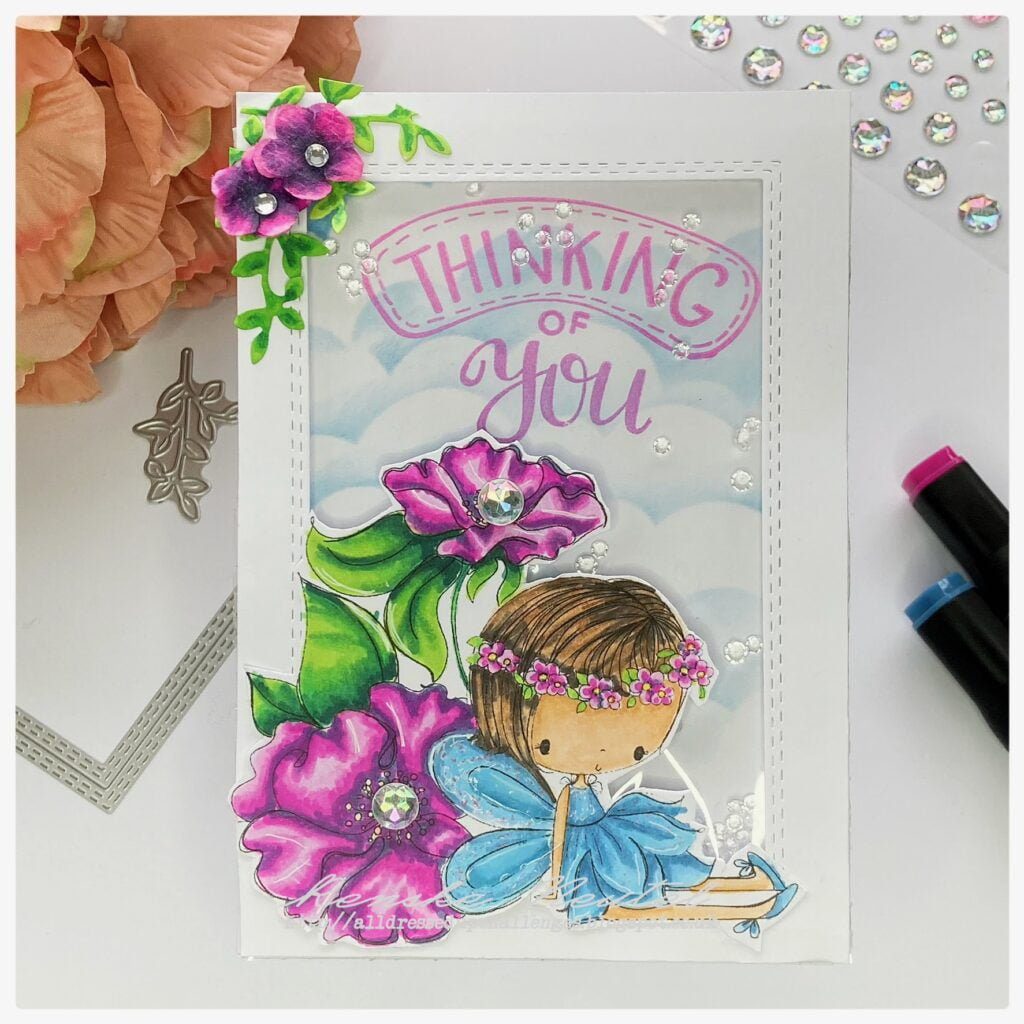
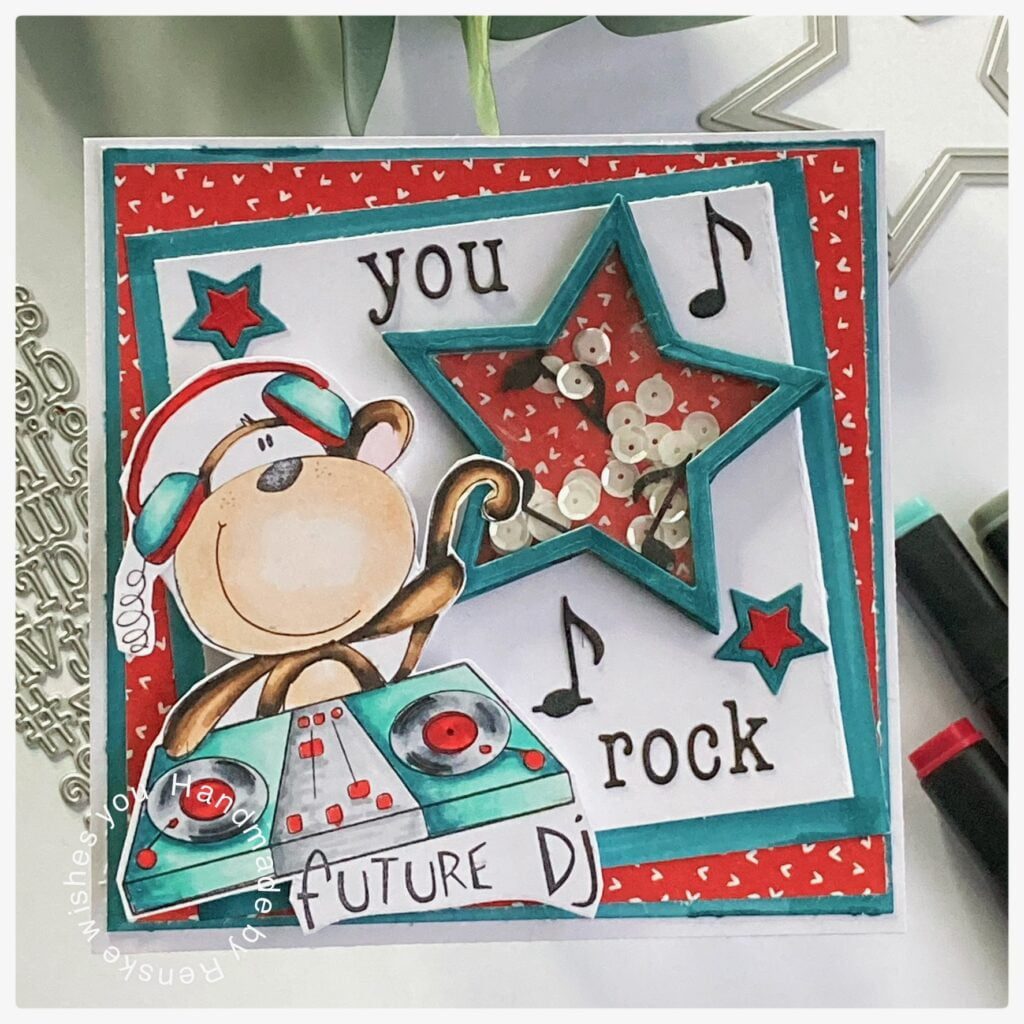
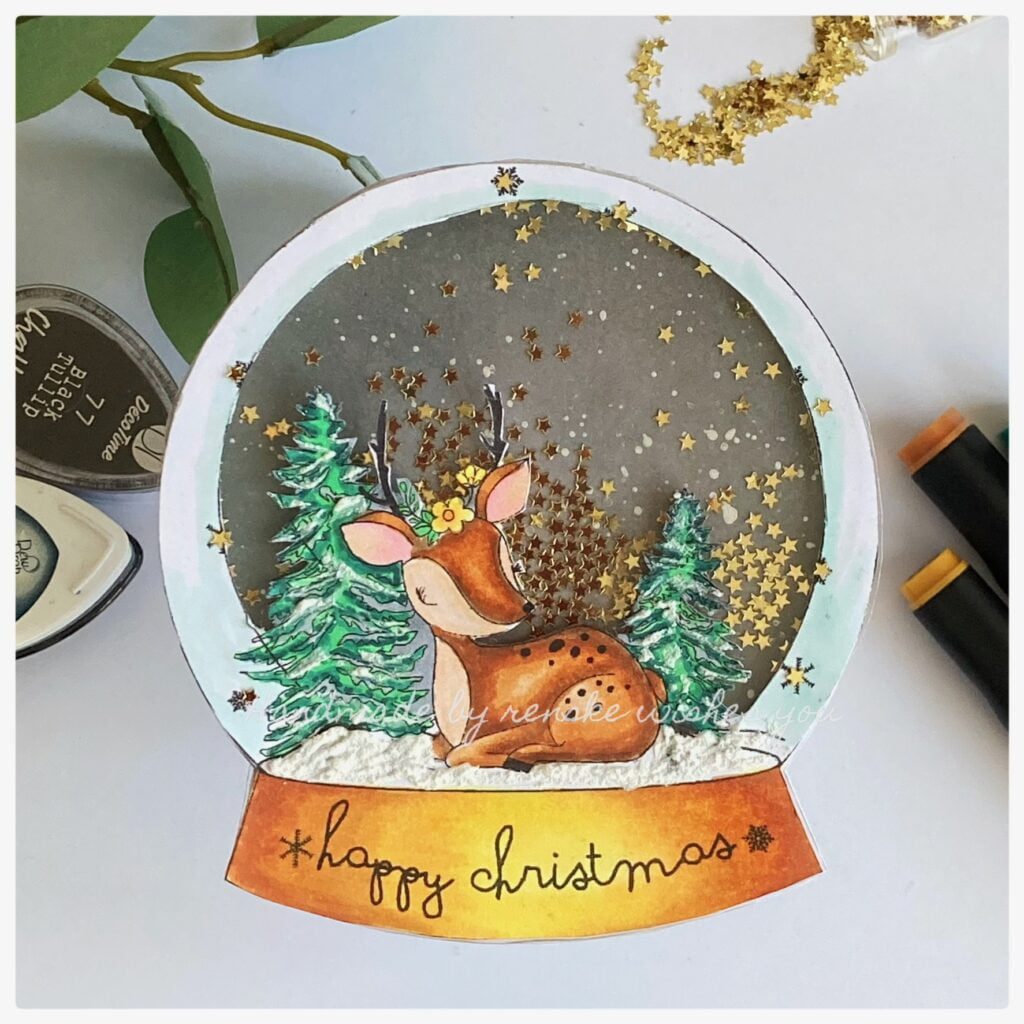
More Shaker card inspiration with All dressed Up Stamps
Shopping the materials
Find below the materials used to create this stunning card. Click on the links to purchase the items directly. Please note that some of these are affiliate links, and I may earn a commission if you make a purchase.

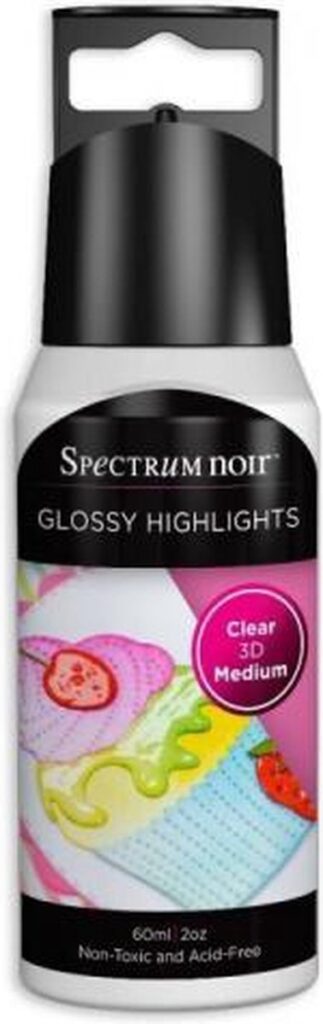
Glossy Highlights Spectrum Noir
Nuvo Aqua Shimmer Pen
Products with no links
- Twin markers (Alcohol Markers) Decotimecraft. For the Dutch people: you can shop the items at AcionNL
- The background die from Aveccreative. (bought at ActionNL).
- Sentiment die from Aveccreative (bought at ActionNL).
- 3D Pearl Paint Craftsensations.
- Winter Dreams paper block Marianne Design.
I would like to enter my card in the following challenges:
- Dream Valley Challenges: Anything goes
- Crafty Gals Corner: Dots and/or Stripes
- Krafty Chicks Challenge: Anything goes
- Crafty Catz: Anything goes + make them smile ( I think a shaker makes anyone smiles)
- Cut It Up: Use more than 1 die
- A Perfect Time To Craft Open Challenge: Anything goes
- Classic Design Challenge Blog: Anything goes
Fabulous creation! Thanks for joining us for our “Dots and/or Stripes” challenge at Crafty Gals Corner!
Thank you so much
Love how you used the cover die to create a shaker. Thanks for joining our Cut it Up “Use more than one Layer” challenge.
Hugs,
Larelyn (CIU owner)
Fabulous card and image thanks for sharing at Crafty catz this week
Thank you
Wow, this is awesome Renske! Amazing creation, and such a great tutorial, thank you!
Thank you so much Saphron for your lovely comment ❤️