
Hello, crafty friends!
Welcome to another exciting crafting adventure! Today, I’ll be taking a creative journey as we craft a science-themed card in the shape of a bottle, using the Polkadoodles digital stamps.
As a member of the Polkadoodles design team, I am thrilled to share this project with you. It’s the perfect opportunity to kick off a new challenge on the Polkadoodles challenge blog. The theme for this challenge is “Anything Goes,” and our design team was tasked with creating a shaped card to inspire our fellow crafters.
I hope this project sparks your creativity and encourages you to dive into your own crafting endeavours. So, without further ado, let’s gather our craft supplies and dive into the creative process!
- Section 1: Crafting a Unique Science-Themed Card
- Section 2: Step-by-Step Tutorial: Creating the Bottle-Shaped Card
- Inspire, Create, Share, and More!
- Polkadoodles Products used
- I would like to enter my card in the following challenges:
Section 1: Crafting a Unique Science-Themed Card
As a member of the Polkadoodles design team assigned to create a shaped card, I searched for a digital stamp that could help me make the perfect shape. I found the Science/Maths/Teacher/Professor/Geek/Student/Chemistry bundle Digital Stamp that features two science bottles with a liquid that overflows and starts to foam. I thought this would create an excellent shape for the card, and the science theme made it even more exciting.
To complete the scientific theme, I used other digital stamps from Polkadoodles, including the Science/Maths/Teacher/Professor/Geek/Student/Chemistry Digital Stamp. This stamp shows a scientist wearing a white coat and holding the same kind of bottles. The scientist has big glasses on, which adds to the theme. I also incorporated texts from two different digital sentiment sets to reinforce the theme.
Let’s get started with the tutorial.
Section 2: Step-by-Step Tutorial: Creating the Bottle-Shaped Card
Welcome to the step-by-step tutorial where I will guide you through the process of creating your very own bottle-shaped card. In this section, we will bring the science-themed card to life, one step at a time.
Step 1. Materials Needed
Before we start crafting, let’s gather all the materials we’ll need. Here’s what you’ll need:
Polkadoodles Digital Stamps:
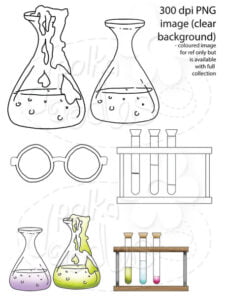
- Science/Maths/Teacher/Professor/Geek/Student/Chemistry bundle Digital Stamp: This stamp features two science bottles, one with liquid at the bottom and overflowing at the top to create a foamy effect.
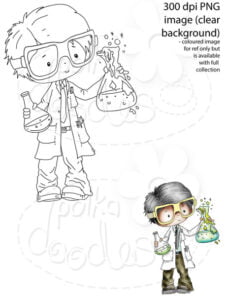
- Science/Maths/Teacher/Professor/Geek/Student/Chemistry Digital Stamp: This stamp depicts a scientist wearing a white lab coat, holding similar bottles in his hands, and sporting large glasses.
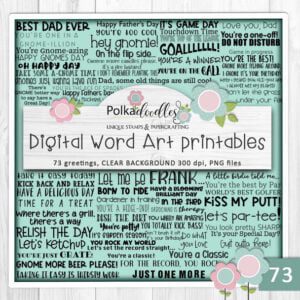
- Gnome Men Greetings Digital Sentiment Set: Includes the text “Have a blooming brilliant day,” where the word “blooming” has been omitted.
- Serenity Fairy Wishes Sentimentals Digital Sentiment Set: Features the text “Oh oh oh it’s magic you know.”
Other products and tools
- Cardstock: Opt for white sturdy cardstock for the base of the card.
- Colouring Tools:
- Alcohol markers in assorted colours.
- Aqua Shimmer Pen for adding shimmer and highlights (optional).
- Crafting Tools:
- Scissors
- Adhesive (glue or double-sided tape)
- Printer and paper for printing the digital stamps
- Additional Embellishments:
- Bakers’ twine or ribbon
- Little tag
- Aqua shimmer pen for shine (optional)
Feel free to personalize the colours and additional embellishments based on your preferences and creativity!
Step 2. Print the Digital Stamps
Now that all the necessary materials are ready, it’s time to print the digital stamps. Follow these simple steps:
Printing the Digital Stamps
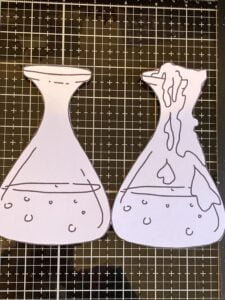
- To create the shape of the card, use the digital stamps of the bottles. Since these are digital stamps, it’s crucial to print them correctly.
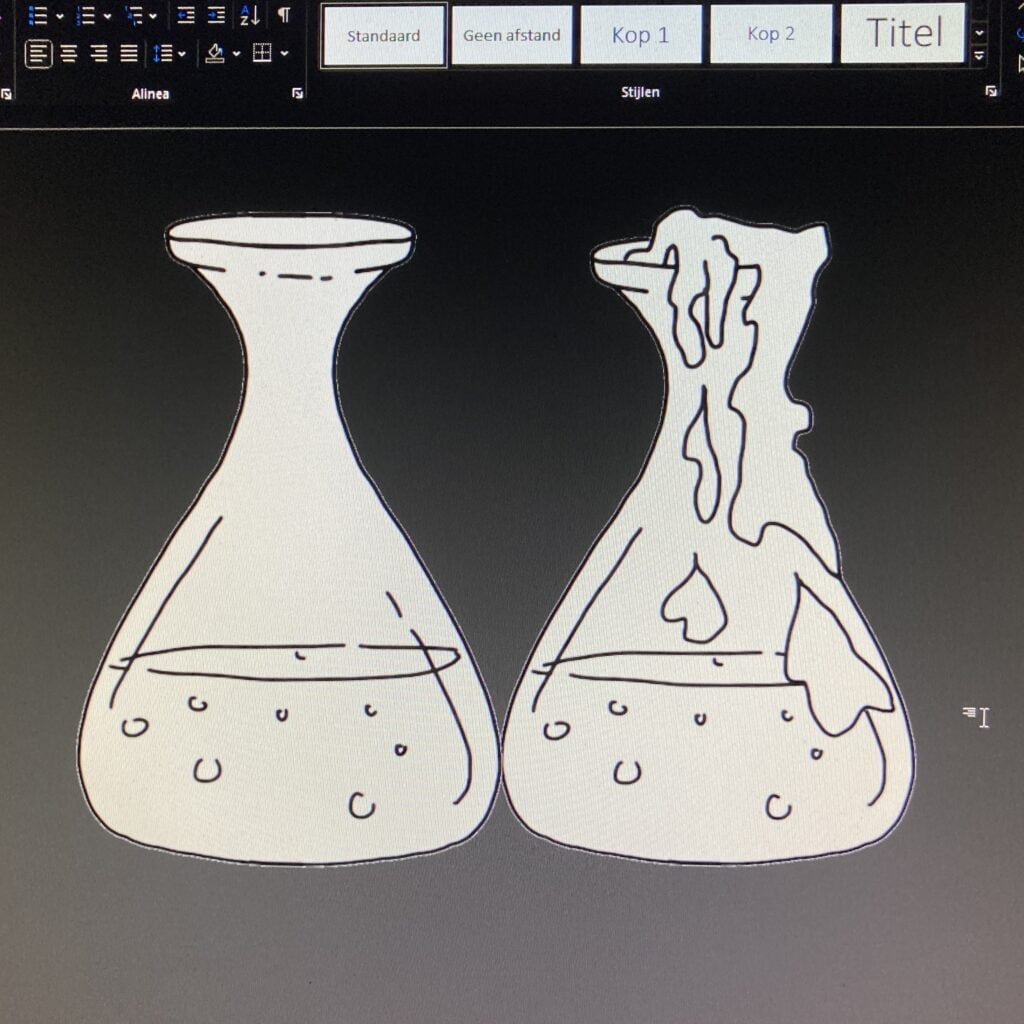
- Open the digital stamp files in Microsoft Word. To ensure proper alignment and sizing, it’s recommended to print them in landscape orientation. The bottle with the liquid overflows becomes the front of the card. So, place it on the right side of the document. The other bottle will be the back, add it on the left side of the document.
- First, determine the size of the front bottle, followed by the back bottle. Make sure both bottles are the same size. Let them overlap in the space between the bottles. With this stamp, it is the logo at the widest point of the plate. Make sure they are properly aligned.
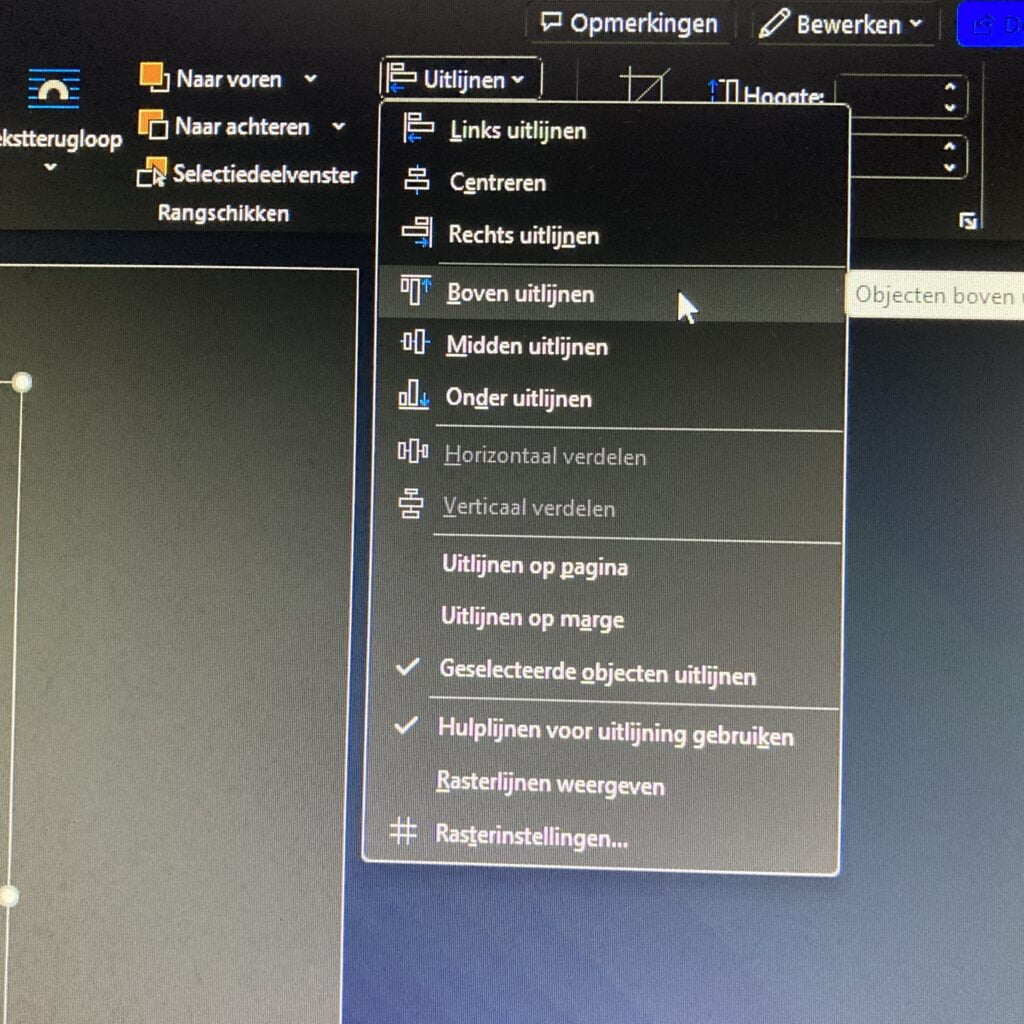
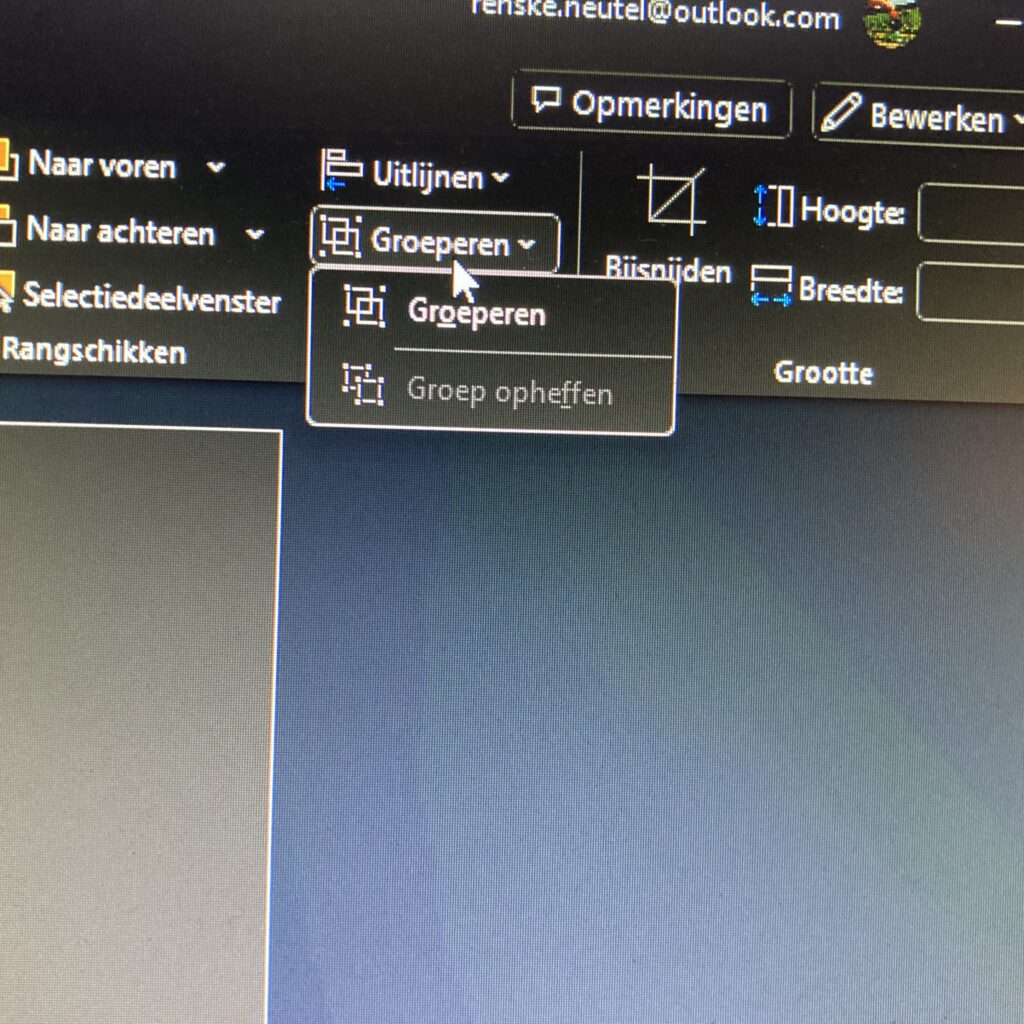
- Make sure they overlap at a certain point where the card will fold. Then select both images, align them at the bottom, and group them. Now you can move them together.
- Position them so that you can easily cut around them, and then print them out.
Printing the Professor and Texts
- In addition, print out the image of the professor, which will be placed inside the card, along with the texts you intend to use.
- Pay close attention to the size when printing to ensure they fit appropriately.
By following these steps, you’ll have the necessary elements printed and ready for the next stage of crafting your bottle-shaped card.

Having trouble editing or colouring digital stamps? Download my free guide for extra tips and tricks to help you perfect your digital stamps!
Step 3: Colour the Stamps
Now that the digital stamps are printed, it’s time to bring them to life with colour! Follow these step-by-step guide for colouring the stamps with alcohol markers:
- Choose Your Color Palette: Before you begin colouring, select a range of alcohol markers in the desired colours. For the bottles, we’ll need shades of green for the liquid and blue for the glass.
- Colouring the Bottles:
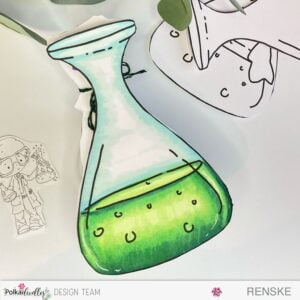
- Start by colouring the liquid in the bottles. Use shades of green to achieve the desired effect. Begin with a lighter shade as the base and gradually add darker shades to create depth and dimension.
- For the glass portion of the bottles, use shades of blue. Begin with a light blue for the highlights and gradually add darker shades to create shadows and reflections.
- Colouring the Scientist:
- Moving on to the scientist, start by colouring the skin tone using peachy shades for a natural look.
- For the scientist’s lab coat, use shades of grey to create depth and shading. Start with a lighter grey as the base and add darker shades for shadows.
- Colour the hair and pants using earthy tones such as brown and grey, adding highlights and shadows for realism.
- Don’t forget to colour the scientist’s glasses with a metallic shade for a reflective effect.
Colour Combinations Used
- For the bottles:
- Green Liquid: Green Bice, Yellow Green, Grass Green, Forest Green
- Glass: Frost Blue, Cool Shadow
- For the scientist:
- Skin: Barely Beige, Salmon Pink, Peachy Blush, Tanned Skin
- Hair and Pants: Leather, Brown Grey, Walnut, Clay
- Lab Coat: Cool Grey 5, Cool Grey 4, and Cool Grey 1
By following these steps and using the suggested colour combinations, you’ll bring your stamped images to life with vibrant colours and realistic details!
Step 4: Assembling the Card
Now that we have our coloured stamped images ready, let’s proceed to assemble the card and create its unique bottle shape. Follow these steps to bring your bottle-shaped card to life:
Preparing the bottle-shaped card
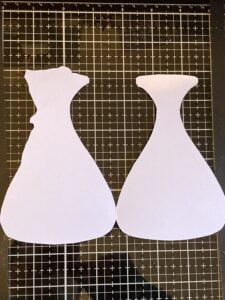
- Take the coloured bottles and cut them out. Make sure the fold line remains intact
- As the bottles were printed in such a way that they are partially attached, forming the fold line of the card base, we need to make some adjustments. Since the colours from the alcohol markers may bleed through to the back of the paper, use the coloured bottles as outlines to trace and cut them out again. This will create a blank card base with the bottles serving as outlines.
Securing the Images
Once you have the blank card base ready, glue the coloured bottles onto the shaped card base.
By following these steps, you’ll successfully assemble your bottle-shaped card, ready to impress with its unique design and creative flair!
Step 5: Adding Elements and Text to the Inside of the Card
Now, let’s add some special touches to the inside of our card to further enhance the science theme. Follow these steps to bring the inside of your bottle-shaped card to life:
Including the Scientist’s Image
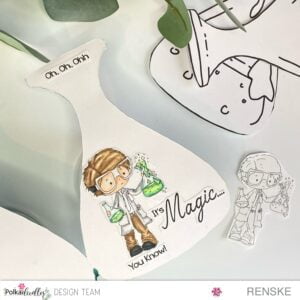
- Use the digital image of the scientist from the Science/Maths/Teacher/Professor/Geek/Student/Chemistry Digital Stamp set. This image features a scientist wearing a white lab coat and holding similar bottles, perfectly complementing the theme of our card.
- Glue or adhere the scientist image onto the inside of the card, positioning it in a way that complements the design and layout of the card.
Adding Text Elements
- Incorporate the digital sentiment texts from the Gnome Men Greetings Digital Sentiment Set and the Serenity Fairy Wishes Sentimentals Digital Sentiment Set to convey your message inside the card. These texts, such as “Oh oh oh it’s magic you know,” add a whimsical and heartfelt touch to your creation.
- Cut out, and adhere these text elements onto the inside of the card, strategically placing them to complement the overall design and theme.
By following these steps, you’ll add the perfect finishing touch to the inside of your bottle-shaped card, creating a cohesive look that will delight the recipient!
Step 6: Adding Text and Embellishments to the Outside of the Card
Now, let’s add the final touches to the exterior of our bottle-shaped card. Follow these steps to enhance the front of your unique creation:
Incorporating Text Elements
- Utilize the sentiment “Have a blooming brilliant day” from the Gnome Men Greetings Digital Sentiment Set to convey your message on the front of the card. This whimsical text adds a cheerful touch to your creation.
- Cut out, and adhere the sentiment onto the front of the card, placing it strategically to complement the overall design.
Adding Embellishments
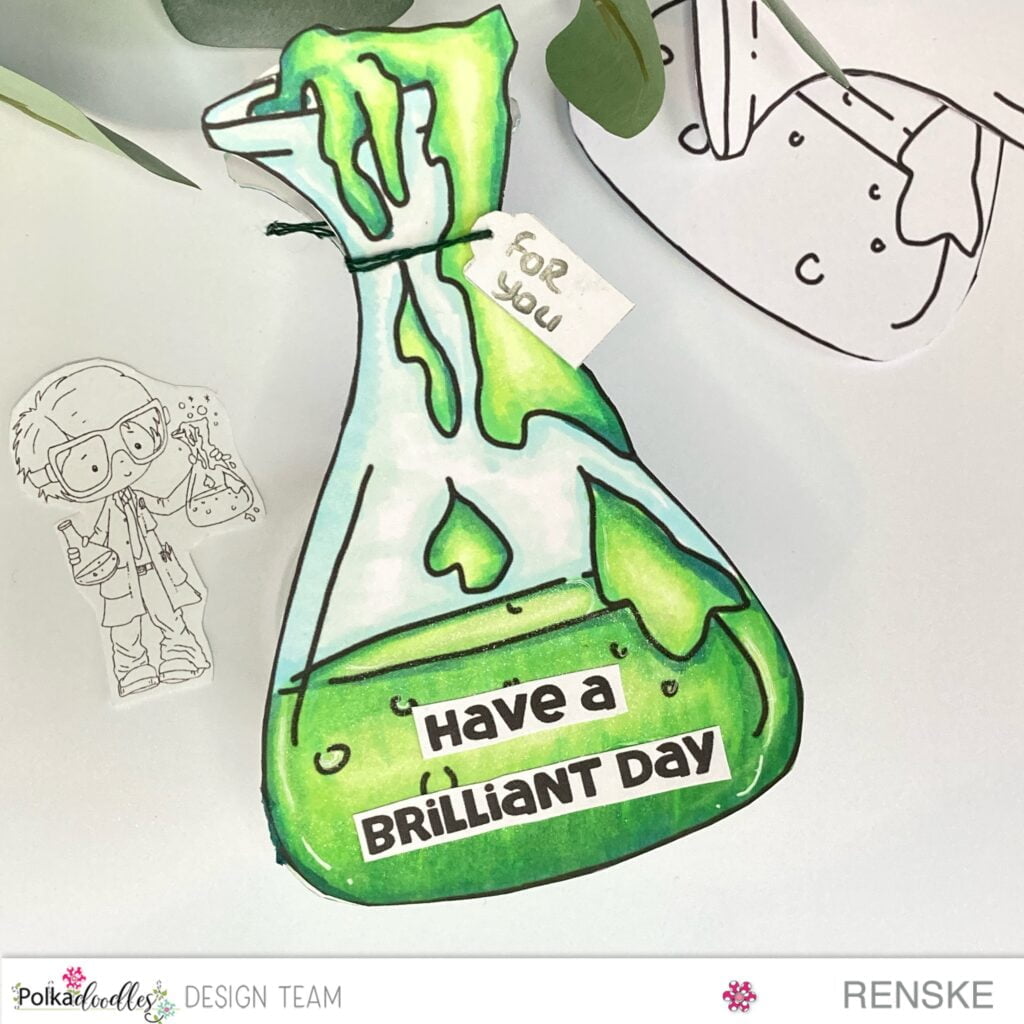
- Enhance the visual appeal of your card by adding additional embellishments such as baker’s twine or ribbon. Tie a small tag with the sentiment “For You” around the neck of one of the bottles to add a charming finishing touch.
- To give the card a little something extra, use an aqua shimmer pen to add some shimmer to the green liquid on the front and back.
By following these steps, you’ll elevate the exterior of your bottle-shaped card, creating a stunning and memorable piece that will impress anyone who receives it!

Inspire, Create, Share, and More!
Welcome to the final result of our crafting journey! Let’s take a moment to admire the science-themed bottle-shaped card we’ve created. With its vibrant colours, intricate details, and unique design, this card is sure to delight any recipient. Whether you’re celebrating a special occasion or simply spreading some cheer, this handmade creation is a perfect way to convey your sentiments with a touch of creativity.
Joining the Polkadoodles Challenge
Now that we have finished making this handmade Halloween card, I would like to invite you to participate in the Polkadoodles challenge.
How to participate
Visit the Polkadoodles Challenge Blog to discover the latest challenge theme and guidelines. The theme is always “anything goes” and you don’t necessarily have to use Polkadoodles products to participate.
Make your own creation and add your creation to the blog.
By participating in the Polkadoodles Challenge you can not only show your creativity, but you also have a chance to win fantastic prizes and a mention on the challenge blog.
So don’t hesitate and participate! I can’t wait to see your creation in the Polkadoodles challenge.
More Card-Making Ideas
I also have more card-making ideas to share with you! Check out these article for additional inspiration and techniques:
Thank you for taking this crafting journey with me. I can’t wait to see what you create next!
Polkadoodles Products used
Disclosure: The products mentioned in this article contain affiliate links. This means that I may earn a small commission if you decide to make a purchase through my link, at no extra cost to you. This commission helps me maintain my blog and continually create new content to inspire you. I greatly appreciate your support!”
Science/Maths/Teacher/Professor/Geek/Student/Chemisty bundle Digital Stamp
Science/Maths/Teacher/Professor/Geek/Student/Chemisty Digital Stamp
Gnome Men greetings, quotes and sentiments
Serenity Fairy Wishes Sentimental digital bundle
I would like to enter my card in the following challenges:
- The Paper Funday Challenges: Anything goes + no pattern paper
- Lil Patch of Crafty Friends Challenge …: Anything goes
- A Perfect Time To Craft Open Challenge: Anything goes
- Classic Design Challenge Blog: Anything goes
- Crafts Galore Encore Challenge Blog: Anything goes
- The Creative Crafters: Anything goes
- Krafty Chicks Challenge: All occasions
What a super fun card! Your coloring is wonderful too! Thanks for joining us at The Paper Funday Challenge!
Thank you so much
How adorable~this image would make a great card for any occasion. Thanks for playing along at The Paper Funday Challenge. We look forward to seeing more of your lovely designs soon.
Donna xx
Paper Funday Challenges
Inspiration Station Challenge
Beautiful Blossoms Challenge
Thank you so much