
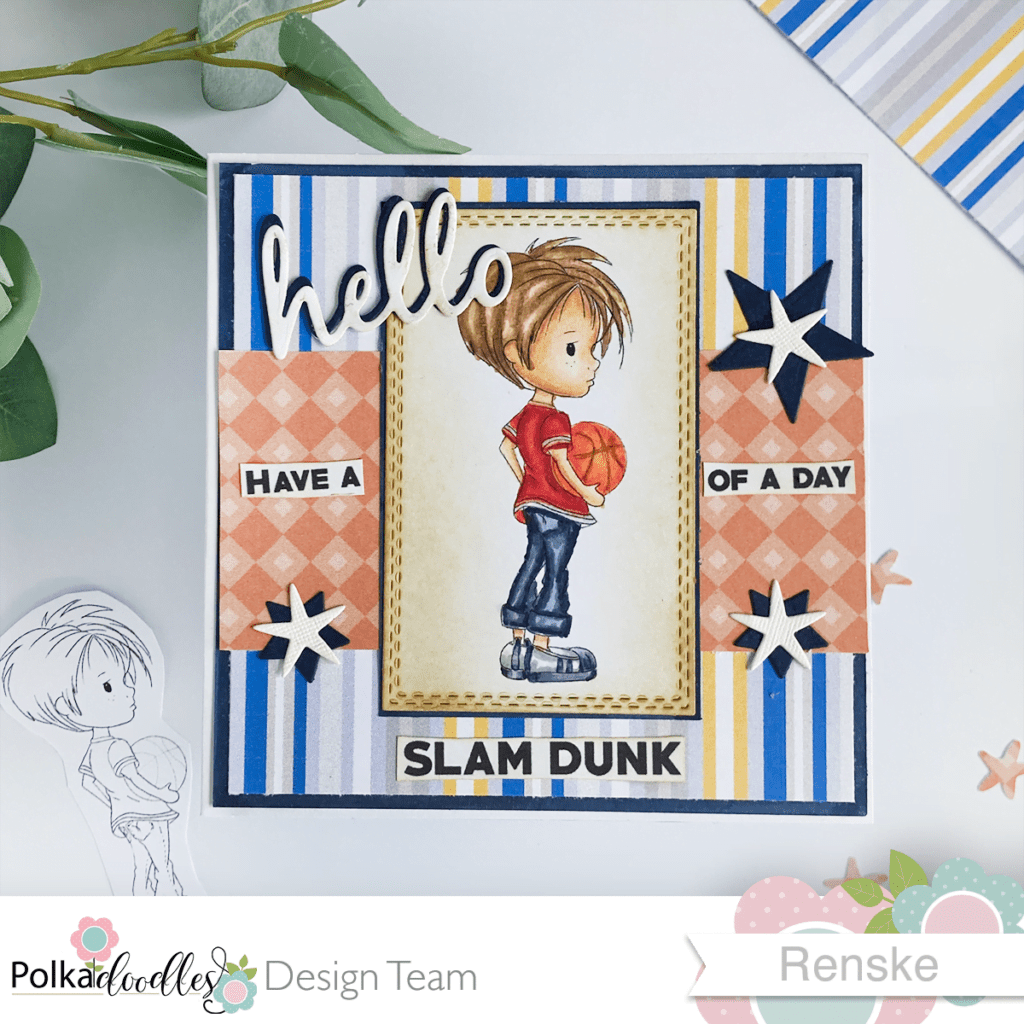
Hello crafty friends! It’s time for a new challenge on the Polkadoodles Challenge blog. This time, the design team was asked to create a card for a boy or man, and I immediately thought of my nephew. As soon as I heard this, I immediately thought of my nephew, a huge basketball fan. So, I decided to use the digital stamp ‘Basketball – Little Dudes Digi stamp’ to create a DIY basketball card.
The ‘Basketball – Little Dudes Digi stamp’ bundle was the perfect choice for my nephew’s passion for basketball. It includes a digital stamp, three patterned papers, and a selection of sentiments, making it an all-in-one solution for creating a boy’s card that captures his interests perfectly.
In this article, I want to inspire you and show you how to create a masculine card with these Polkadoodles products easily. Let’s face it, it can be challenging to come up with something for a man, but with these products, it’s a breeze.
Let’s start with these Polkadoodles products and discover how to make fun masculine cards together. Let’s unleash our creativity and create something extraordinary – the adventure begins now! Little Dudes Digi stamp to make a DIY basketball card.
Crafting Materials for Your DIY Basketball Card
We will gather all the necessary materials to create a unique DIY basketball card beforehand. We use Polkadoodles products with additional crafting materials to bring our masculine card to life. Below is a list of tools and materials that you’ll need:
Polkadoodles products used
- Basketball – Little Dudes Digi Stamp Printable Download: This digital stamp set features an adorable young basketball player, perfect for creating cards for boys and men who love basketball.
- Patterned Papers: The set also includes three vibrant patterned papers that add depth and interest to our card design. With a mix of colours and textures, these papers complement the theme and provide a dynamic backdrop for our focal image. We will use two patterned papers from the set.
- Sentiments: A collection of sentiments accompanies the digital stamp set, offering versatile options for adding heartfelt messages to our card. For this card, I used the sentiment “Have a slam dunk of a day.”
Additional Materials
- Cardstock: Sturdy cardstock serves as the base for our card, providing stability and durability. We will use white cardstock to create the base card and as a foundation for our stamped image and embellishments.
- Colouring medium: I used alcohol markers to colour the digital stamp. These give off beautiful bright colours. But you can use any colouring medium you want or have on hand.
- Distress Ink: Distress ink adds dimension and depth to our card design, allowing us to create subtle shading and texture effects. We’ll use antique linen and vintage photo distress ink to distress the edges of our card layers, giving them a distressed, vintage look.
- Die-Cutting Supplies: A die-cutting machine and various dies are handy tools for cutting out our stamped image and creating embellishments for the card. We will use a rectangle die for our focal image and star dies for decorative elements.
- Adhesive: you can use all kinds of adhesives. I use glue, but you can also use double-sided tape.
By combining these Polkadoodles products with additional craft supplies, we can create a charming DIY basketball card that is sure to delight any basketball lover. Now that we have everything gathered, let’s get started.
Step-by-Step Tutorial to Crafting Your DIY Basketball Card
In this tutorial, I will guide you through creating your DIY basketball card using Polkadoodles products and other crafting materials. Follow each step carefully to bring your card to life and unleash creativity!
Step 1: Print and Color the Digital Stamp Basketball – Little Dudes
We print and colour the “Basketball – Little Dudes” digital stamp in this step. This step is crucial as it sets the foundation for our DIY basketball card, allowing us to personalize the focal image to our liking before we create the rest of the card. Follow these easy instructions to add vibrant colours and charming details to your digital stamp.
- First, print the digital stamp on suitable paper. For best results with alcohol markers, consider using DCP paper.
- Next, choose your desired colour scheme and use alcohol markers to colour the boy, basketball, and other elements. Here’s a suggested colour combination:
- Skin: Pale Cream, Salmon Pink, Peachy Blush, and Tanned Skin
- Hair: Pale Cream, Brown Grey, Walnut, Clay
- Basketball: Yellow, Orange, French Vermillion
- Shirt: Cardinal, English Red, Burgundy
- Pants: Light Sky, Light Denim Blue, Dark Denim Blue
- Shoes: Cool Grey 4, Cool Grey 3, and Cool Grey 1
Feel free to customize the colours according to your preferences or to match the recipient’s favourite team colours. Take your time and enjoy the colouring process, adding depth and dimension to the digital stamp to bring it to life!
Now we are ready for the next step, where we’ll continue preparing the card base and assembling our design.

Step 2: Prepare the Card Base
We start by preparing the card base, to create our DIY basketball card, Here are the steps you need to follow:
- Cut the cardstock to the desired size for the card base. We’re using a standard card size of 13×13 cm. However, you can adjust the dimensions according to your preference.
- You can skip this step if you’re starting with a pre-made card base. But, if you’re making your card base, begin with a piece of white cardstock measuring 26×13 cm.
- Fold the cardstock in half along the centre to create the card base. Use a bone folder or ruler to ensure a crisp fold.
By customizing the size of the card base, you can create cards of various dimensions to suit your design preferences and the recipient’s preferences. Now that the card base is ready, let’s move on to the next step and bring our DIY basketball card to life!
Step 3: Layer the Background
Let’s add depth and dimension to our DIY basketball card. In this step, we will use digital pattern paper to create layers on the card.
- Firstly, cut a piece of white cardstock to 12.5 x 12.5 cm. This will serve as the base layer of our card. Colour the edges of this white paper with a Dark Denim Blue alcohol marker to create a coordinating border.
- Next, cut patterned paper to fit the dimensions of the blue-coloured cardstock. For this project, we’ll cut the patterned paper to 12 x 12 cm to create a layered effect. Apply adhesive to the back of the patterned paper, ensuring even coverage. Carefully adhere the patterned paper to the blue cardstock base, aligning it centrally for a balanced look.
- Then, cut a piece of orange paper to size. We’ll cut this paper to 6 x 12.5 cm to create a striking contrast against the patterned background. Attach the orange paper with adhesive horizontally across the centre of the card base, creating a visually appealing focal point.
By layering different papers and elements, we create depth and visual interest in our card design. Now that we’ve layered the background, let’s move on to the next step and add the focal point to our card!
Step 4: Adding Depth and Detail by Die-cutting, adding distress ink, and Creating a Border
In this step, we will enhance the focal image by creating a coordinating border to add depth and detail.
- Firstly, we will die-cut the coloured digital stamp using an appropriate die. For this project, we will use a small rectangle die that creates a double-stitched edge effect, which adds a charming detail to our image.
- Next, it’s time to add distress ink to the die-cut image to give it a vintage-inspired look. I used the Vintage Photo distress ink to apply it along the outer edges of the die-cut piece, blending it inward slightly. Then, use Antique Linen distress ink to soften and age the inner edges, adding dimension and character to the image.
- To complete this step, create a border around the die-cut image. Cut a rectangle slightly larger than the die-cut piece, ensuring it frames the image nicely. Using a Dark Denim Blue alcohol marker, colour the edges of the rectangle to create a coordinating border that ties in with the overall colour scheme. Finally, adhere the die-cut focal image onto the coloured rectangle to finish off the border.
- Finally, adhere the die-cut focal image onto the coloured rectangle and affix it to the card base.
Incorporating these techniques will result in a beautifully crafted DIY basketball card. Let’s move on to the next step and assemble our card!
Step 5: Adding the Sentiment and stars as Embellishments
In this step, we will add the sentiment and stars as embellishments to complete our DIY basketball card.
- First, print or stamp an appropriate sentiment onto cardstock. For this project, I have chosen the sentiment “Have a slam dunk of a day” from this digital bundle. Print the sentiment as a complete phrase, then trim it into separate sections. Place “Have a” on the left side of the focal image, “Slam Dunk” underneath the image, and “of a day” on the right side of the image.
- To enhance the sentiment, we’ll also add the word “hello” using a word die. Die-cut the word “hello” three times from white cardstock and once from blue cardstock. Apply Antique Linen distress ink to one of the white die-cuts, creating a shadow effect. Layer the white die-cut with the inked edges over the blue die-cut, slightly offset to create a shadow effect. Position the word “hello” in the top right corner of the card, ensuring that the letters “llo” overlap the focal image while the letters “he” do not. Use additional white die-cut layers for the letters “he” to align them with the overlapping letters.
- Now, let’s add some final embellishments to our card. Die-cut several stars from white and blue cardstock. Place a large blue star with a white star on top above the words “of a day” and smaller blue stars with white stars underneath the words “have a” and “of a day.” These embellishments add interest and dimension to our card design, enhancing its visual appeal.
Now that we’ve added the sentiment and final embellishments, our DIY basketball card is complete!

Let’s Get Creative Together
As we come to the end of this tutorial, let’s take a moment to reflect on the journey we’ve embarked on and the skills we’ve acquired together. We explored the realm of creating a masculine card using Polkadoodles products and learned various techniques such as printing digital stamps, layering with digital papers, and adding a vintage charm with distress ink.
Join the challenge
Now it’s your turn to unleash your creativity! Participate in the Polkadoodles challenge and showcase your talents with the theme “Anything Goes.” If you’re inspired by our DIY basketball card, we’d love to see your creation. Share your artwork with our vibrant crafting community and become part of the creative excitement.
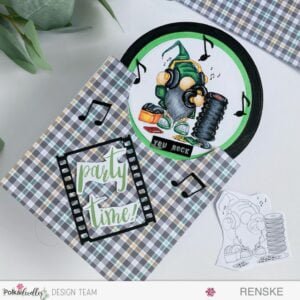
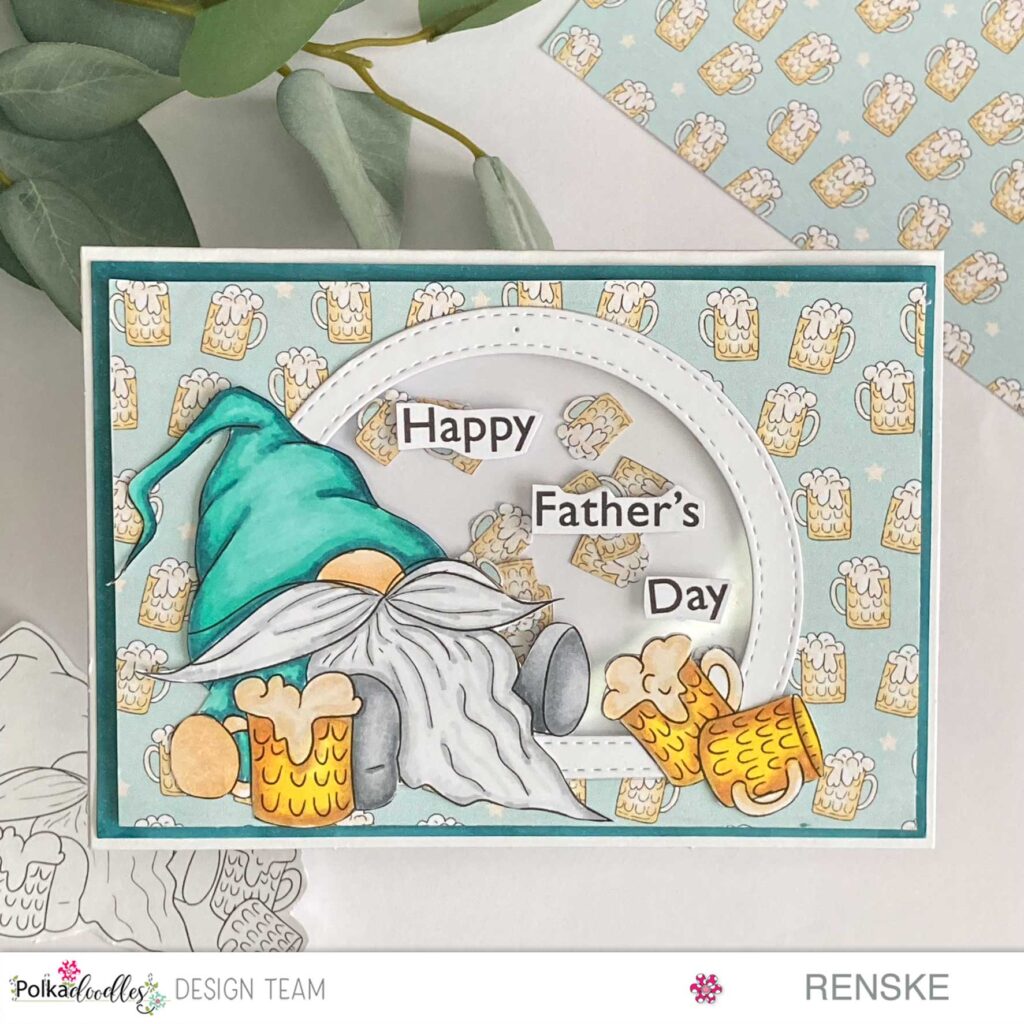
More Masculine Card Inspiration with Polkadoodles
Want more inspiration in crafting masculine cards using Polkadoodles products? Explore my other articles. Discover new techniques, designs, and creative possibilities to ignite your crafting journey.
Polkadoodles products in the spotlight
Basketball – Little Dudes digi stamp printable download

I would like to enter my card in the following challenges
- Fab ‘n’ Funky Challenges: For a child, baby or a teen (I think this card is perfect for a teen boy)
- Cut It Up (cutitupchallenges.blogspot.com): Add a sentiment
- Lil Patch of Crafty Friends Challenge …: Anything goes
- A Perfect Time To Craft Open Challenge: Anything goes
- Classic Design Challenge Blog: Anything goes + Happy birthday
- Crafts Galore Encore Challenge Blog: Anything goes
- Daisy Chain Challenges: Boys and/or men
A really great masculine card with a beautifully coloured image and perfect layout.
Thanks for joining us at the Cut It Up Challenge.
Helen x
DT
Thank you Helen
Absolutely adorable! Thanks for sharing at Cut it Up! and Lil Patch of Crafty Friends!
Thank you
It IS a great card for a younger boy or a teen, especially a basketball fan! Fab image and colouring, great layout and choice of papers.
Thank you for joining in at Fab’n’ Funky
Chris
x
Thank you