

Some links in this post are affiliate links. This means I may earn a small commission if you make a purchase, at no extra cost to you. I only recommend products I use and genuinely enjoy in my own cardmaking. Read more here.
Summer cards always remind me of holidays and warm weather. For this one, I used the new Holiday Girl digital stamp from All Dressed Up Stamps. She’s already dressed for summer, and the Packed and Ready to Go and Mix and Match sentiments made me think of someone packing for a trip.
This is the digital stamp.

There were also extra clothing pieces. I wasn’t sure what to do with them at first. I didn’t want to leave them out, but I also didn’t want to put them somewhere on the card because they came with the stamp. Then I thought, what if these are the clothing she’s packing?
That’s how the little clothing tags came about. I coloured the clothes, placed them on tags, and added them next to her. I made a peach- and coral coloured background with palm leaves. I used those colours on different elements on the card.
In this tutorial, I’ll show you how to make the background, colour the digital stamp, create the clothing tags and put everything together.
So, let’s get started and bring this little summer holiday scene to life.
Materials and Dimensions
These are the materials I used for this summer card. I’ve added Ohuhu marker colours too, in case you want to use the same colour combinations. I provided alternatives so you can swap materials with what you have.
Materials
Digi stamp
- Holiday girl from All Dressed Up Stamps
Paper
- White card base 13 x 18 cm
- White cardstock, 12.5 x 17.5 cm, for the mat layer
- White cardstock, 12 x 17 cm, for the background panel
- White DCP paper for printing the digital stamp and making clothing tags.
Alternative
You can use any smooth paper as long as it works well with your printer and colouring medium.
Inks
- Distress ink Dried Marigold
- Distress ink Picked Raspberry
- Memento ink Tuxedo Black
Alternative
Similar peach and pink colours are fine. For the palm leaves, use a black ink that works with your colouring medium.
Ohuhu markers
- Palm leaves. YG111 Celery, G410 Grass Green, YG415 Cascade Green
- Hair. E44 Soft Sand, E58 Fawn Brown, E69 Russet Brown, E614 Maple Syrup.
- Skin. YR00 Barely Blush, YR06 Raw Cashew, YR312 Light Earth Brown, E69 Russet Brown
- Outfit and accents. YR58 Pink Sand, YR07 Salmon Orange, YR515 Burnt Sienna
- Blouse. Y42 Warm Ivory, Y49 Autumn Leaf. E17 Sage Grey, YR07 Salmon Orange, Y14 Pale Lemon Yellow.
- Denim Shorts. B31 Cloud Blue, BV48 Distressed Denim, BV414 Denim Blue.
- Sunglasses. 120 Black, BGY38 Charcoal Grey.
- Mat layer. YR515 Burnt Sienna.
Alternatives
Another marker brand is fine. Most of them have similar colours. You can also use pencils and watercolours.
Tools and Extras
- Tropical background stamp with palm leaves.
- Heart punch
- Small circle die, punch or hole punch.
- Blending brushes
- Red and white baker’s twine
- 3D foam tape
- Liquid glue
- Scissors
- Water spray bottle or small brush.
Alternatives
- No tropical background stamp? Use a palm leaf stamp or stencil. But you can also leave the leaves out.
- No heart punch? Use a small die or cut the hearts by hand.
- No circle die? A small punch or another tool that makes a hole will work for the tags.
- No baker’s twine? Use any string, embroidery floss, or ribbon you have on hand.
- No 3D foam tape? You can layer scraps of paper together to create dimensional layers.
With the materials ready, let’s start with the background.
How To Make This Summer Card With The Holiday Girl Digital Stamp
Let’s make this card step by step, starting with the background. From there, we’ll add the coloured Holiday Girl and the clothing tags.
Step 1. Create the summer card base and Tropical background
I started with three layers for the card.
- Card base 13 x 18 cm
- Mat layer 12.5 x 17.5 cm
- Background panel 12 x 17
The mat layer leaves a 2.5 mm border around the background layer.
I didn’t have the cardstock colour I wanted for the mat layer, so I used YR515 Burnt Sienna to colour the edge. I only coloured the outer 1 cm because the middle will be covered by the background panel.
This way, I only used marker ink where it would be seen. YR515 was also one of the colours I used for the girl’s outfit, so it ties the mat layer in with the rest of the card.
For the background, blend the Dried Marigold over the entire panel. Work in small circular motions and build up the colour gradually, rather then pussing to hard. Then add the Picked Raspberry around the edges to create that warm coral gradient, blending it with the Dried Marigold.
I kept the pink quite light; I wanted the peach colour to stay in the middle rather than turning the whole background pink.
Creating the background texture
For the tropical background, I used a clear stamp with palm leaves and a big pineapple. I liked the palm leaves, but I didn’t want the pineapple on the card.
This takes a little more care than inking the whole stamp, but it means you can use just the part of the design you want. For this background, I liked a background with only palm leaves.
Flick some water over the background panel. Leave it for a few seconds before dabbing it dry with a paper towel.
This leaves lighter spots in the background.
Step 2. Colour the Holiday Girl digital stamp and palm leaves
Before colouring the Holiday Girl, I printed the image and stamped extra palm leaves I wanted to use on the card.
Print the digital stamp and stamp the palm leaves
First, print the digital stamp. I wanted the girl pretty large on the card, so I pasted it into Microsoft Word and adjusted the size before printing.
Make the image 14.4 cm and print it on alcohol marker-friendly paper, or use paper that works well with your chosen colouring medium.
I also stamped three separate palm leaves onto white paper. I used the same tropical stamp as for the background and only inked the palm leaf sections.
Colour the Holiday girl
I used my Ohuhu markers to colour her. I kept the colour combinations limited because I already had a colour palette in mind for the card.
For the hair, I used E44 Soft Sand, E58 Fawn Brown, E69 Russet Brown, and E614 Maple Syrup. Start with the lighter brown and work through the darker shades in the deeper parts of the braid.
For the skin, I started with the YR00 Barely Blush and added the YR06 Raw Cashew for warmth. Then I used YR312 Light Earth Brown around the contours and E69 in the darkest areas.
For the outfit, I used YR07 Salmon Orange, YR58 Pink Sand and YR515 Burnt Sienna. I used the same colours on the belt because I wanted it to look like part of the outfit.
Keeping the blouse simple
The blouse is quite small, so I decided to keep the colouring simple. I didn’t add a pattern because there was not enough space.
I used Y42 Warm Ivory as the base, then added Y49 Autumn Leaf and E17 Sage Grey to the folds. I finished with a few dots using the fine tips of YR07 and Y14.
I liked keeping the blouse basic. With the rest of the outfit already using multiple colours, I didn’t think it needed more.
Creating depth with repeated colours
For the denim shorts, I used B31 Cloud Blue through the centre , BV48 Distressed Denim as the mid-tone and BV414 Denim Blue along the seams and cuffs.
For the heart-shaped sunglasses, I used YR07 and YR515 for the frames. The lenses use 120 Black and BGY38 Charcoal Grey, leaving a small uncoloured area to suggest reflection.
For the flip-flops, use YR07 and YR515 too.
I kept coming back to those two colours for the details. They were already in the outfit, so I didn’t see a reason to add more colours.
Step 3. Turn the coloured clothes into Dress-Up Tags and add accents
The extra clothing pieces were a bit of a problem at first. I didn’t want to leave them off the card but also didn’t want to place them somewhere just because they came with the digital stamp.
Then I had an idea. What if these are the clothes she’s packing?
I put each clothing item on a piece of white cardstock. I drew a tag around it. I didn’t have a tag die that would work for this, so making them myself was my easiest option.
This worked better for me than making the tags first, because I could shape each one around the piece of clothing. If you have a tag die that fits the clothing pieces, you can of course use that instead.
My tags are about 3 x 6 cm, but the size will depend on how large you printed the stamp.
Cut out the tags and punch a small hole near the top. I used a small circle die, although a punch or other tool works too.
Making the clothing tags fit the coloured images
I wanted a little colour around the edges, so the tags fit with the rest of the card. Blend Dried Marigold and Picked Raspberry around the edges of each tag.
Then attach each clothing piece to its tag with foam tape. This will give dimension. Then thread red and white baker’s twine through the holes and make a bow.
That’s really all there is to it. The extra clothing pieces now have their place on the card, and they fit the holiday theme too.
Adding a few matching details
I used the same distress ink colours as the hearts. Blend Dried Marigold and Picked Raspberry onto a scrap of white paper. Punch or die-cut three hearts from it.
I used three hearts on the card. That felt like enough.
For the sentiments, ink Mix & Match and packed and, ready to go with the Dried Marigold and Picked Raspberry.
Step 4. Assemble the Summer Card and Build the Final Composition
Now you can put everything together. Place the Holiday girl on the left and the three clothing tags to the right.
Give the tags room. They look better when they have some space between them.
Then add the palm leaves to the corners with glue. The sentiment max and match in the middle, and the packed and ready to go sentiment in the bottom right corner.
For the hearts, add two on the left and one between the girl and the tags. I stopped there because I didn’t want to add more pieces just to fill the remaining space.
Before attaching everything, have a quick look at the card. It’s much easier to move something while it’s still loose.
Adding dimension with foam tape
Use foam tape underneath the Holiday Girl and the individual clothing pieces. The palm leaves, hearts and sentiment stay flat.
I like having some pieces raised and others directly on the background. The tags already have dimension with the clothes, so I think that is enough dimension.
Once you’re happy with the arrangement, glue the background panel to the YR515-coloured mat layer. Then attach the finished panel to the 13 x 18 cm card base.
And your summer card is finished.
Let’s get creative together
Sometimes an extra piece from a digital stamp doesn’t seem to fit. Instead of leaving it out or forcing it into the design, try looking at it from a different angle.
The clothing pieces came on a tag, and they gave the design its own character. The same idea could work for different colours, another background or even a completely different theme.
More summer card ideas
If you’d like to make another card, have a look at these related projects for more cardmaking ideas and techniques.
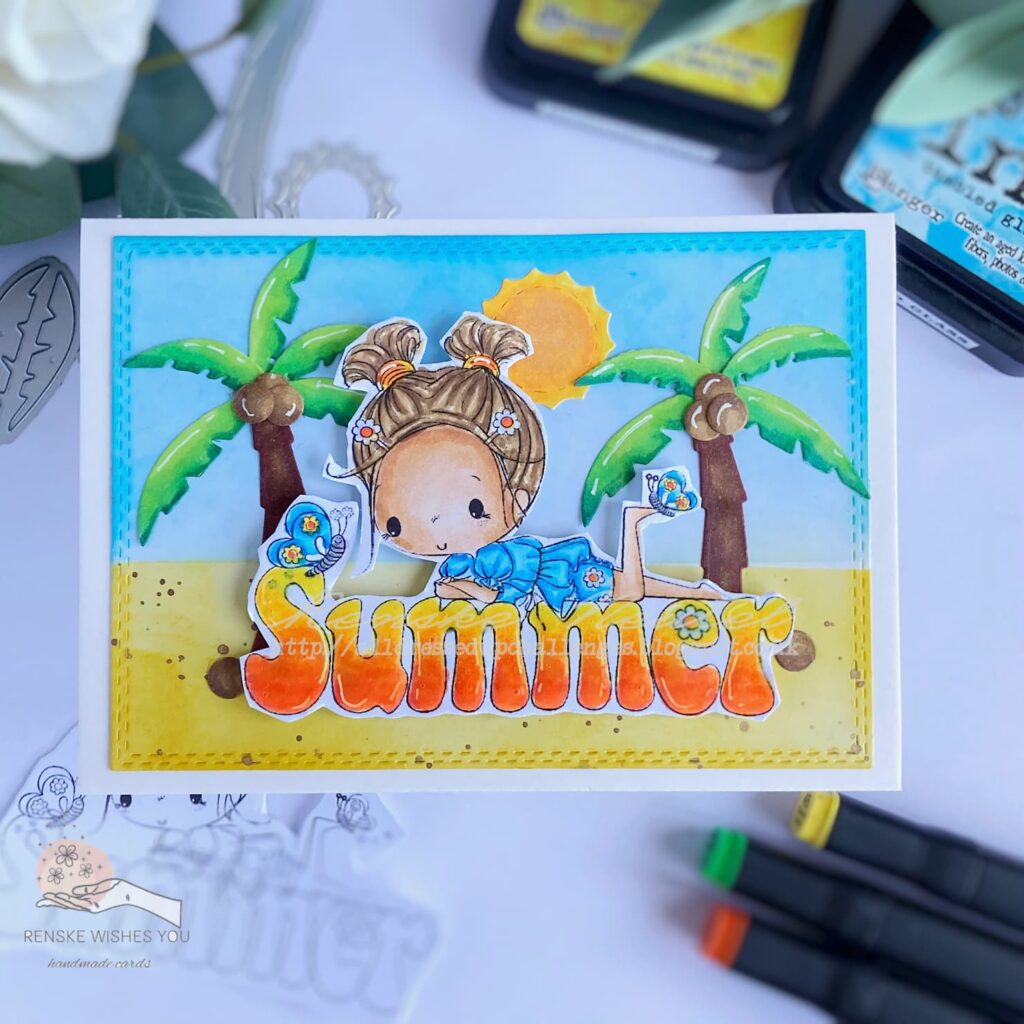
Handmade Summer Card Tutorial Easy Steps For Enthusiasts
Another Summer card with a Digital stamp from All Dressed up Stamps

Bright And Fun Tropical Birthday Card Tutorial
On this card I worked with the complete clear stamp with the leaves and the pineapple.
Products used for this summer card
Holiday Girl Digital stamp All Dressed Up Stamps

I love how versatile this digital stamp is. With the girl and the seperate clothing pieces, you can create all kind of summer creations.
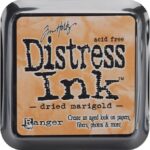
Dried Marigold Distress Ink
Picked raspberry Distress ink

Ohuhu Markers

You can use this link for the 320 set, but also for other product on their site.
Memento Tuxedo Black ink

I would like to enter my card in the following challenges
- Unicorn Challenge Blog: Not Square
- Crafty Gals Corner: Anything goes + Summer Vibes
- Word Art Wednesday: Anything goes
- Lil Patch of Crafty Friends Challenge ..: Anything goes
- 613 Avenue Create: Anything goes + Playtime
- A Perfect Time To Craft Open Challenge: Anything goes

What a great card Renske!
Thank you for joining us at LPOCF!! Good luck!
Sweet card, Renske. Thanks for joining us at 613 Avenue Create. I hope we see you on the front porch again soon!
Hugs, Em
613 Avenue Create Co-Owner
A Place To Start DT
Creative Em my blog
Creative Em on YouTube my Youtube channel
Thank you
Thank you for sharing with us over at lilpatchofcraftyfriends.~ Maria DT