
Some links in this post are affiliate links. This means I may earn a small commission if you make a purchase, at no extra cost to you. I only recommend products I use and genuinely enjoy in my own cardmaking. Read more here.
Crafting Festive Greetings with DIY Christmas Cards
Hello everyone!
The holiday season is the perfect time to spread joy and warmth to the people you love, and what better way to do that than with a thoughtful homemade Christmas card? In this step-by-step guide, I show you how to create a charming DIY Christmas card that will warm the hearts of whoever receives it.
Our DIY Christmas card is about spreading love and creativity and making your holiday greetings stand out. The Luxe PaperBlock from Decotimecrafts is our secret weapon for this project. The patterned papers and cut-out elements will bring your card to life.
If you’ve ever thought about making your own Christmas cards but weren’t sure where to start, don’t worry! I’ve got you covered. This do-it-yourself approach adds a personal touch to your Christmas wishes, but it’s also a quick and easy way to make cards that everyone will love. Plus, using this paper block or a similar one, means that you get matching paper and die-cuts to make everything look great.
So, let’s dive into the wonderful world of DIY Christmas cards and make your cards effortlessly enchanting with the Luxe Paper Block! Let’s craft this Christmas Village together. Are you ready to start making this card? Let’s go.
Materials Needed: Gather Your Supplies
To start our creative journey, it’s essential to have all the materials required for making this card. Check out the list below for the things you will need:
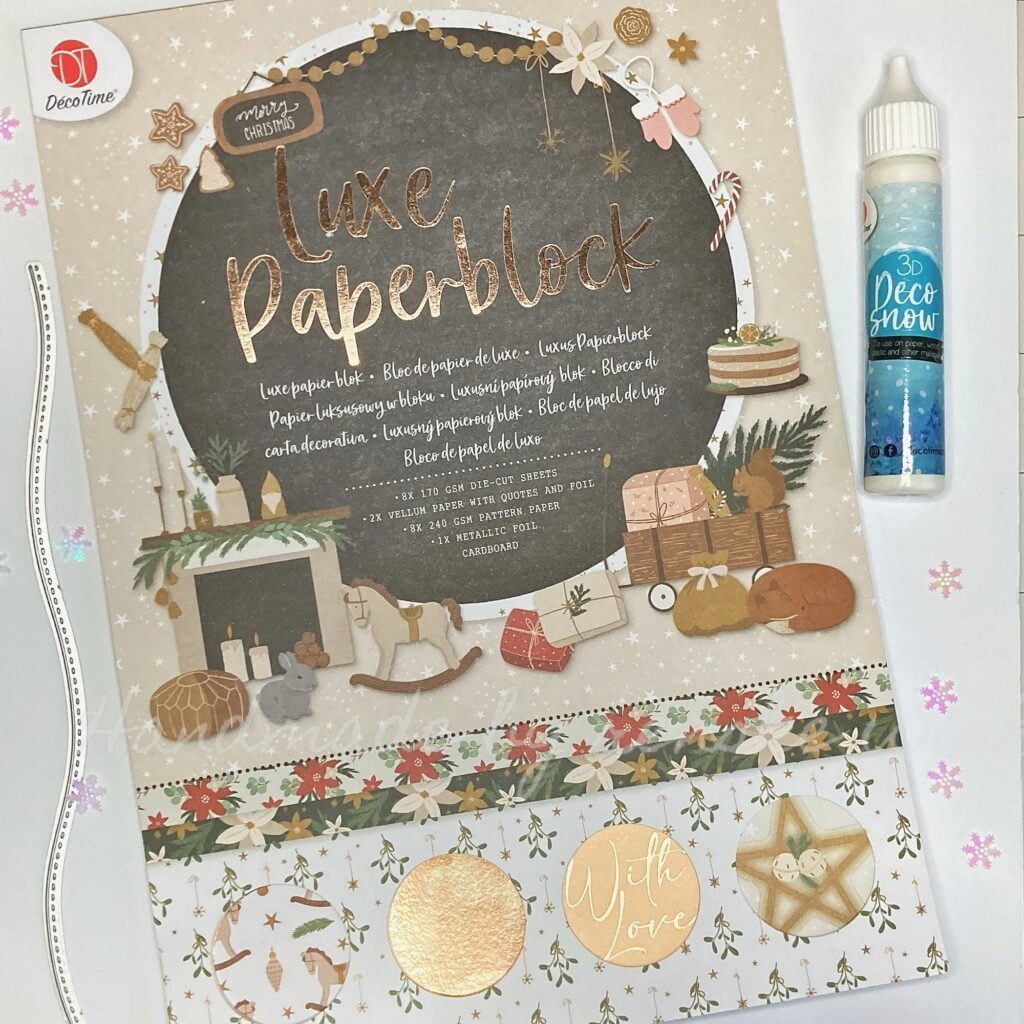
- The Luxe PaperBlock from Decotimecrafts: This beautiful paperblock is perfect for creating Christmas cards. It contains various patterned papers and images you can press out, making it a versatile choice for crafting. But you can use any Paper Block you like.
- Blank greeting card: This is the foundation for your DIY Christmas card. You can find blank cards in different sizes and styles depending on your preference. For this card, I used a card base measuring 10.5 centimetres by 14.8 centimetres, in landscape orientation. You can either buy ready-made card bases or make your own. For this card, you will need a piece of white paper measuring 14.8 centimetres by 21 centimetres and score at 10.5 centimetres.
- Paper trimmer: You can use this to cut your patterned paper to the right size. Alternatively, you can use a hobby knife or scissors.
- Deco snow: We will use this to add extra texture to the card and create a beautiful snow scene.
- General tools: glue and scissors
- Hill die: I used a die to make the snow hills. If you don’t have this, no problem, you can cut it by hand yourself.
Having these materials at hand, you will be well-prepared to create your own Christmas card. Let’s move on to the fun part of making your Christmas greetings!
How to make this simple Christmas card step by step?
Creating a beautiful and simple Christmas card can be a lot of fun. In this step-by-step guide, I will provide you with instructions on how to make a heart-warming card that perfectly captures the spirit of Christmas. You will require the materials mentioned earlier, including the Luxe Paper Block from Decotimecrafts or any other paper block that you may have. Here is how you can get started:
Step 1: Choose Your Materials
Begin by selecting the materials from the Luxe Paper Block:
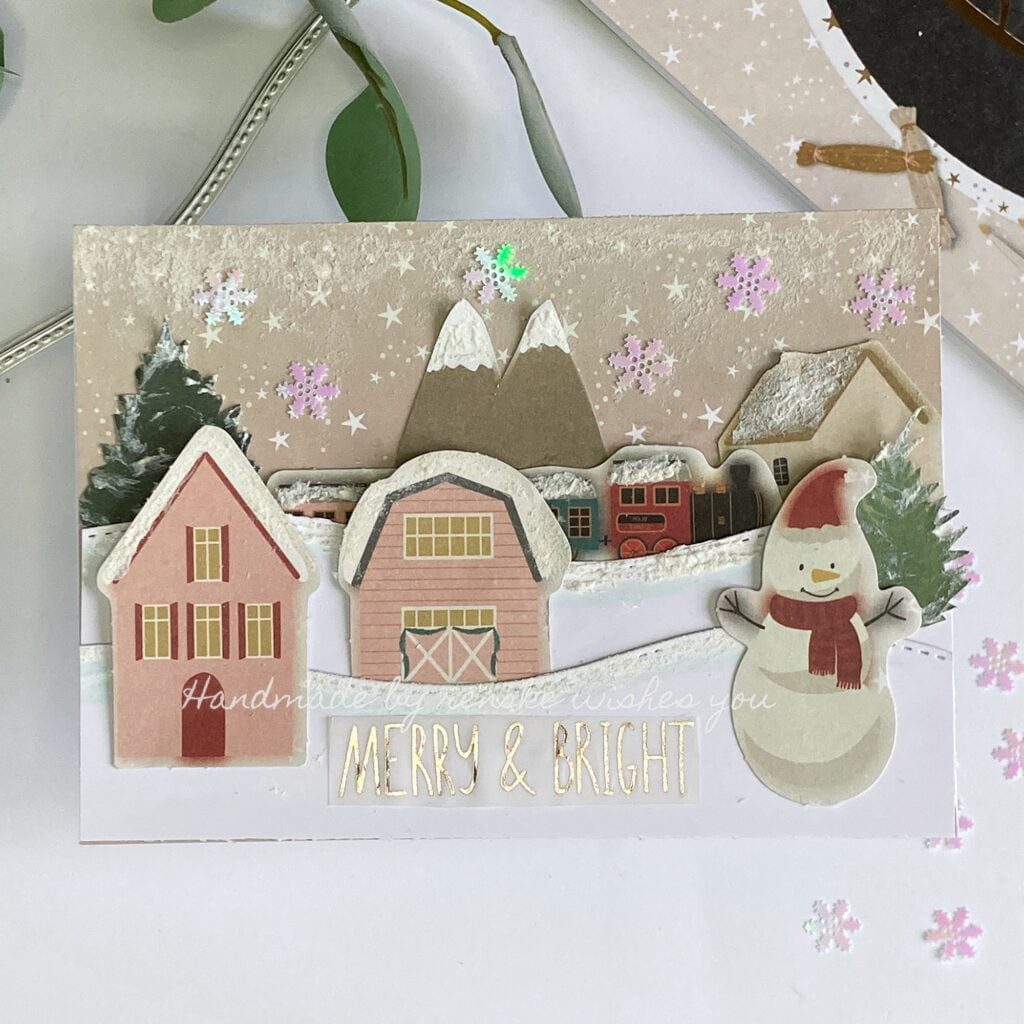
- Patterned paper with beige tones, white stars, and snowflakes.
- Two different Christmas trees.
- Three houses: a pink house with a pointed roof, a pink barn, and a beige house.
- Two mountains.
- A train.
- A snowman.
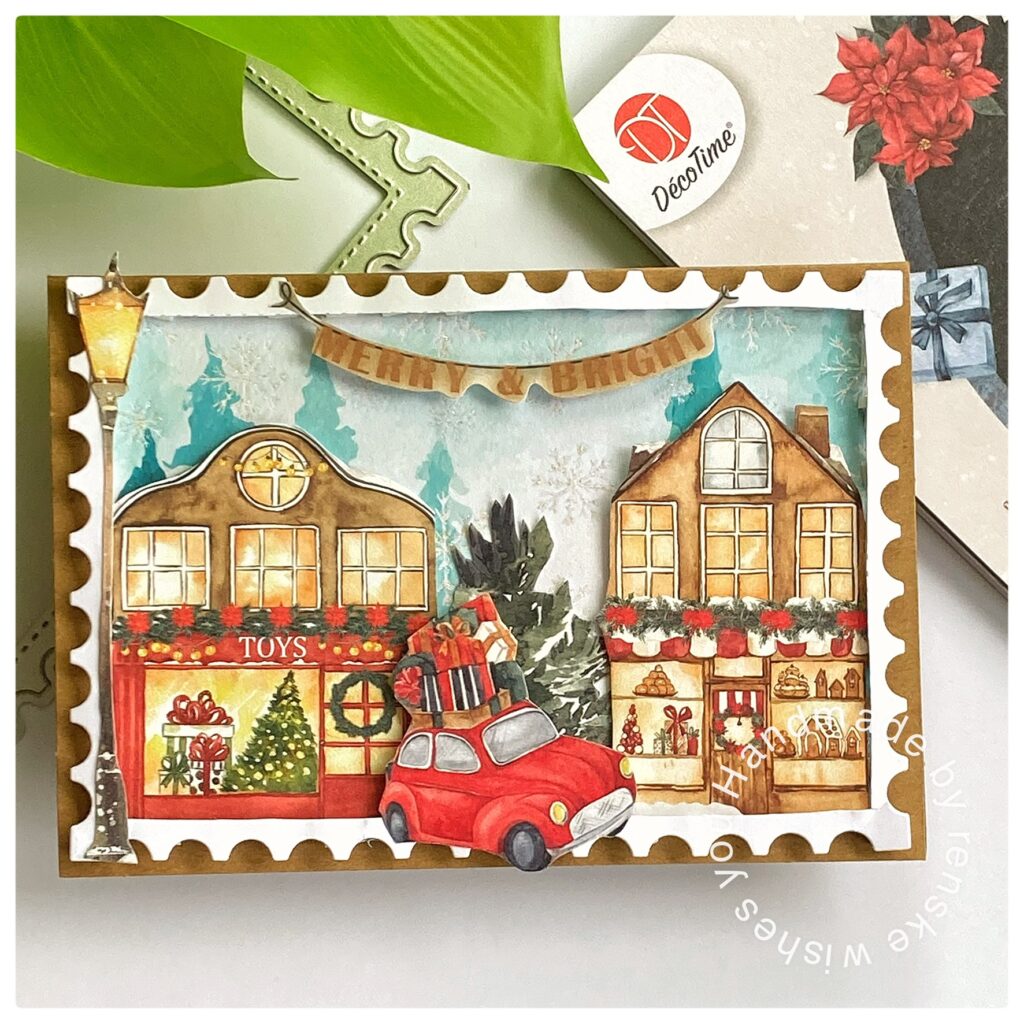
- A vellum sentiment that says “Merry & Bright.
Step 2: Cut the Patterned Paper
Cut the patterned paper to the dimensions of 10.5 centimetres by 14.8 centimetres. This will be the background of your card, so make sure it covers the entire front.
Step 3: Create Snowy Hills
Use a hill-shaped die to cut two snowy hills. These hills will be placed at the bottom of your card. If you don’t have a die for this, you can create your hills by cutting them out of white paper with a scissor.
Step 4: Prepare the Elements
Cut away any excess edges or protrusions from the elements you have selected from the Luxe Paper Block. For example, you can cut the trees closer to the edges to give them a more realistic look.
Step 5: Add a Snowy Effect
Apply Deco snow to the top of your patterned paper. Spread it evenly with a brush to create a textured snow effect that looks like falling snow. Apply a layer of Deco snow on the mounds to give them extra texture. To make it completely realistic, also apply it to the roofs of houses, the mountains, the roof of the train and some on the trees.

Step 6: Assemble your scene.
- Start by placing the big tree, mountains, train, and beige house in the background. Place the mountains slightly in the middle of the card, with the train in front of them.
- The hill comes in front of the train, making it look like the train is behind it. The barn is slightly left of centre and the tree is on the far right.
- Now you can attach the hill to the front. The house with the pointed roof comes on the far left and the snowman is on the far right. You can place the vellum sentiment “Merry & Bright” in the space between the snowman and the house.
- Add some icy flower decorations to the pattern paper for an extra touch of winter magic.
Step 7: Completion of this Cute Christmas Village card
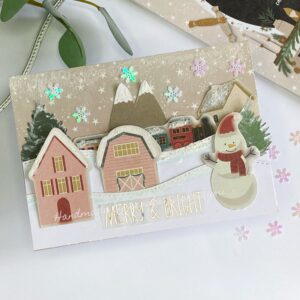
Your winter wonderland Christmas card is now complete! Look how cute this Christmas Village is. It’s ready to be shared with friends and family, spreading the joy of the holiday season.
Stay Inspired
Now that we have finished our card, I would like to invite you to stay inspired and to subscribe to my blog.
More Christmas card Ideas with luxe paperblocks
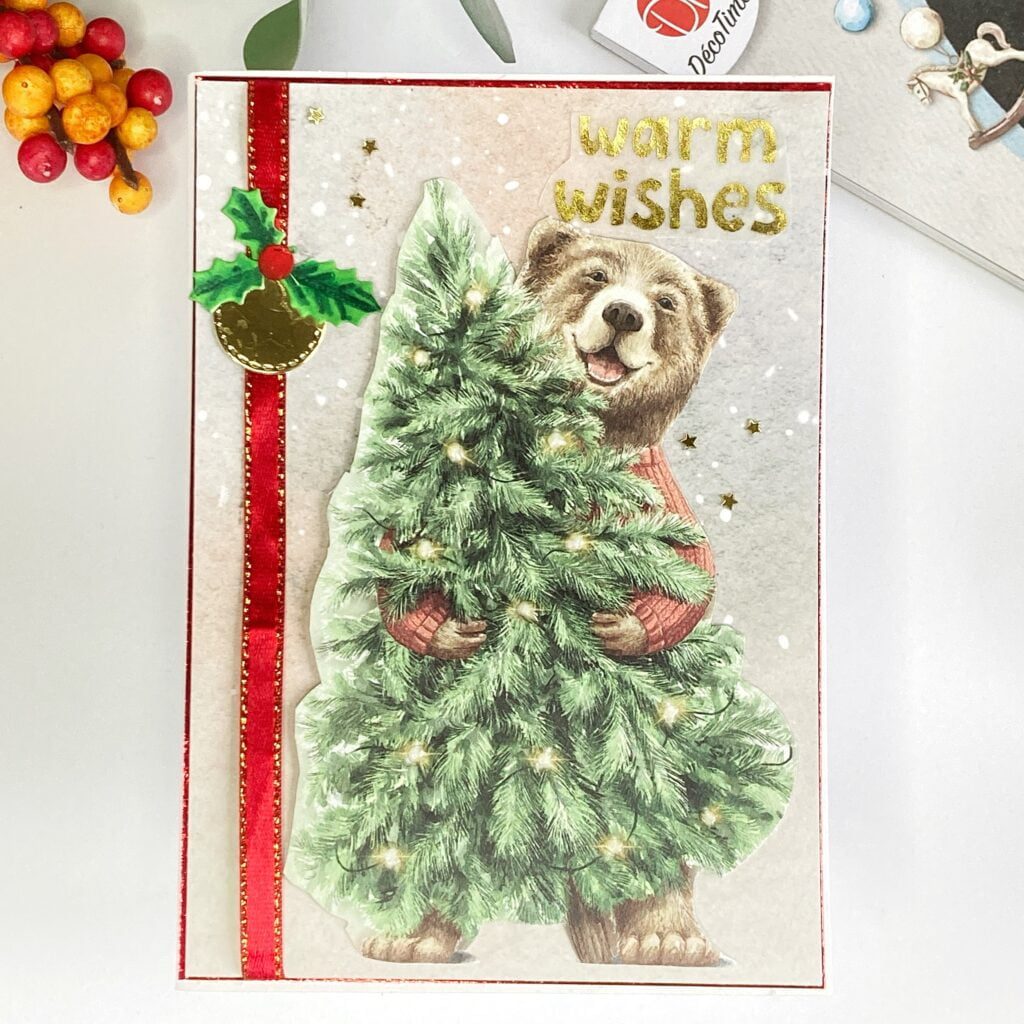
Last year I crafted these Christmas card ideas with the Luxe Paper block from Decotimecrafts. I hope you get more inspiration with these cards.
Create Your Own Magic: Easy DIY Holiday Cards and Universal Crafting Techniques.
I made this card this year. I used glossy highlights on this card.
To make this card a bit more interesting, I created a frame around the card.

This card was also made with a Luxe paper block from Decotimecrafts. I made this card last year. For this card, I used an embossing technique for the background.
Products Used
All the products I used I bought in the Action NL Store. Unfortuanility, I can link them, because they don’t have this on the website.
- Luxe Paperblock from Decotimecrafts
- Deco snow from Decotimecrafts
- Embellishments from an old Papercraft set from Decotimecraft
- Hill die from Aveccreative.
I would like to enter my card in the following challenges.
- A Place To Start: Anything goes
- Creative Knockouts: Anything goes
- Allsorts challenge blog: Add some texture
- A Perfect Time To Craft Open Challenge: Anything goes
- Classic Design Challenge Blog: Anything goes
- The Creative Crafters: Anything goes
- Most Magical Time of the Year!: Most Magical Anything Christmas or Halloween goes
- Peace On Earth Christmas: Mood board
Super:)Thanks for playing with us at The Creative Crafters:)Ines DT
http://inka-mojmalyswiat.blogspot.com/
https://creativecrafterschallenge.blogspot.com/
This is a delightful scene! Thanks for sharing your project and your tutorial with us at A Place to Start!
Hugz,
Chana Malkah, Owner
Thank you
Such a great project!
We do love to see all the entries at Classic.
Thank you for sharing in our challenge at Classic Design Challenge so
We really appreciate you joining in.
Jackie DT
Thank you
Awesome and creative holiday scene
Thank you for joining our challenge at Peace On Earth!
Diane POE Co-Owner
{Nellies Nest}
{Peace On Earth}
Thank you
Wat een mooi winters tafereel! Super leuk met al die laagjes en de sneeuw maakt het echt af!
Dank je wel
Many thanks for sharing this lovely, layered card design and festive scene at Allsorts this week.
Lorraine
Thank you
You’ve created a lovely Winter scene, lovely to see you at Allsorts again, many thanks for joining in.
B x
Thanks