
Some links in this post are affiliate links. This means I may earn a small commission if you make a purchase, at no extra cost to you. I only recommend products I use and genuinely enjoy in my own cardmaking. Read more here.
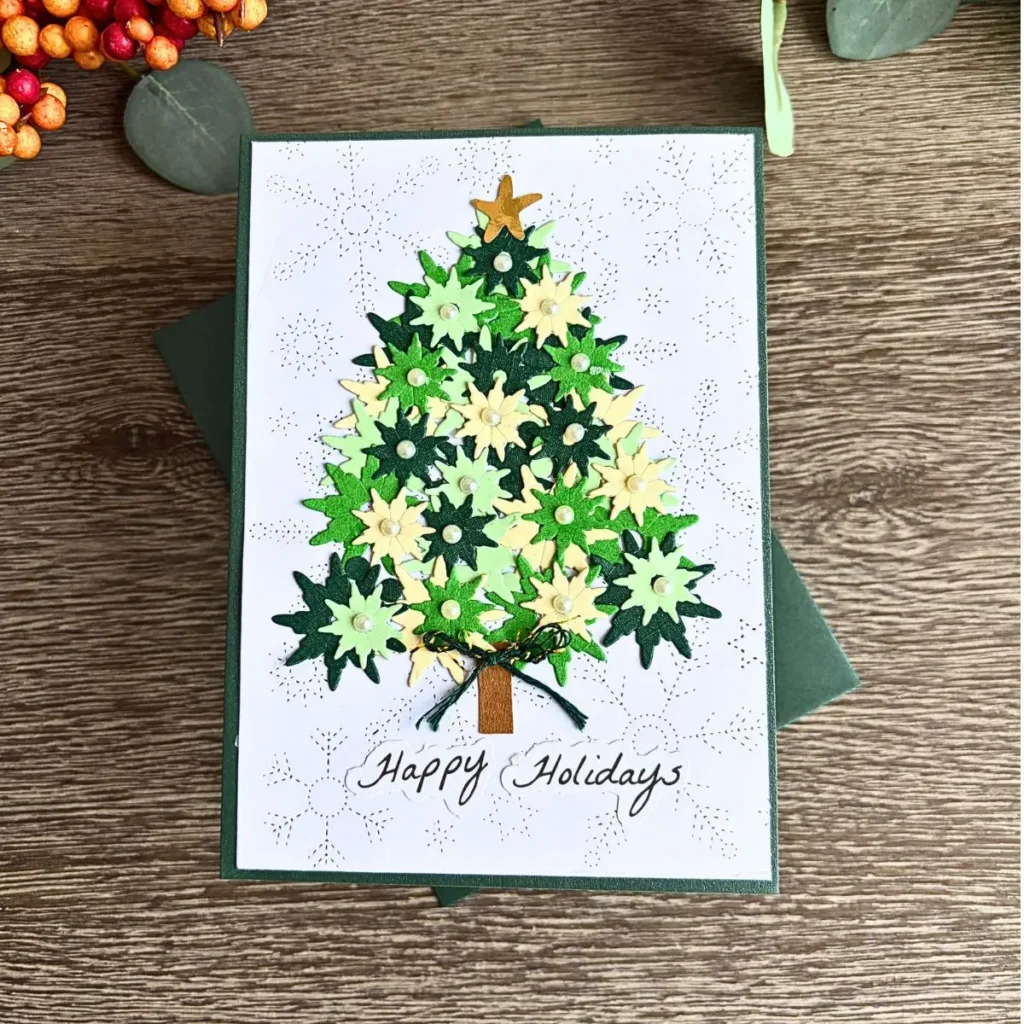
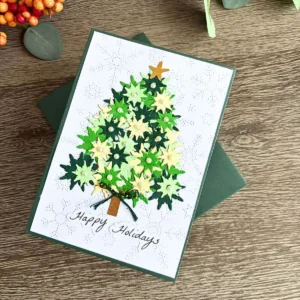
For this DIY Christmas Tree Card, I used my snowflake dies in a new way. Instead of using a dedicated Christmas tree die, I arranged individual die-cut snowflakes to form a tree shape.
I started with a white snowflake background and built the tree on top using a smaller and a larger snowflake die in different shades of green. I also added white pearls to the centres of the snowflakes for a little extra detail.
You’ll build the tree from individual snowflakes, using different sizes and colours to create the shape. I used shades of green, but you can choose your own colour combination and use the dies you have in your collection.
Materials and dimensions for your DIY Christmas Tree Card
These are the supplies I used for my card.
Cardstock
- Dark green cardstock for the card base
- White cardstock for the snowflake background panel
- Dark green, grass green, mint green and light yellow cardstock for the snowflakes
- Gold cardstock for the star
- Kraft cardstock for the tree trunk
Dies and embellishments
- Two different sizes of snowflake or ice-crystal dies from Aveccreative
- Snowflake background die from Aveccreative
- Star punch
- White pearls in assorted sizes
- Green and gold baker’s twine
- Die-cut sentiment reading Happy Holidays, from an older DecoTime Crafts die-cut block
Tools and adhesive
- Die-cutting machine
- Paper trimmer or craft knife
- Scissors
- Tacky Glue
- Scoring board and scoring tool, if you are making your own card base
Card measurements
- Finished folded card base, 10.5 × 14.8 cm
- Cardstock for a homemade card base, 21 × 14.8 cm, scored at 10.5 cm
- White background panel, 10 × 14.3 cm
A note about alternatives
Don’t have snowflake dies? You can still make this card. Use a snowflake punch, stamp snowflakes onto coloured cardstock and cut them out, or draw your own shapes and cut them by hand. The shapes don’t have to be identical. A little variation would look lovely on this tree.
How to make a DIY Christmas Tree Card with die-cut snowflakes
The Christmas tree is made of individual snowflakes. Let’s start with the card base and the white snowflake background.
Step 1. Prepare the card base
Start with a dark green card base measuring 10.5 × 14.8 cm. I used a ready-made card base for this project, but you can make your own from a sheet of cardstock.
To make the base yourself, cut a piece of dark green cardstock measuring 21 × 14.8 cm. Score it at 10.5 cm and fold it in half.
I chose dark green to go with the shades of green in my tree. It also creates a border around the white background panel.
Step 2. Create the snowflake background
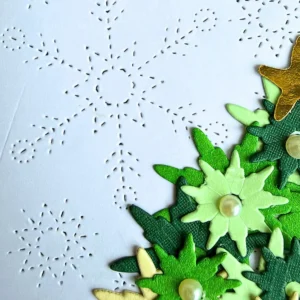
For the background, I used a die that cuts snowflakes and ice crystals into the cardstock. Die-cut this panel from white cardstock and trim it to 10 × 14.3 cm.
Attach the white panel to the front of your dark green card base. I chose white so the green tree would stand out. The snowflake pattern adds some detail to the background without making it too busy.
If you don’t have a snowflake background die, you can use a plain white panel instead. The tree will still be the main feature of your card.
Step 3. Die-cut snowflakes in different sizes and colours
For the tree, I used a smaller and a larger snowflake die. I cut quite a few snowflakes from four different colours of cardstock.
For my tree, I used dark green, grass green, mint green and light yellow. You will need a good number of snowflakes because the tree is built from individual die-cut shapes.
Die-cutting all those snowflakes wasn’t my favourite part. There were quite a few to get through, but I liked the idea of making a Christmas tree this way. As I started mixing the shades of green, I could already see the tree taking shape.
You can use the snowflake dies you already own, or try other small shapes. Small flowers would work too, while stars are a nice option if you want to keep a winter feel. It’s also a good way to use up leftover cardstock.
Step 4. Arrange the snowflakes into a Christmas tree
Before you glue anything down, arrange the snowflakes on your white background panel.
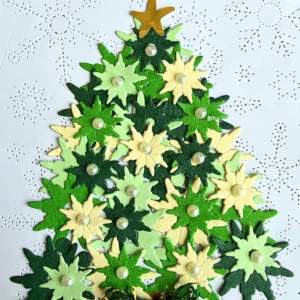
Start with one snowflake at the top. Then work downwards, placing the other snowflakes in sloping lines on both sides until they meet at the bottom.
I used the smaller snowflakes mainly towards the top and the larger ones towards the bottom. I mixed the four colours throughout the tree rather than keeping each shade in a separate row.
It took a bit of moving the snowflakes around before I was happy with how the tree looked. Check both sides and move the pieces around until the shape looks right to you.
Once you’re happy with the arrangement, glue the snowflakes in place. I used tacky glue and only needed a small amount for each snowflake.
Step 5. Add white pearls to the snowflake centres
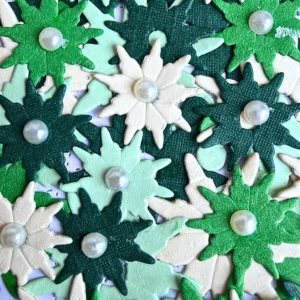
When I looked at the arranged snowflakes, I noticed the little holes in their centres. I didn’t really like how they looked, so I decided to fill them with white pearls.
At first, I wasn’t sure whether adding pearls to all the snowflakes would make the card too busy. I decided to give it a try, and I was pleasantly surprised by the result.
I used a mixture of larger and smaller white pearls. The pearls filled the little openings and made the snowflakes stand out a bit more.
Try this with other die-cut shapes too. Small pearls or gems can fill those little openings nicely. You can use self-adhesive pearls, but if they don’t stick well, add a tiny drop of glue to the opening before placing the pearl on top. You can also leave the centres if you prefer a simpler look.
Step 6. Finish the tree with a star, trunk, bow and sentiment
To finish the tree, add the star, trunk, bow and sentiment. I started by punching a small star from gold cardstock and attaching it to the top of the tree.
Next, cut a small rectangle from kraft cardstock for the tree trunk. Glue it underneath the snowflakes, then make a small bow from green and gold baker’s twine.
I attached the bow where the snowflakes meet the kraft paper trunk. Finally, I added the Happy Holidays sentiment underneath the tree. I used a sentiment from an older DecoTime Crafts die-cut block I already had.
Let’s get creative together
I like finding new ways to use the dies I already have. For this card, a couple of snowflake dies were enough to create a Christmas tree.r.
Have a look through your own die collection. Which shapes could you use to make a Christmas tree? You could even try a different colour combination.
I’d love to hear what you come up with. Would you stick to traditional Christmas colours or try something completely different?
Related posts
If you would like to make another Christmas card, you might enjoy these tutorials too.

Create A Festive Christmas Market Card | Die-Cut Tutorial
Another christmas cards with die-cuts.
Challenges I’m entering
- Try it on Tuesday: Getting Ready for Christmas
- Unicorn Challenge Blog: Christmas and/or Winter
- Crafty Gals Corner: Anything goes + tis the season to be jolly
- The Paper Funday Challenges: Anything goes + Autumn or Christmas
- The Sisterhood of Crafters: Getting Ready For Christmas
- CREATIVE INSPIRATIONS: All Wrapped up for Christmas
- Craft Rocket Challenges: Christmas and/or Winter
- Krafty Chicks Challenge: Christmas
- Crafty Catz: Anything goes
- A Perfect Time To Craft Open Challenge: Anything goes
- Carlin’s Kaartenparadijs: Christmas
- Crafts Galore Encore Challenge Blog: Anything goes
- Daisy Chain Challenges: Christmas and/or Winter
- The Little Things: Anything goes

Beautiful! Thanks so much for joining in the fun at the Sisterhood of Crafters challenge! Good Luck and we hope you’ll come back often. Darlene . . . Sisterhood of Crafters Owner
prachtig hoe je de kerstboom hebt gemaakt.
bedankt dat je meedoet met de Challenge bij Carlin’s Kaartenparadijs.
groetjes,
Karin
Beautiful! A great way to get some extra mileage from your snowflake dies, the tree looks gorgeous.
Thanks for joining in at Crafty Catz.
Chris
x