
Some links in this post are affiliate links. This means I may earn a small commission if you make a purchase, at no extra cost to you. I only recommend products I use and genuinely enjoy in my own cardmaking. Read more here.
Welcome to my creative corner where I share my passion for card-making with you. If you’re like me, you’re always trying to find new ways to create cards that stand out. Today, we will discover vellum in card-making
Vellum is a lovely material to use in card-making because of its delicate translucency and elegant texture. However, I must admit that I’ve often struggled to figure out the best way to incorporate vellum into my projects. That’s why I was thrilled to tackle the challenge of using vellum in a birthday card for an Instagram hop.
In this article, I’d like to show you three exciting ways to use vellum to create unforgettable birthday cards. We’ll explore the art of parchment overlay, where delicate parchment layers add depth and dimension to your designs. Next, we’ll see how this versatile material can serve as a beautiful backdrop for your dies. Finally, we’ll look at the technique of heat embossing on vellum, which offers even more possibilities for using vellum in your homemade cards.
Together, let’s discover the potential of vellum in card-making!
Overview of Vellum in Card-Making
Vellum is a popular material used in card making due to its unique properties and ability to add an elegant touch to card designs. Vellum is characterized by its delicate translucency and smooth texture, which allows light to penetrate the material and create a soft, ethereal effect. This makes it an excellent choice for overlays, backgrounds, and accents.
In addition to its aesthetic appeal, vellum also has practical benefits for card makers. Its translucent nature provides a versatile canvas for creativity, allowing for experimentation with layering and dimension. The smooth surface of vellum is ideal for stamping, heat embossing, and other techniques, making it a versatile choice for a wide range of card-making projects. Vellum can add sophistication and charm to any design, from elegant wedding invitations to beautiful birthday cards.
Technique 1: Vellum Overlay in Card-Making
In this section, we will be discussing the fascinating technique of parchment overlay in card making. We will explore this technique based on the birthday card I made. We will go through step-by-step how vellum overlay was used for this card.
Step-by-Step Guide
- Prepare the Background Panel: Begin by creating a background panel for your card. Use a rectangle die with a double-stitched edge to cut out a panel with dimensions of 9.5 cm in width and 13.8 cm in length.
- Cut and Adhere the Vellum Overlay: Trim a piece of vellum with a soft floral print to a width of 6 cm. As the panel is 13.8 cm long, ensure the vellum overlay extends to 15.8 cm to allow for a 1 cm border on each side for folding and adhering. Apply double-sided tape on the back of the panel to adhere to the vellum overlay, ensuring a smooth and secure attachment.
By following these steps, you can use vellum to add a soft print to your card. You can use this technique on a white background as shown, or you could use coloured card stock for a different effect.
Technique 2: Using Vellum for Die Backgrounds
In this section, we’ll delve into the captivating technique of using vellum as a background for dies in card-making. Drawing inspiration from the birthday card I created, I’ll guide you through the step-by-step process of incorporating vellum backgrounds into your card designs.
Step-by-Step Guide
- Prepare the Vellum Background:: Start by selecting a piece of vellum that complements the color scheme or pattern of your card design. For example, in my butterfly-themed card, I chose yellow vellum to serve as the background for the die-cut butterfly.
- Die-Cut the Butterfly: To create a unique effect, use a butterfly-shaped die to cut out your desired shape from white cardstock. Then, adhere the white die-cut butterfly to the yellow vellum background. This will create a beautiful contrast and add dimension to your design.
- Trim the Vellum: Carefully trim around the edges of the die-cut butterfly on the vellum, making sure to achieve a clean and precise finish. This step will help highlight the intricate details of the die-cut shape while maintaining the translucent quality of the vellum.
By following these simple steps, you can achieve a stunning effect that will make your butterfly or any other die-cut shape stand out in your card designs.

Technique 3: Heat Embossing on Vellum
In this section, we will explore the technique of heat embossing on vellum paper. This process can add a touch of elegance and sophistication to your card designs. I will guide you through the step-by-step process of heat embossing on vellum, using the butterfly stamp on my birthday card as an example.
Step-by-Step Guide
- Prepare the Vellum: Choose a clean piece of vellum paper for your project, free of dust or debris that could interfere with the embossing process. For my birthday card, I used pink vellum paper.
- Stamp Your Design: Use clear embossing ink to stamp your desired image or sentiment onto the vellum paper. Make sure to position the stamp firmly and evenly for a clear impression.
- Apply Embossing Powder: Sprinkle embossing powder generously over the stamped image while the ink is still wet. Shake off any excess powder and return it to the container for future use. I used white embossing powder for my card.
- Heat Set the Embossing Powder: Heat the embossing powder carefully using a heat tool until it melts and forms a smooth, raised finish. Keep the heat tool moving to prevent overheating and warping of the vellum paper.
- Allow to Cool: once the embossing powder has melted, give the vellum paper a few seconds to cool before handling it. This will ensure that the embossed design sets properly and retains its crispness.
- Cut the butterfly by hand: After it has cooled, you can cut the butterfly from the vellum paper. In my case, the butterfly stamp is quite detailed, so you can’t see the vellum paper behind it. However, it indicates that heat embossing works well on vellum paper.
By mastering the art of heat embossing on vellum paper, you can add a touch of luxury and sophistication to your card-making projects, taking them to new heights of creativity and elegance.

Completing the Vellum Birthday Card
As we wrap up our journey of creating the vellum birthday card, let’s bring all the elements we’ve learned together and assemble them into a stunning design. Here’s how I completed the card using the vellum techniques we discussed:
Card Layout
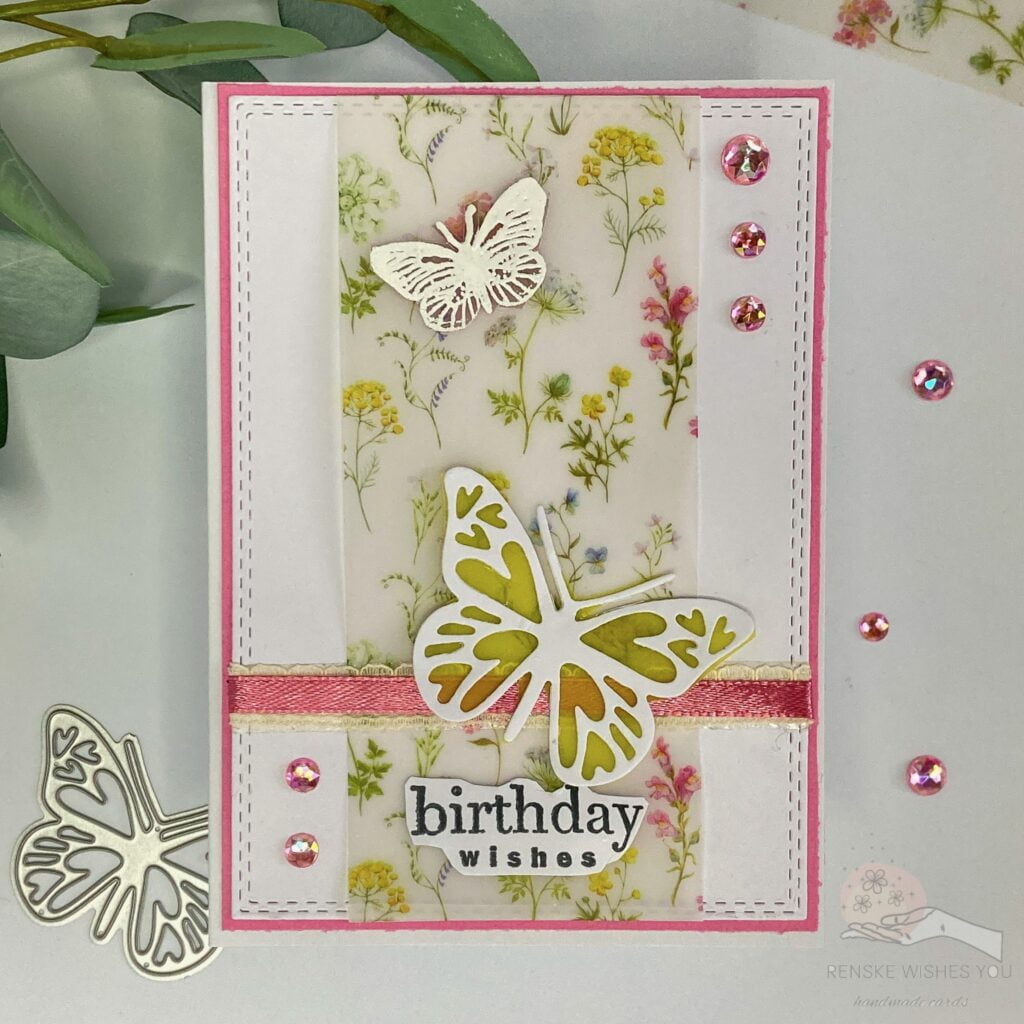
For the layout of the card, I chose a simple but elegant design. I placed the vellum overlay in the centre of the card and will later place the large butterfly so that the bottom of it is just over the ribbon and the rest is above it. The small butterfly is placed at the top of the vellum on the card.
Embellishments
To emphasize the parchment elements, I added a few subtle embellishments. I attached a thin ribbon across the width of the panel with the overlay vellum, one-third from the bottom edge. First, I placed a lace ribbon there, attached double-sided tape to the back of the panel, and then attached the lace ribbon. I also placed a pink ribbon over the lace ribbon and confirmed this in the same way. I also attached a few pink adhesive beads along the overlay vellum three of them at the top right vertically along the vellum and two at the bottom left.
Sentiment Placement
For the birthday sentiment, I chose to place it directly below the ribbon, on the vellum. This placement allowed the sentiment to stand out against the background while still being integrated into the overall design. I stamped the sentiment in black ink for a bold contrast against the pastel colours of the vellum.
Creating a pink border around the background panel
Now that the background panel is ready, we can complete it by placing a pink border around it. For this, you need pink cardstock with dimensions of 10 centimetres by 14.3 centimetres. Attach the panel with the vellum elements to this. Place this on the base card, and your card is ready.

Inspire, Create, Share, and More
In this section, we’ll delve deeper into the world of card-making inspiration, creativity, and community. From sharing tips and techniques to showcasing stunning card designs, we invite you to explore, create, and connect with fellow crafting enthusiasts.
As we’ve journeyed through the techniques of using vellum in card-making, we’ve discovered the endless possibilities this versatile material offers. Now, let’s take our inspiration further and dive into even more ways to elevate your card designs.
More Card-Making Inspiration Using Vellum
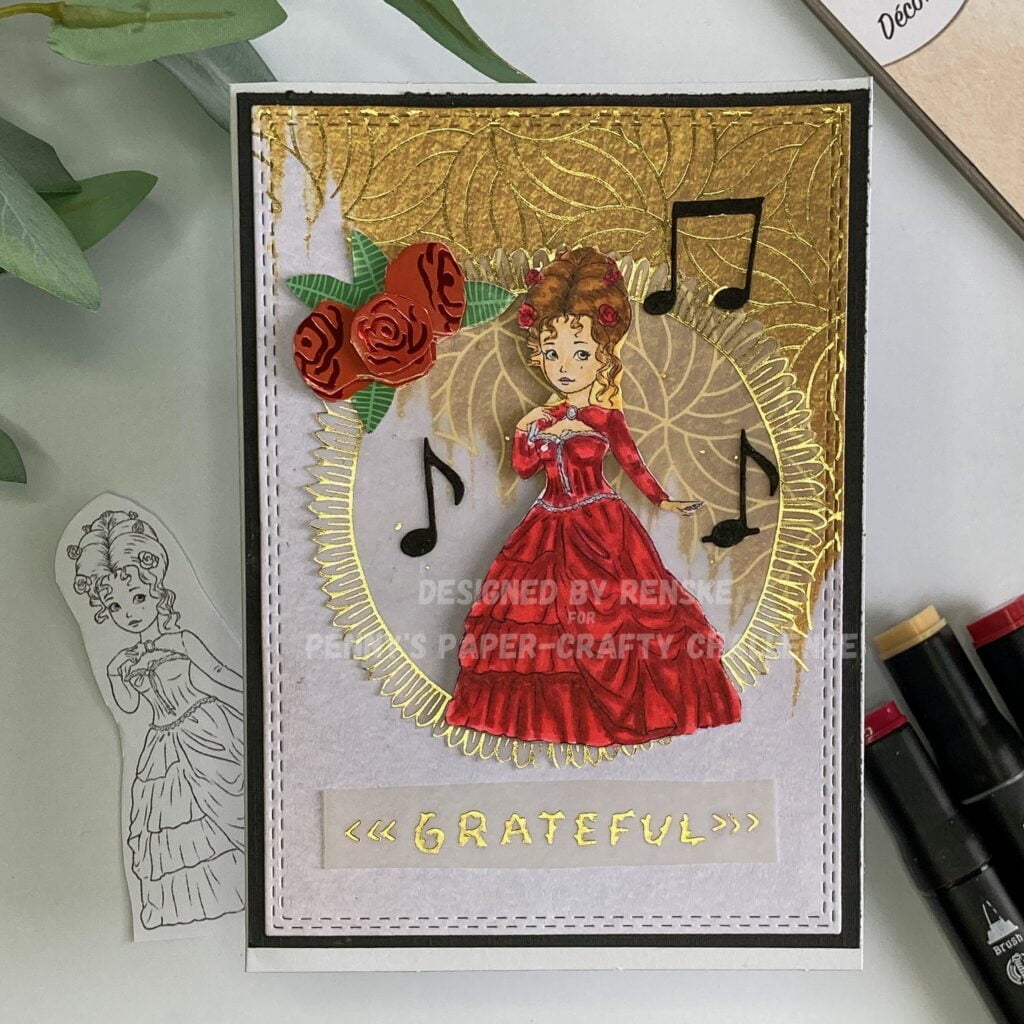
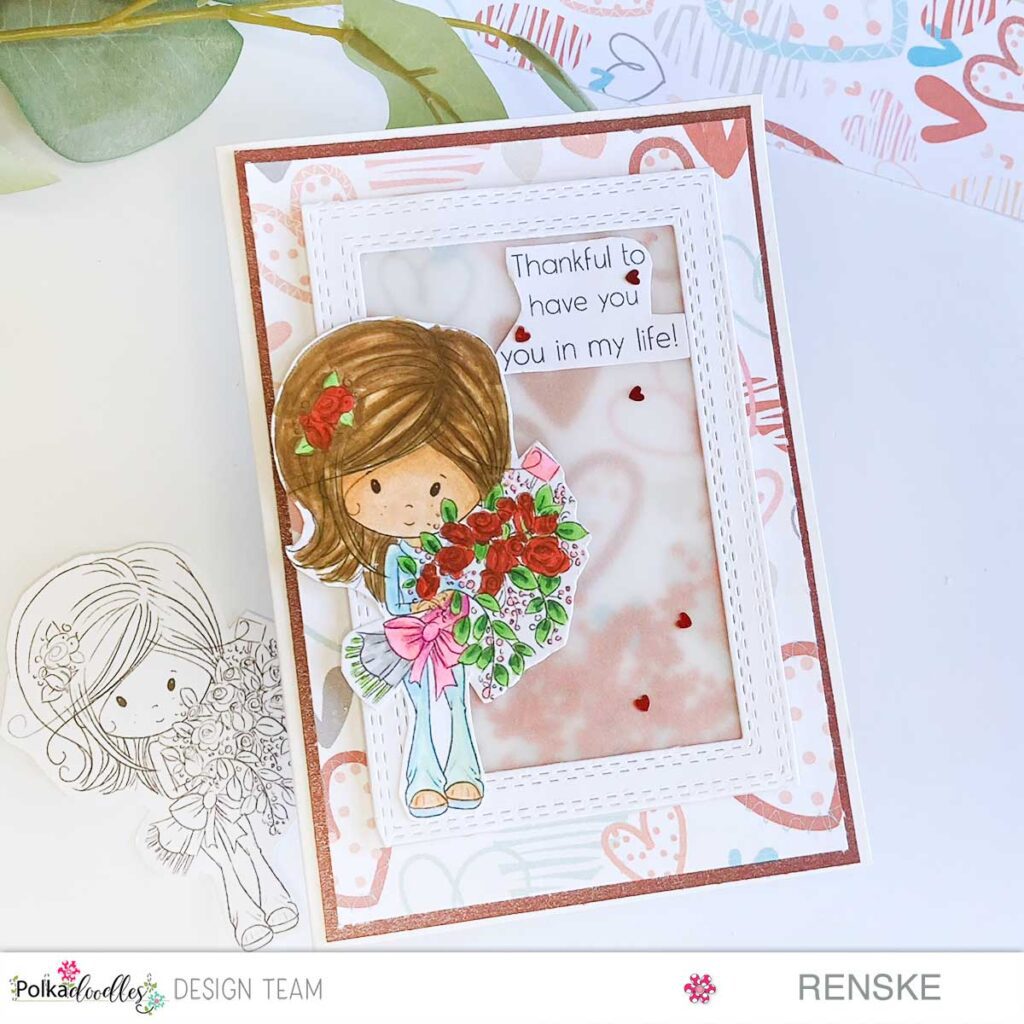
Ready for more inspiration? Explore a gallery of stunning card designs where vellum takes centre stage. From elegant overlays to intricate die-cut accents, these creations showcase the beauty and versatility of vellum in card-making. Get inspired to experiment with new techniques, colours, and designs as you embark on your next crafting adventure.
Products used
Affiliate Disclosure: Please note that some of the links included in this article are affiliate links. This means that I may earn a commission if you click on the link and make a purchase. Rest assured, I only recommend products or services that I use and believe will add value to my readers.
Your support through these affiliate links helps me continue to provide high-quality content and resources to the crafting community. Thank you for your support and for being a part of this creative journey!
Products with Affiliate links
White Embossing Powder from Ranger

Nuvo Clear Mark Embossing Pad

Memento Tuxedo Black ink

Products without affiliate links
- Vellum paper from Decotimecrafts
- Butterfly stamp from Craftsensations
- Butterfly die (brand unknown)
- Double-sided tape (brand unknown)
- Rhinestones from Avecreative
- Rectangle die from Card & Deco
- Pink Card Stock (brand unknown)
- Sticky glue (brand unknown)
I would like to enter my card in the following challenges
- Dream Valley Challenges: Spring Colours
- Unicorn Challenge Blog: Use dies
- Seize the Birthday: Spring floral
- Krafty Chicks Challenge: All occasions
- Cut It Up: Happy Birthday
- 613 Avenue Create: Anything goes + diamonds and/or pearls
- A Perfect Time To Craft Open Challenge: Anything goes
- Carlin’s Kaartenparadijs: Moodboard en plakparels
- Classic Design Challenge Blog: Anything goes
- Creatalicious Challenges: Anything goes + option Easter
I just wanted to take a moment to say how much I appreciate your blog posts. They’re always well-written, informative, and keep me coming back for more. Keep up the great work!
Thank you so much for your lovely comment. That is great to hear
Your blog post was really enjoyable to read, and I appreciate the effort you put into creating such great content. Keep up the great work!
Thank you so much that is great to hear
This is such an important and often overlooked topic Thank you for bringing attention to it and offering valuable advice
Your latest blog post was truly inspiring and had some great insights. I can’t wait to see what else you have in store.
Ah thank you so much. I am glad to read it is inspiring to you and I could give you some great insight. Hope to see you again on my blog.
I always leave this blog feeling inspired and motivated to make positive changes in my life Thank you for being a constant source of encouragement
I love how this blog promotes a healthy and balanced lifestyle It’s a great reminder to take care of our bodies and minds
Your posts are so well-written and eloquent It’s impossible not to be moved by your words Keep using your voice to spread positivity
Your blog has become my go-to source for inspiration and motivation I am so grateful for the valuable content you provide
Ah that is so great to here. Thank you so much.
Your latest blog post was truly inspiring and had some great insights. I can’t wait to see what else you have in store.
Thank you so much.
Your writing is so inspiring and motivating I always leave your blog feeling more determined and resilient
Love the vellum and our pretty paper with spring flowers. Thanks for sharing with us at seize the Birthday.
Thank you so much
Such a beautiful card! I love the patterned paper with the butterflies. Thanks for joining us at 613 Avenue Create. We hope we see you on the front porch again soon!
Have a good day.
Kayla – 613 Avenue Create DT
Thank you
Beautiful use of the vellum, makes a super pretty card!
We are always super happy to see every entry in our mailbox at 613 Avenue Create.
Please do come back again!
The very best of luck with your entry.
Jackie, DT member at 613 xx
Thank you
Lovely vellum card with the pretty little flowers on it and the pretty butterfly. Thanks for joining us at Seize the Birthday.
Thank you
A very beautiful card you make with te vellum.
Thank you for participating in our challenge at carlin’s kaartenparadijs.
Carla (DT)
Thanks
Such a pretty card Renske. The vellum is gorgeous and I love your beautiful butterflies. Thanks for sharing with us at Krafty Chicks challenge this week. Hugs, Denise x x
Thank you for your lovely comment
Beautiful cards using vellum, thank you for sharing and inspiring.
Thank you for joining us at Cut it Up for our Birthday challenge.
Thank you
That’s a beautiful card you have made for the challenge at Carlin’s Kaartenparadijs.
Also thanks for this tutorial.
Thanks for joining our Challenge.
Karin DT
Thank you so much