
Hello everyone!
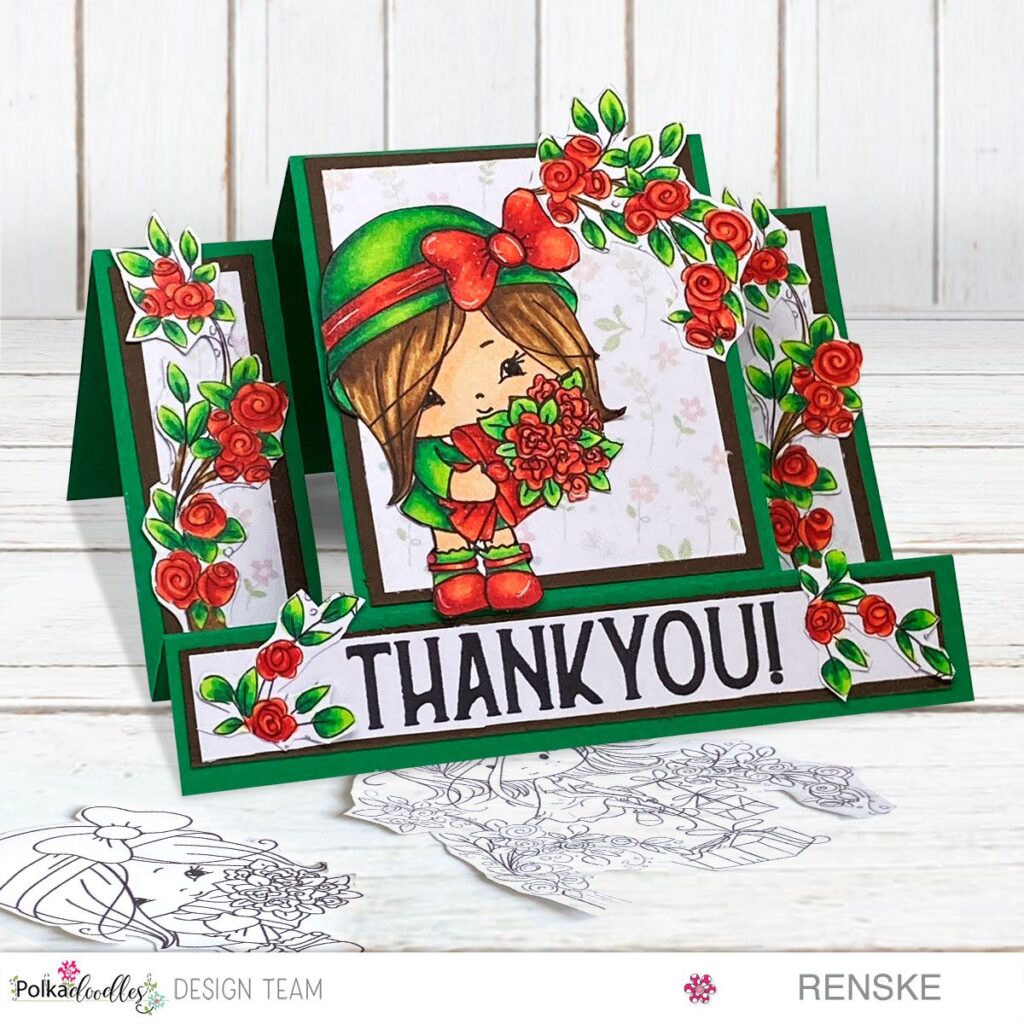
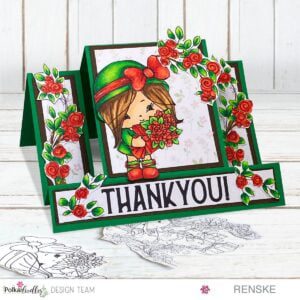
Today is the time for another challenge on the Polkadoodles Challenge Blog. We, as the design team, have been asked to create a “Thank you” card. For this card, I combined two digital stamps, perfect for a centre stepper card. I used Honeypie Sweet Flower Bouget and parts of the digital stamp Surprise Gifts. I noticed that the Surprise Gifts digital stamp has the same flowers as Honeypie’s bouquet, so I wanted to use only the flowers from the Surprise Gifts stamp. In this article, I explain how I created this centre stepper card.
I will link all the Polkadoodles products I used below.
Let’s get into it.
Making the base of the centre stepper card.

Above you can see the stepper card template. The red lines are the score lines and the blue lines are the cut lines.
- As you can see from the template, you will need one piece of paper measuring 8.5 inches by 5.5 inches. Mark on the short side with your pencil at 1 inch. Now mark on both long sides at 1 inch, 2, inches, 4.25 inches and 5.25 inches. The blue line you cut. So, the blue line is between 1 inch and 5.25 inches. You do this on both sides. The red lines are the score lines.
- Mountain folds the 1st Score line, valley folds the second and Mountain folds the last score lines.
- Cut the brown papers. Cut 5.25 inches by 0.75-inch piece. 2 pieces of 3 inches by 1 inch. And one piece 2.75 inches by 3 3/16 inches.
- Cut the pieces of pattern paper. 2 pieces of 2.75 inches by 0.75 inches. And 1 piece 2.75 inches by 3 inches.
- Cut one strip of white card stock measuring 5 1/8 inch by 5/8 inch.

Glue this on your base card, and your base card will look like this.

Coloring the digital stamps
- Skin: Peachy blush, Salmon Pink and Barely Beige.
- Hat, jacket socks, and leaves: Yellow Green, Pale Green, Spectrum Green, Forest Green.
- Bow, Flowers and Shoes: Bright Apricot, Warm Coral, Cherry Pink and Rose Red.
- Hair: Caramel, Brown Grey, Walnut, Clay.
Using parts of a digital stamp
I used two digital stamps from Polkadoodles.


The first digital stamp is the Honeypie Sweet Flower Bouquet. I used this stamp in its entirety. The second stamp is Surprise Gifts. From this stamp, I only used the flowers. You can crop the image in Word or print the whole image and cut off the flowers. I printed the whole stamp this time and later cut the flowers off. I did this because I wasn’t quite sure which parts of the flowers to use.
Sentiment
I printed the sentiment on white DCP paper. And then trimmed it to the piece needed for the front of the centre stepper card.
Now it’s time to assemble this card. I placed all the pieces where I wanted them to go. The card is now finished.
Thank you so much for visiting my blog. I hope you like the card. Let me know in the comments.
Happy Crafting!
Let’s Get Creative Together
Creating this spooky centre stepper card was a fun and rewarding process. I hope you enjoyed following along!
Handmade cards, especially for a thank-you, add a unique and personalized touch that store-bought cards just can’t match. Each element and detail reflects the care and creativity you put into making it.
More Fun Fold card inspiration with Polkadoodles
Polkadoodles products used:
Honeypie Sweet Flower Bouquet digital stamp

Suprise gifts digital stamp

Pretty Winnie Daisy Papers

Winnie Daisy Greetings

Other products used:
- Green card stock.
- Brown card Stock
- White gelpen
I would like to enter this card in the following challenges:
- A Place To Start: Anything goes
- Fab ‘n’ Funky Challenges: Use a sentiment
- CREATIVE INSPIRATIONS: Something for the girls
- Through The Purple Haze Challenges: Use buttons and/or flowers
- Krafty Chicks Challenge: All occasions
- Crafty Catz: Anything goes
- Allsorts challenge blog: Anything goes with blooms, bees and/or butterflies.
- Lil Patch of Crafty Friends Challenge …: Anything goes
- Dragonfly Dreams: Fancy folds
- A Perfect Time To Craft Open Challenge: Anything goes
- Classic Design Challenge Blog: Anything goes
- The Creative Crafters: Anything goes
- Crafting Happiness Challenges: Anything goes
Gorgeous card! Thank you for playing at Dragonfly Dreams Challenge!
Thank you
This is such a bright, fun card. Your instructions are really clear too. thank you for playing along with us at Crafty Catz Challenges
Thank you ❤️
Gorgeous card with lovely details!
Thank you for sharing at Allsorts;-))m
Hi Renske, a stunning side-step card, I used the side off a cereal box to make a template for one of these, I don’t think I’ve used it again…. Thank you for the instructions and inspiration, love the red roses and the little girl you have coloured. Thank you for joining us at Lil Patch of Crafty Friends, good luck in the prize draw… Megan DT LPoCF
A perfect summery creation, many thanks for sharing at Allsorts challenge this week.
B x
This is just adorable! I love it. Thanks for joining us at A Place to Start!
Sara Lihz
SassysLLC
Beautiful stepper card,love the cute image and flower borders.Thank you for joining us at Dragonfly Dreams
Carol DT x
A very bright and happy step card and perfect for this week’s Bunch of Flowers challenge. Thank you so much for sharing at Allsorts.
Thank you ❤️