

Follow this step-by-step tutorial to create a vibrant geometric card—bright squares blend from golden yellow to purple, with delicate stamped flowers on top. Use die-cut shapes, distress ink blending, and your favourite stamps to craft a card perfect for sending hugs. Rediscover tucked-away materials and enjoy watching your design come to life.
I created this card for the Rediscovery Hop, a monthly challenge where we bring out materials we haven’t used in months—or sometimes, never. It was the perfect chance to finally use my small square dies and some floral stamps that had been sitting in my stash.
In this tutorial, I’ll guide you step by step. We’ll work with die-cut squares, distress ink blending, and stamped flowers. By the end, you’ll have a card you’ll love giving—or keeping for yourself.
Have you ever tried making your own geometric card? I’d love to hear how it went! Share your experience in the comments below or on social media—your tips, tricks, and stories might inspire someone else to create their stunning geometric card.
Materials & Tools for Your Geometric Card
Before we start, let’s gather everything you need to make this handmade geometric card. I’ve included alternatives for items you might not have, so you can still follow along and enjoy the process.
Materials and tools
Materials and tools you will need to create your geometric card:
- White cardstock (26 x 13 cm for card base, 12 x 12 cm for top layer) – you can also use any light-colored cardstock you have.
- Black cardstock (12.5 x 12.5 cm for card layering) – dark-colored cardstock or any colour you like works too.
- Square dies from Card & Deco (3.8 cm for black squares, 3 cm for white squares) – if you don’t have dies, cut squares by hand with a ruler.
- Distress inks (Mustard Seed, Picked Raspberry, Villainous Potion) – any distress inks, oxide inks, or ink pads you like.
- Memento Tuxedo Black ink – any permanent black ink works.
- Acrylic block for stamping – optional if you have clear stamps with a stamping platform.
- Assorted floral stamps from Craftsensations – stickers or other stamps can also be used.
- Die for ‘Sending Hugs’ sentiment from Scrapfever– you can handwrite your sentiment or use another die-cut phrase.
- Small inverted tweezer – optional, helpful for placing small die-cut letters.
- Adhesive or glue setup – double-sided tape, glue pen, or foam tape can all work.
Use your adhesive or glue to build a geometric card with clean layers, blended colours, and stamped flowers. Missing a tool or colour? Swap items and still create a beautiful, personalised geometric card.
Roadmap
Before we start, here’s what we’ll do step by step:
- Prepare your geometric card base and layering panels.
- Die-cut squares and get them ready.
- Blend colours with distress ink blending for a soft ombré effect.
- Stamp flowers, leaves, and fun accents.
- Arrange and glue the squares on the background.
- Add a “Sending Hugs” sentiment.
- Finish the card and design the inside.
Now that you have all your materials ready and know the roadmap, you’re all set to start your geometric card. Grab your tools, pick your colours, and let’s bring those squares and flowers to life!
Step-by-Step: How to Make Your Geometric Card
I’ll guide you step by step to create a geometric card with die-cut squares, distress ink blending, and stamped flowers. By the end, you’ll have a beautiful sending-hugs card and handy tips for your future projects.
Step 1: Prepare Your Geometric Card Base & Layers
The first step is to get your geometric card base ready. You can use a pre-made 13 x 13 cm card, or make one yourself. To make your own, take a piece of white cardstock 26 x 13 cm, score it at 13 cm, and fold it in half. Now you have a sturdy card base to work on.
Next, we’ll prepare the layers. Cut black cardstock to 12.5 x 12.5 cm and white cardstock to 12 x 12 cm. These layers will frame your die-cut squares and give your card a clean, polished look.
This simple setup creates the perfect foundation for your handmade geometric card and makes adding colours and stamping much easier.
Step 2: Die Cut Your Squares
Now it’s time to make the geometric elements for your handmade geometric card. We’ll use two square dies: the larger one (3.8 cm) for black squares and the smaller one (3 cm) for white squares. You’ll need 12 of each.
Tip: Cut both layers at once to save time. No square dies? Measure and cut by hand with a ruler and craft knife or scissors. The black-and-white contrast keeps your geometric card looking crisp and sharp.
Once all your black and white squares are ready, your geometric card is starting to take shape. The next step is where the colours come to life—distress ink blending will add depth and a beautiful fade to your white squares, setting the stage for the flowers and stamping we’ll add in the following steps.

Step 3: Add Colour with Distress Ink Blending
Now it’s time to bring your white squares to life using distress ink blending. We’ll use three colours: Mustard Seed, Picked Raspberry, and Villainous Potion. You can use any inks you like, but these colours blend beautifully together.
- Lay your white squares in a diamond (rhombus) shape, just as they will appear on the card.
- Apply Mustard Seed to the bottom point, blending gently with a brush.
- Apply Picked Raspberry in the middle, letting the yellow and pink merge softly.
- Apply Villainous Potion at the top to create a smooth gradient.
- Blend the colours several times until they flow naturally into each other.

With your squares beautifully colored, your handmade geometric card is ready for the next step: stamping flowers and leaves to add life and detail.
Step 4: Stamp Flowers & Leaves
Now it’s time to add life to your handmade geometric card with stamped flowers and leaves. Use your Memento Tuxedo Black ink and place your stamps on an acrylic block for precise stamping.
Arrange the white squares in the diamond shape exactly as they will appear on your card, with the purple point facing up. This helps you see exactly where each flower, leaf, or accent will go. Take your time and stamp each square carefully, making sure the design fits well within the space.
Stamp a mix of flowers, leaves, grasses, or any small accents you like. This step is your chance to make your geometric card uniquely yours.

Once you’re happy with the stamped designs, you’re ready to move on to layering the squares on the black squares in the next step.
Step 5: Layer & Glue Your Squares
Glue each white square onto a black square to create neat layered panels. Align carefully for a clean, polished look.

Once all your layered squares are ready, position them on the white 12 x 12 cm base in a diamond layout. Along the edges, place two half-squares, and in the centre, four full squares. When you’re happy with the arrangement, adhere them firmly. Trim any overhanging edges for a clean, polished finish.

This step really gives your handmade geometric card structure and depth, making it ready for the final finishing touches, like the sentiment.

Step 6: Add the Sending Hugs Sentiment
It’s time to complete the front of your handmade geometric card with a sentiment. I used a die for the “Sending Hugs” greeting, which includes a black shadow layer and white letters.
- the shadow layer from black cardstock.
- Cut the letters from white cardstock.
- Use a small inverted tweezer to place each letter on the shadow layer—this keeps them in place while you adjust.
- Apply glue sparingly to the back of each letter to prevent spills.

No sentiment dies? Stamp your greeting directly or cut letters from contrasting paper to create a handmade sentiment. This lets you personalise your geometric card easily.
Once both the shadow and letters are ready, attach the sentiment in the centre of your geometric panel. Press gently to make sure it sticks well. This simple step adds a polished and heartfelt finishing touch to your card.
Step 7: Finish Your Card & Add Inside Design
Glue the layered squares onto the black 12.5 x 12.5 cm layer, then attach this to your card base for a polished front.
To match the front, cut a black layer (12.5 x 12.5 cm) and a white layer (12 x 12 cm). Stamp one of the front’s flowers in the bottom-left corner of the white layer with Memento Tuxedo Black ink. Glue the white layer onto the black, then attach it inside your card.

And that’s it—your geometric card is complete and ready to send, with a coordinated front and inside that shows off all your effort and creativity.
Tips & Tricks for Your Geometric Card
Even if you don’t have the exact inks or stamps, don’t worry. Use this as a chance to experiment mindfully.
Try different combinations of distress inks, oxide colours, or stamps. See how they transform your handmade geometric card.
Try mixing and matching different floral stamps, leaves, or small embellishments to make your card truly unique. For a simple, beginner card-making tutorial, you can skip the shadow layer for the sentiment and just stamp your greeting.
Want to add extra depth? Try layering more squares or using alternative dies for different shapes. You can also play with size and colour variations for a fun twist on the classic geometric design.
What colours would you choose for a geometric card design? Drop your ideas in the comments or share a photo on social media. I love seeing your creative picks—they’re sure to inspire your next card-making project.
Let’s Get Creative Together
I hope you enjoyed this step-by-step guide to making your handmade geometric card. The Rediscovery Hop is all about giving long-forgotten—or never-used—materials a new life. Let your creativity shine, share your card, and inspire others while feeling proud of what you’ve created!
Share your creations online! Post a photo of your geometric card or handmade encouragement card in the comments or on social media, and don’t forget to tag it. Seeing your colours, patterns, and stamping techniques is so inspiring
Share your handmade cards by gifting them to friends or family, taking them to a local crafting group, or leaving them in a community space. Brighten someone’s day and let your creativity make an impact.
Keep experimenting, mix and match your favourite colours and stamps, and remember: every card you make is uniquely yours.
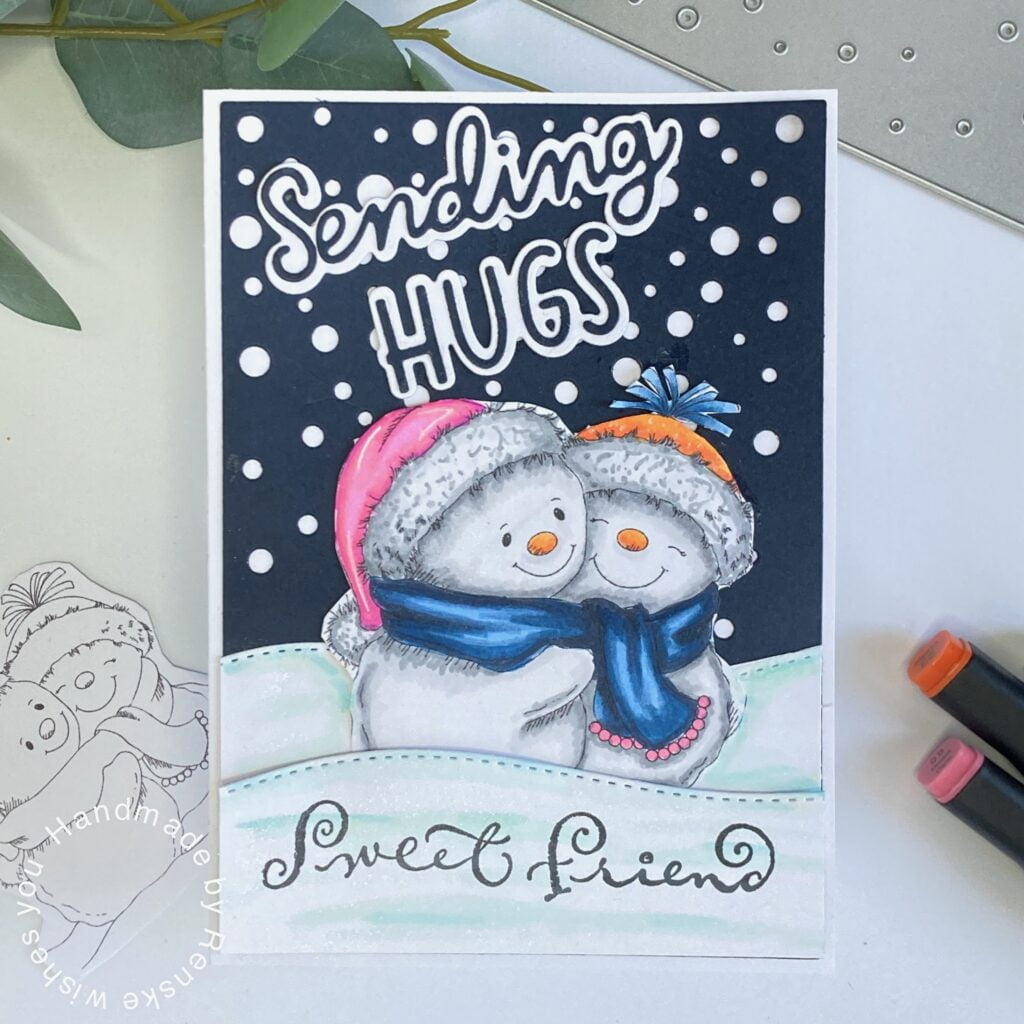
More sending hugs cards inspiration

Links of products I used
Here I will link all the products where I have found links, so you can also buy them yourself. Some links are affiliate links. If you buy something through one of these links, I may earn a small commission at no extra cost to you. I only recommend products I use or believe in.
If I haven’t linked a product here, unfortunately, I couldn’t find any shop links.
Products with affiliate links
Distress ink Mustard Seed

Distress Ink Picked Raspberry

Distress oxide villanious Potion

Memento Tuxedo Black ink

Blending brushes StudiolightNl

Products without affiliate links
Card & Deco essentials – Vierkant

I would like to enter my card in the following challenges
- Simon Says Stamp Challenge blog : Anything goes
- The Sisterhood of Crafters: Card of encouragement
- Word Art Wednesday: Anything goes
- CREATIVE INSPIRATIONS: Anything goes
- Cut It Up: Anything goes
Great card, Renske! I love the total look, but the ink blending is really great and stands out. Thanks so much for playing along with us at Word Art Wednesday. We really appreciate you! :)
Thank you Barbara. Glad you like it.
A very creative design with great colours!
Thank you for joining us at Creative Inspirations! Jane (DT) Paper, Pencils & Pretty Things xxx
Thanks a Lot Jane
Gorgeous!! Your ink blending is fabulous and the black accents really make everything pop!! Thanks for playing with Cut It Up Challenge.
Thank you so much for your lovely comment
This is just BEAUTIFUL!! Love it! Thanks so much for joining in the fun at the Sisterhood of Crafters challenge! Good Luck and we hope you’ll come back often.
Darlene
DAR’S CRAFTY CREATIONS
Sisterhood of Crafters Owner
Thank you so much