

Some links in this post are affiliate links. This means I may earn a small commission if you make a purchase, at no extra cost to you. I only recommend products I use and genuinely enjoy in my own cardmaking. Read more here.
Hello, crafting enthusiasts! Today, I would like to take you on a fun and quick crafting adventure. Today’s craft project is the ‘Spring Chick Card’. Imagine a cute little chick enjoying chocolate surrounded by heart-shaped leaves. The best part is that it’s an easy card to make, with no complicated steps. I’m here to guide you every step of the way, making it a breeze to create this adorable card. So, if you’re ready to embark on a quick and delicious crafting journey, grab your supplies, and let’s make something beautiful together. Cheep Cheep Hooray! Let’s dive into the world of crafting fun!
Materials Used and Card Dimensions
To create a fun and creative Spring Chick card, you’ll need a few materials. Here’s a list of everything you’ll need to get started
Materials
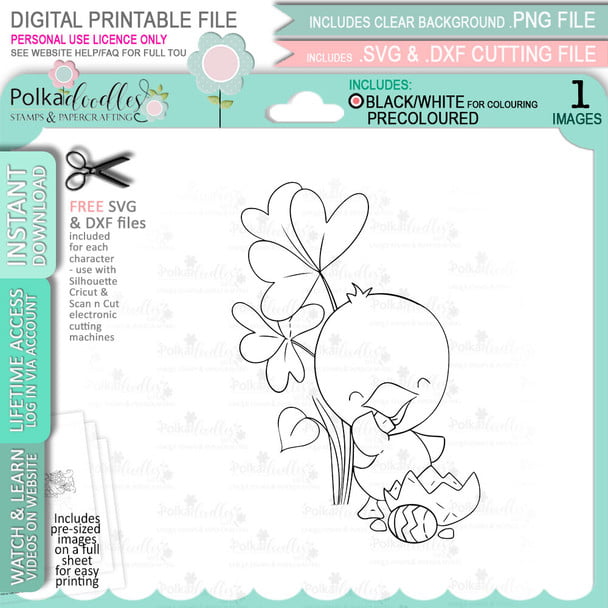
- Chocolate Time Chick” Digital Stamp: This delightful digital stamp from Polkadoodles brings the scene to life.
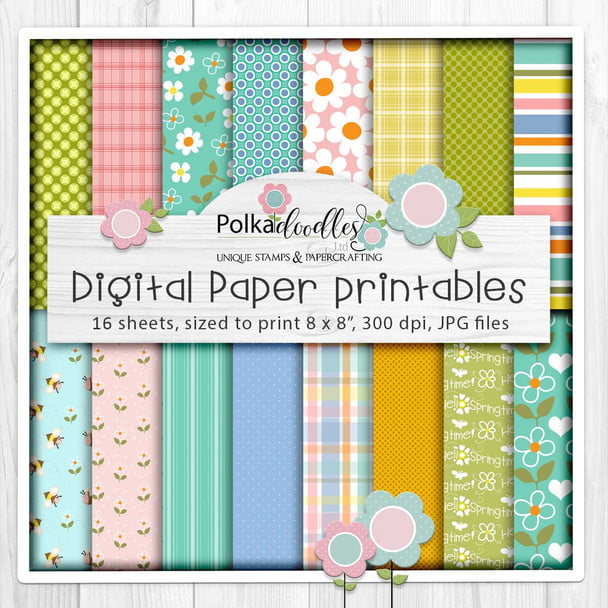
- “Spring Gnomes” Digital Paper Set: Add colour and charm to your card with this vibrant digital paper set from Polkadoodles.
- “Coffee, Tea, and Cake Greetings” Sentiment Set: Use sentiments from this Polkadoodles set to add the perfect words to your creation.
Additional Supplies
- Pre-Made Card Base (10.5 cm by 14.8 cm): Speed up the crafting process with a ready-made card base.
- Orange Paper (8.5 cm by 12.5 cm): Frame the background and add vibrancy with this colourful element.
- Foam Tape: Create dimension for a dynamic finish.
- Transparent Gemstones: Elevate your card’s elegance with these final embellishments.
- Colour Medium: Choose any colour medium you like. I used alcohol markers for colouring the digital stamp.
- Ink: Use ink to create clouds and grass.
- Cloud and Grass Stencil: Select a stencil of your choice or create your own.
- Metallic Paint: Add splatters on the grass and clouds for an extra touch.
With all these essential items, along with the fantastic Polkadoodles products, you’re all set for a seamless and enjoyable crafting experience. Now, let’s continue with the step-by-step guide and bring this Spring Chick Card to life!
Step-by-Step Tutorial from this Spring Chick Card
In this section, I will guide you step-by-step on how to create this “Spring Chick Card.” Together, we’ll bring this card to life by exploring the art of colouring, creating backgrounds, and adding the final details that make handmade cards truly special. Let’s dive into the creative process and make something beautiful together!
Step 1: Printing the Digital Stamp
The first step is to print the “Chocolate Time Chick” digital stamp on DCP paper. Why DCP paper, you may ask? DCP paper, short for Digital Crafting Paper, is an excellent choice when using alcohol markers. The smooth surface allows for seamless blending and provides vibrant and accurate colours for our adorable chick.
Step 2: Coloring the Digitally Stamped Image
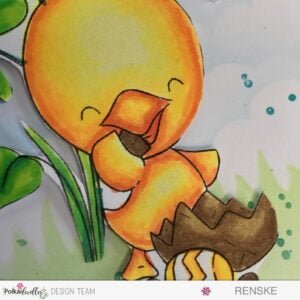
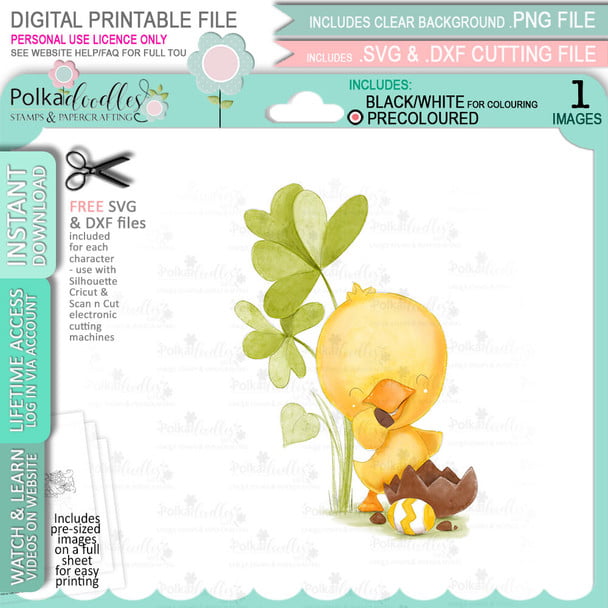
Let’s add some vibrant colours to our “Chocolate Time Chick” to make it look lively. For the chick, you can use a palette of Pale Yellow, Pastel Lemon, Lemon Yellow, Yellow, and Orange. These colours blend seamlessly, creating a fluffy and cheerful main character for our card.
For the tempting chocolate delight, use Walnut, Clay, and Chocolate tones to capture the rich and delectable essence of the chocolate. Allow the colours to intermingle to make it look like a mouth-watering treat that jumps off the paper.
For the egg, use a blend of Pale Yellow, Pastel Lemon, and Lemon Yellow. These soft colours evoke the freshness of a spring morning, perfectly complementing our scene.
Lastly, for the leaves, use a spectrum of Apple Green, Weeds Green, Grass Green, and Forest. These colours will paint a lush and lively backdrop, enhancing the overall charm of our Spring Chick Card.
Don’t you like colours at all? That’s no problem. Polkadoodles also have pre-coloured images. I will also link that at the end of my blog post.

Step 3: Creating the Grass and Sky Background
As we want the coloured digital stamp to stand out, it’s time to create a beautiful background that complements it. We will create a charming scene with grass at the chick’s feet and a beautiful sky above.
First, we need to die-cut our background. I use a rectangular stitched die for this. I die-cut this from sturdy white paper, which we can use to make up our background.
Grass
Start by positioning the grass stencil on your paper just below the chick. Secure the area above the grass with Post-it notes to avoid any accidental ink transfer. Use green ink and blend different shades to create a vibrant grassy effect. To add a touch of magic, splatter some green metallic paint for a playful texture.
Sky
To craft a serene sky, place the cloud stencil where you want the sky to begin. Apply blue ink along the contours of the stencil using a blending brush. Enhance the sky with a few splatters of blue metallic paint, creating a whimsical and dreamy atmosphere.
With the grass and sky in place, our backdrop is ready to complement the charming scene of our Spring Chick Card.
Step 4: Adding Dimension and Placing the Sentiment
Now that we have completed our vibrant scene, let’s enhance it by adding dimension and the perfect sentiment.
Adding foam tape for dimension
To make our Spring Chick card come to life, we strategically use foam tape. We attach small pieces of foam tape to the backing of the digitally stamped image to lift it from the background. This simple technique adds depth and creates a visually appealing shadow effect, making our chick and the elements stand out on the card.
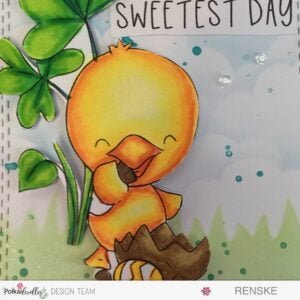
Thoughtful placement of sentiment
Every card tells a story, and the sentiment is the storyteller. We can print out the text and carefully consider its placement. By placing the sentiment next to the top leaf, we create a balanced and aesthetically pleasing composition. This thoughtful placement draws the viewer’s attention to the heartfelt words, “Have the sweetest day,” enhancing the overall feel of our beautiful card.
With foam tape adding dimension and the sentiment carefully placed, our Spring Chick card is not only a visual treat but also a heartfelt message waiting to be shared.
Step 5: Adding the Orange Paper Border and Final Touches
As we approach the final stages of creating our Spring Chick card, let’s focus on adding the finishing touches that will really make it shine.
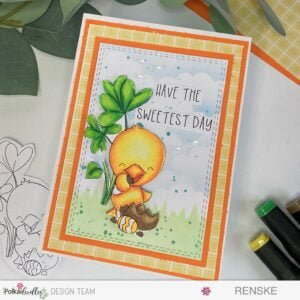
The decision to add an orange paper border
I decided to add an orange paper border that measures 8.5cm by 12.5cm. This border serves more than just a decorative purpose. It complements the overall colour scheme of our card and adds a frame that enhances the visual impact. The Orange reinforces the cheerful theme and makes our picture look even better.
Adding clear pearls
We’re also adding clear pearls to the card. These transparent gems give the card an extra dimension. We’ll place three gemstones on the left above the text and two on the right below. This will create a balanced visual effect. The gemstones not only add a touch of elegance but also draw attention to the sentiment, making it a focal point. The transparent quality adds a subtle sheen, elevating the overall aesthetic of our card.
With the orange paper border, transparent gemstones and those final thoughtful details, our Spring Chick card is complete. Stand back and admire your creation: a small masterpiece that is sure to bring joy to the recipient.
Extra Tips You can use
Crafting is not just about following steps, it’s an art form that allows for personal expression and creativity. Here are some tips that can enhance your crafting experience while creating the Spring Chick Card:
- Experiment with Colours: Do not be afraid to play with colours. Feel free to experiment with different shades for the chick, chocolate, egg, and leaves. This is your opportunity to infuse your unique style into the card.
- Personalize the Sentiment: While the sentiment “Have the sweetest day” is heartwarming, consider personalizing it for the occasion or recipient. Crafting is a personal endeavour, and a customized message adds a special touch. This set of Polkadoodles contains 39 different texts that you can use.
- Explore Background Variations: The grass and sky background is just one option. Explore different background variations to suit your style. Consider a floral meadow, a sunny day, or even a starry night. Let your imagination guide you.
- Embrace Different Embellishments: While gemstones add elegance, don’t hesitate to explore other embellishments. Ribbons, sequins, or even small die-cut shapes can add a unique flair to your card.
- Consider Alternative Papers: The orange paper border adds vibrancy, but feel free to try different paper colours and textures. This simple change can dramatically alter the overall look and feel of your card.
Remember, there are no strict rules in crafting—only opportunities to express yourself and create something beautiful. Enjoy the process, and let your creativity soar!
Inspire, Create, Share, and More
Our card is ready and now let’s end this crafting adventure, enjoy the creative process and explore more possibilities to inspire, create and share.
More card-making inspiration
Explore additional card-making ideas and tutorials by checking out these blog posts:
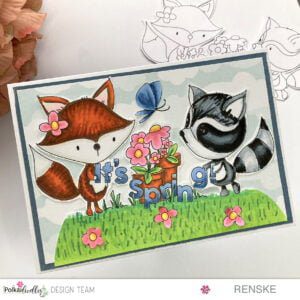
Also made a spring card with products from Polkadoodles.
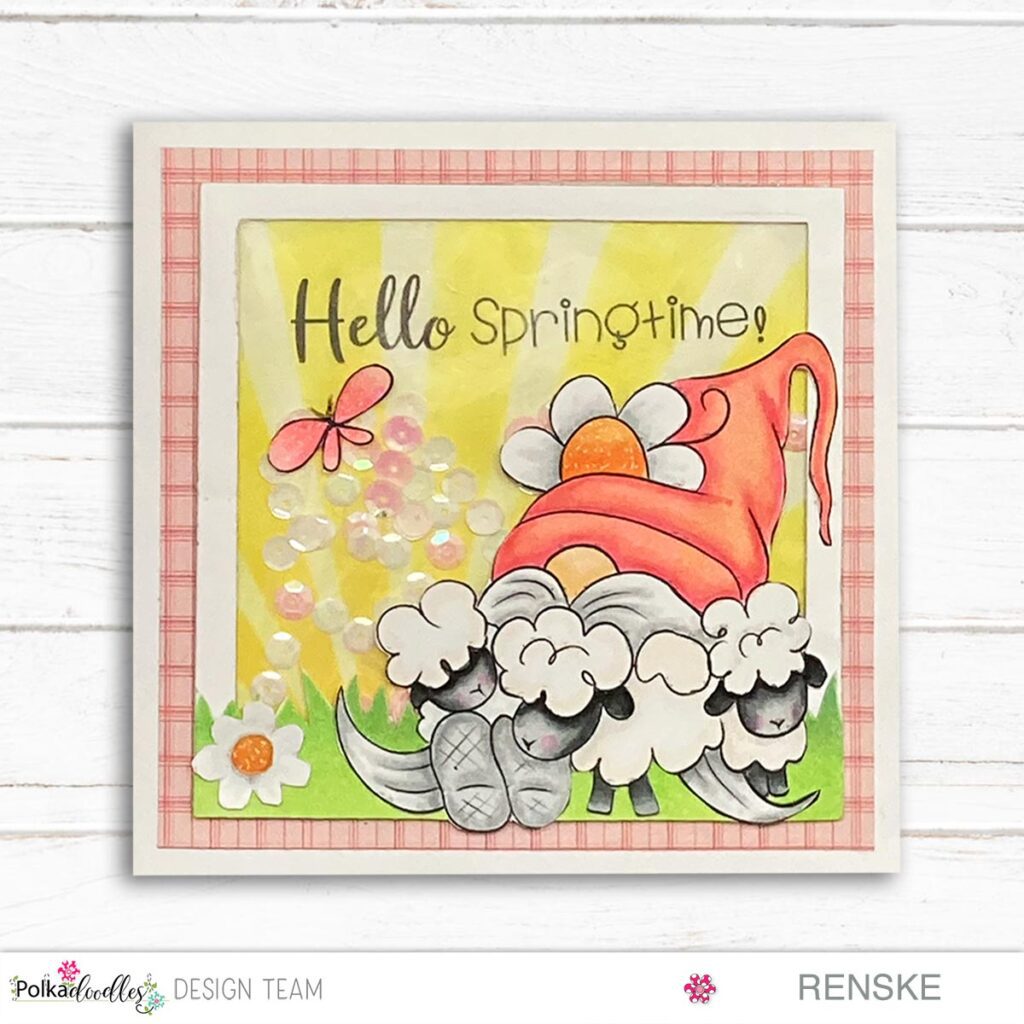
This spring shaker card is also made with Polkadoodles products.
Polkadooldes Products in the Spotlight
Affiliate Disclosure: Please note that the links in this section are affiliate links. This means that, at no additional cost to you, I may earn a commission if you click through and make a purchase. The earnings from these links help support the maintenance of this blog and the creation of more inspiring content. Rest assured that I only recommend products and brands that I genuinely believe in and use in my crafting endeavours. Your support through these affiliate links is truly appreciated.
I would like to enter my card in the following challenges
- Promarker Challenge: Use a stencil
- Paper Fun Day Challenge: Anything goes
- Crafty weekly challenge: Anything goes
- Lil Patch of Crafts: Anything goes
- A perfect time to craft a challenge: Anything goes
- Cards galore challenges: Anything goes
- Critters Crazies: Anything goes with a featured critter
- Crafty Animals: Anything goes + must use an animal
A wonderfully happy card and a fabulously coloured, adorable image.
Thank you for joining in with the Crafts Galore Encore January Challenge “Anything Goes”. Happy New Year 2024! x
Thank you
Such a sunny card, Renske! Fabulous colouring of that cute chick image and your stencilled scene is just perfect for our challenge this week at Passion for Markers…
Thanks for playing along with us, Lisa x
Thank you ❤️
Hello Renske, this is such a sweet image and a truly adorable card! Thanks for joining in with us this week at Passion for Markers for my first ever challenge as a DT member. Sarah
Congratulations with your DT. Thank you for your lovely comment ❤️
What a sweet card Renske. The image is adorable and your colouring is perfect. Love your stencilled scene. Thanks for sharing with us at Passion for Markers this week. Hugs, Denise x
Thank you