
Some links in this post are affiliate links. This means I may earn a small commission if you make a purchase, at no extra cost to you. I only recommend products I use and genuinely enjoy in my own cardmaking. Read more here.
Hello everyone!
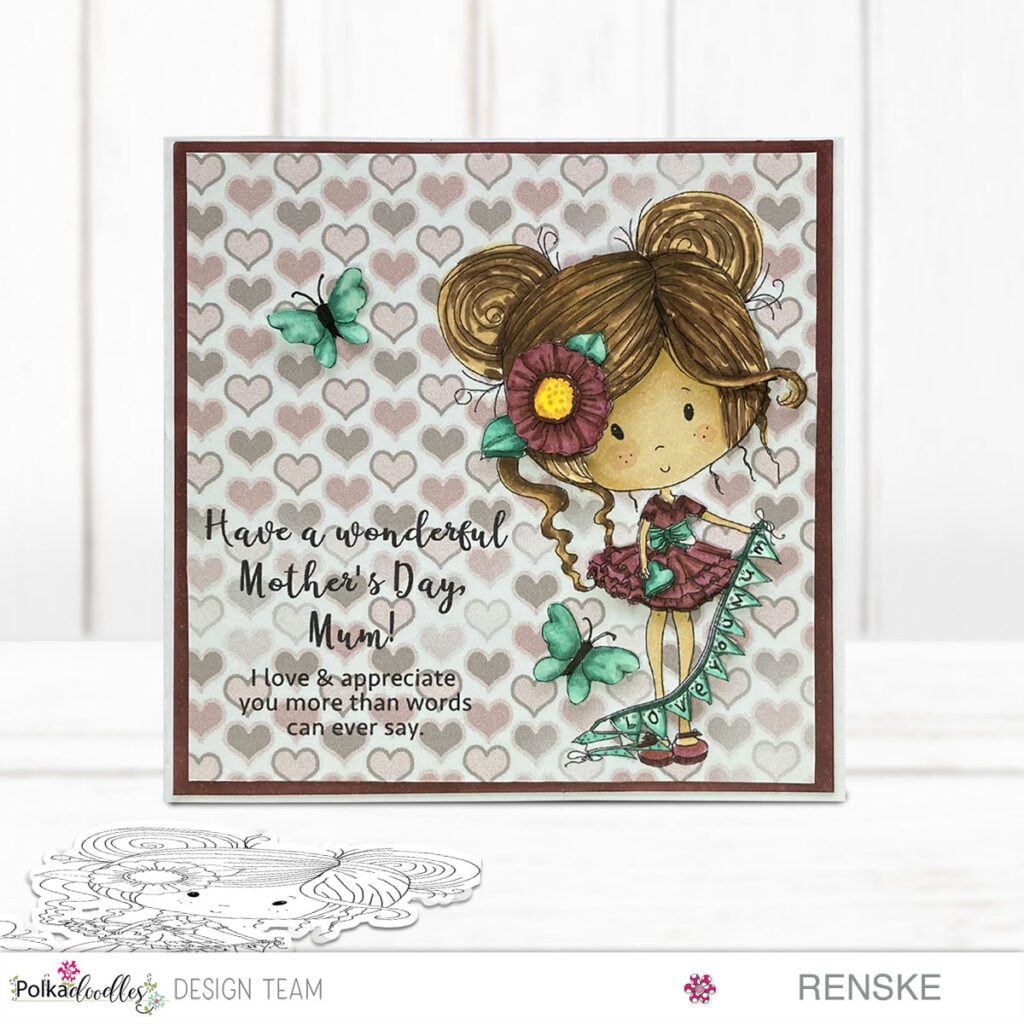
Today I share this Mother’s Day card for the new challenge on the Polkadoodles challenge blog. As always, the theme is Anything Goes.
Did you know you can combine digital products on your computer? That’s the beauty of digital products. This article tells you how to do that. To make the card more interesting, I made the image 3D. I also tell you in this article how I did that.
Measurements from this Mother’s day card
- I used a white card base measuring 13 centimetres by 13 centimetres. You need white card stock measuring 13 centimetres by 26 centimetres. You score on the long side at 13 centimetres.
- A piece of white card stock measuring 12,5 centimetres by 12,5 centimetres.
- To print your layout, you need DCP paper, for example. My size of the digital design is 12 centimetres by 12 centimetres. My size from the digital design is 12 centimetres by 12 centimetres.
Make the design of the card on your computer.
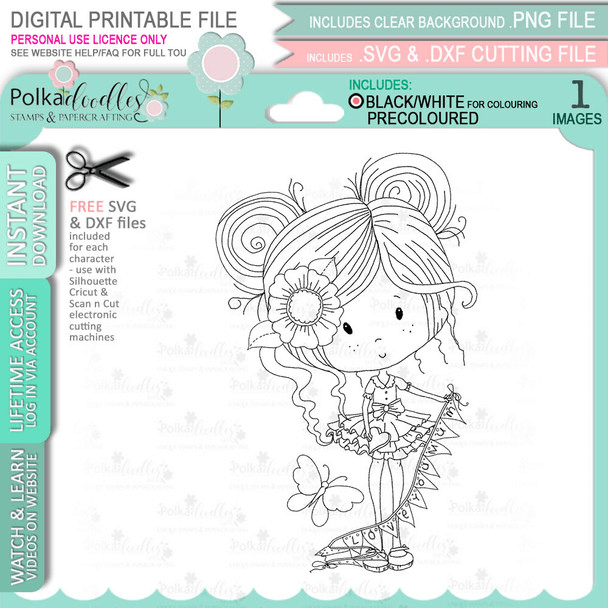
I created the design of this card on my computer. The beauty of digital stamps is that you can combine them.
First, I paste my digital paper into Office Word. When pasting, the size of the digital paper, in this case, becomes 16 by 16 centimetres. You can easily reduce this. Right-click on the digital paper. A menu appears. Choose the Format and Position option. This will allow you to resize your paper.
Now you can place your digital stamp on the digital paper. Copy your digital stamp and paste it on the digital paper. The image should be a PNG file, so you don’t get a white area over the digital paper. The images from Polkadoodles are PNG files.
And then now we can place the sentiment in the same way.
Now you can print your design.
Digital stamp and colouring.
I printed the digital stamp several times. To make the card more interesting, I want to make the image in 3D. I cut out the different parts. In this case, they are the hair and flower, the dress, the banner and the butterfly.
I colour every piece with my alcohol markers:
- Skin: Peachy blush (259), Salmon Pink (25) and Barely Beige (29).
- Blush: Blush (136) and Blushed Skin (257).
- Hair: Hazelwood (108), Walnut (100), Clay (116) and Chocolate (118).
- Dress, flower and shoes: Dark Old Rose (200), Old Rose (201) and Old Pink (202).
- Banner, bow, heart and butterfly: Teal Green (60), Cool Mint (181) and Cool Shadow (178).
- Inside of the flower: Dark Yellow (31) and Pastel Lemon (39).

Having trouble editing or colouring digital stamps? Download my free guide for extra tips and tricks to help you perfect your digital stamps!
Assembling the card
All you need to put together are the card layers and the pieces of the image.
First, I put the card layers together. I use the white card stock measuring 12,5 centimetres by 12,5 centimetres. I colour the edge of the paper with my alcohol marker in the color Dark Old Rose. So, the colour of the paper matches the digital paper. Then I glue the digital paper on top of that.
Now we can make the digital stamp in 3D. Stick the individual parts with foam tape on top of the digital stamp I had placed on the digital paper. Look carefully at what falls on top of a particular part and glue this piece on top with foam tape.
And the card is finished.

Let’s get creative together
As we wrap up this tutorial, let’s take a moment to reflect on the wonderful Mother’s Day card we’ve created together. From colouring the digital stamp and creating a 3D image, we’ve embarked on a creative journey filled with joy and creativity. Now, it’s your time to unleash your creativity and craft your beautiful cards!
Join the Polkadoodles Challenge
Ready to take your creativity to the next level? Join the Polkadoodle Challenge and showcase your artistic skills! Whether you’re a beginner or an experienced crafter, there’s a challenge for everyone. Don’t miss out on the opportunity to win fabulous prizes and connect with fellow crafters from around the world.
More Mother’s Day card inspiration
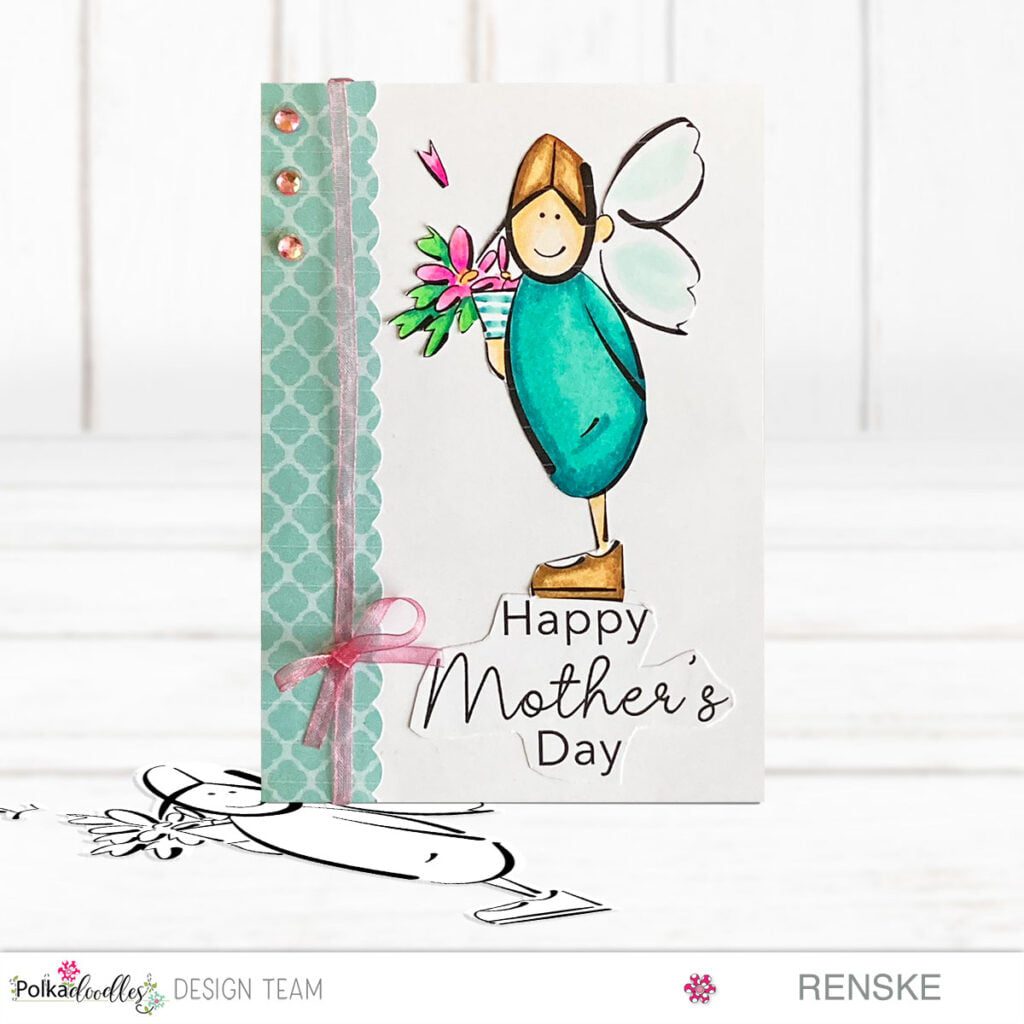
Need more Mother’s Day card inspiration? Check out our previous articles for more creative ideas and projects. Whether you’re into floral designs, scenic landscapes, or whimsical characters, there’s something for everyone to explore and create.
I like to enter this card in the following challenges:
- A Place To Start: Anything goes
- Through The Purple Haze Challenges: Anything goes
- Craft Rocket Challenges: for the girls
- Lil Patch of Crafty Friends Challenge …: Anything goes
- A Perfect Time To Craft Open Challenge: Anything goes
- Classic Design Challenge Blog: Anything goes
- Creative Moments: For a special lady
- Pearly Sparkles Challenge Blog: Include a sentiment
- The Creative Crafters: Anything goes
Polkadoodles Product in the Spotlight
I’m listing the products I used below. I will link them when I can. Click on the link to go directly to the product. Where available I use compensated affiliate links which means if you make a purchase, I receive a small commission at no extra cost to you. Thank you so much for your support.
Love Mum Banner
Love Always printable papers 1

Mother’s Day messages and Sentiments

Other products used:
- Alcohol markers
- White DCP paper
- Foam tape
- Tacky glue
Beautiful card. Thank you for participating in the Creative Moments challenge. Greetings Helma DT
Prachtig gedaan en geweldig uitgelegd!
Groetjes Sylvia.
Prachtig gedaan en geweldig uitgelegd!
Groetjes Sylvia.
So beautiful!!!!!
Love the cute image-beautiful coloured and pretty heart P.paper.Thank you for joining us at Pearly Sparkles
Carol DT x
Thank you
Oh, deze vind ik zo mooi!
Hele mooie kleuren combinaties!
Prachtig gedaan Rens!💞
Dank je wel