
Some links in this post are affiliate links. This means I may earn a small commission if you make a purchase, at no extra cost to you. I only recommend products I use and genuinely enjoy in my own cardmaking. Read more here.
Hello everyone!
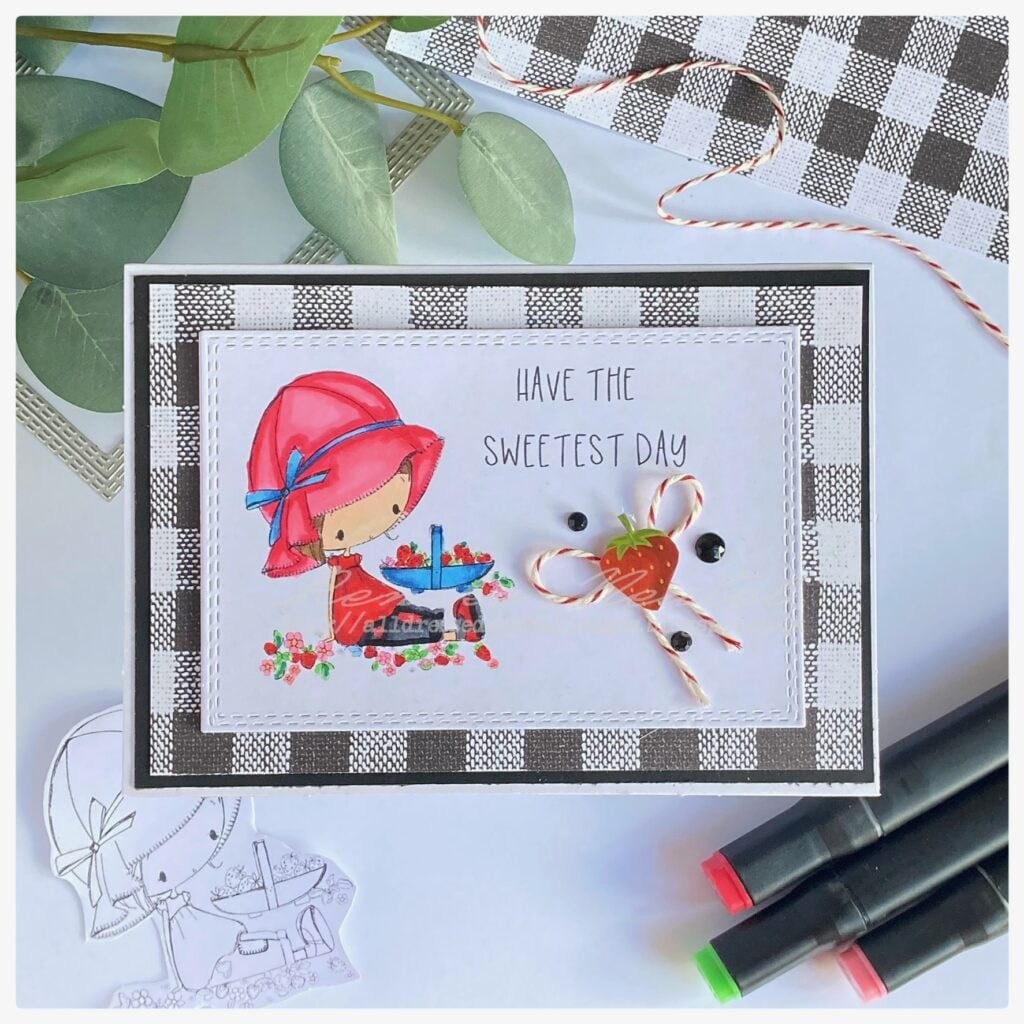
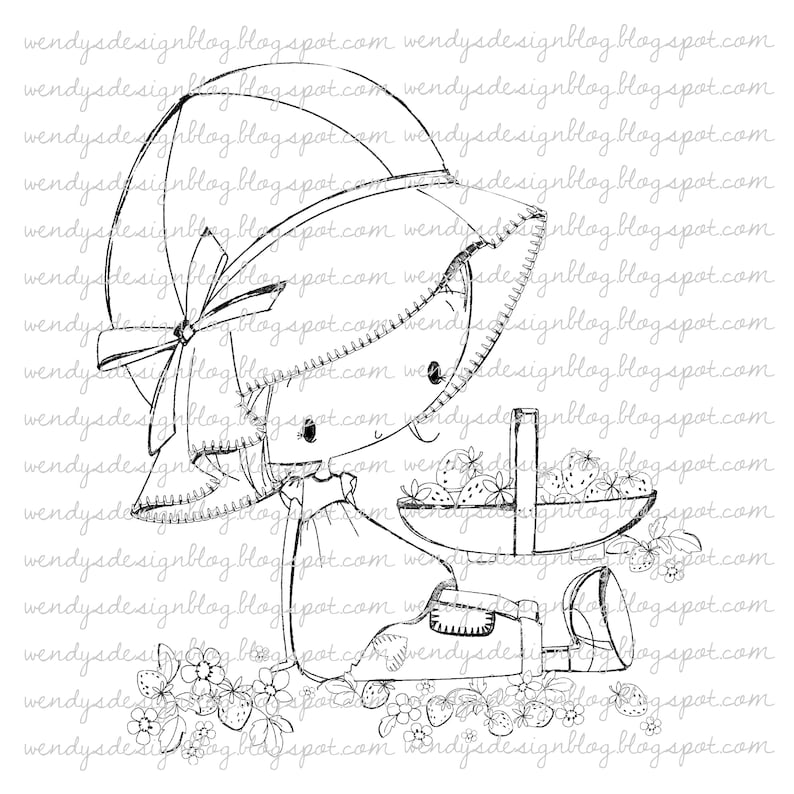
Today, I would like to share with you the story behind my latest card creation – a beautiful handmade greeting card featuring a charming girl in a sun hat surrounded by juicy strawberries. I made this strawberry card for the new challenge in the All Dressed Up Stamps Facebook group. The theme for this month’s challenge is “Things you love” and I couldn’t think of a better way to show with this card that I love strawberries so I chose the cute digital stamp “Strawberry Patch”.
So let’s get into this.
A little fun fact about me: My love for strawberries
Since the theme is “things you love”, I explain why I chose a digital stamp with strawberries. Every morning I eat cottage cheese for breakfast with fruit and granola. Usually, strawberries are one of the fruits I add. So when I heard about the challenge theme, I knew strawberries had to play a central role in the design of my card.
Perfecting Your Digital Stamp: A Guide to Design & Print
As much as possible, I try to think of what my card should look like in advance. In my head, I had thought of having a small rectangle in the centre of the card, where my digital stamp sits on the left and a sentiment on the top right. I also figured that I would like to be able to die-cut this out with a rectangle-stitched punch.
That means if you want to print it out, you have to take into account the size of the digital stamp and its placement. I figured out beforehand what the size of the rectangular punch should be. Of course, your digital stamp has to fit in there.
I also want to print out my text right away. I decided to place it in the top right corner.
Preparing the Base Card and background
We start by laying the foundation for our greeting card. In this section, I’ll tell you the steps of preparing the card.
- Make the base of the card first. My map is 10,5 centimeters by 15 centimeters. My base card is with the fold at the top. To make that base yourself, you will need 21 centimetres by 15 centimetres of white paper. Score at 10.5 centimetres.
- I found this black and white square paper from an old Christmas paper block. Perfect for the background. You will need a piece of that measuring 9,5 centimetres by 14 centimetres.
- Around the pattern paper, I want a black border. So, I cut a piece of black card stock measuring 10 centimetres by 14,5 centimetres.
Now you can glue the layers on top of each other. Stick the pattern paper on the black paper. Adhere this to the base of the card.
Colouring the digital stamp Strawberry patch
I printed the image with the sentiment on DCP paper. I coloured it with my trusty Twinmakers (alcohol markers). I used the following colour combinations:
- Skin: Barely Beige (29), Salmon Pink (25), and Blushed Skin (257).
- Hair: Walnut (100) and Clay (116).
- Dress and strawberries: Burgundy (247), English Red (249) and Cardinal (244).
- Hat: Cherry Pink (05), Rose Pink (08) and Pale Pink (09).
- Bow and bowl: Baby Boy (144), Midi Sky (190), and Dark Sky (191).
- Leaves: Weeds Green (162), and Forest Green (50).
- Trouser: Black (120), Cool Grey 9 (CG9), Cool Grey 7 (CG7).
- Middle of the flowers: Deep Yellow (32).
- Flowers: Rose Pink (08).

Having trouble editing or colouring digital stamps? Download my free guide for extra tips and tricks to help you perfect your digital stamps!
Die-Cutting the Digital Stamp – Adding Dimension paper scraps
It is now time to die-cut the digital stamp with text using our rectangular stitched die. I would like to attach this panel with some dimensions to the card. You can do this in two ways:
- By using foam tape on the back of the panel.
- By punching several rectangles out of white paper using the same punch you used for the digital stamp.
I chose option two this time. I die-cut 3 extra rectangles and stick them to the back of the panel with the digital stamp. Adhere the pieces together and stick it in the middle of the card.
Adding the Finishing Touches to my Strawberry card
Now we have come to the final steps to finish our card. The card still needs a little something extra.
To give this card a little something extra, I use red and white bakers twine to make a bow. I place this bow under the text ” Have the sweetest day”.
To add a touch of fruity charm, I stuck a strawberry sticker on the bow. This fun addition totally fits the theme of our card and emphasizes the strawberry theme even more.
To add a touch of elegance and sophistication, I decorated the card with three black pearl stickers around the bow.
With these sweet embellishments added, our card is complete. The thoughtful details add warmth to the card, making it a perfect gift to brighten someone’s day.
Thanks for joining me on this creative adventure! I hope you are inspired to make your own unique and heartwarming cards and share your love and creativity with the world.
Please note that some of the links in this blog post are affiliate links, which means I may earn a small commission if you make a purchase through those links. This comes at no additional cost to you and helps support the content creation on this blog. I only recommend products and services that I genuinely believe in and have personally used or thoroughly researched. Your support is truly appreciated and allows me to continue sharing my passion for crafting with you. Thank you!
Products with Affiliate links:
Other products used
- Black card stock (brand unknown).
- Patterned paper from Decotimecrafts.
- Twin markers (alcohol markers) from Decotimecrafts.
- Bakers twine (brand unknown).
- Strawberry sticker
- Black pearls
I would like to enter my card in the following challenges:
- Dream Valley Challenges: Add gems or pearls
- A Perfect Time To Craft Open Challenge: Anything goes
- Classic Design Challenge Blog: Anything goes
- Carlin’s Kaartenparadijs: Something starting with an A.
- Crafts Galore Encore Challenge Blog: Anything goes
- SheepSki Designs Challenges: Your favorite things.
- Crafting Happiness Challenges: anything goes
Hij is inderdaad echt zoet! Heel leuk kaartje!
En dat papier lijkt net een Picknick kleedje, superleuk!
Dank je wel ❤️
Beautiful card with this lovely image on it.
Thanks for joining the challenge at Carlin’s Kaartenparadijs.
Karin DT
Thank you