
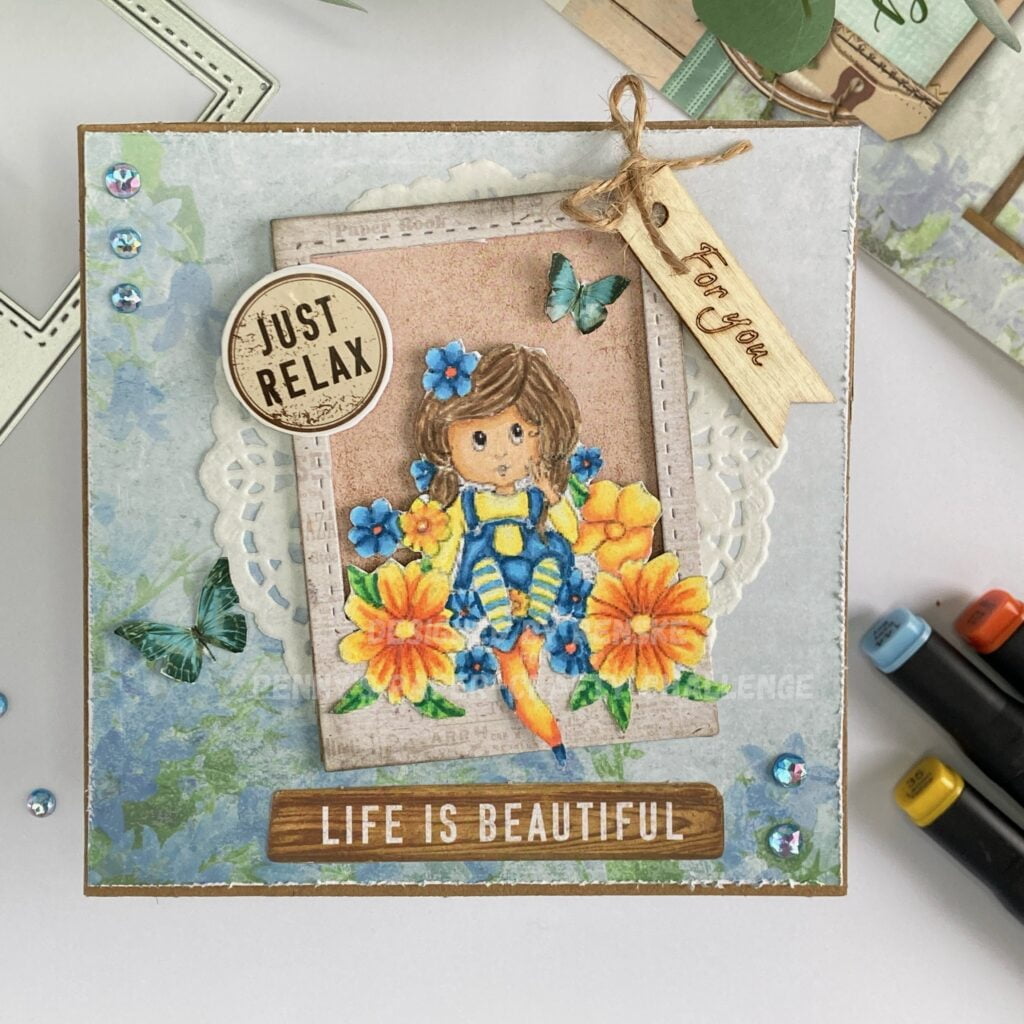
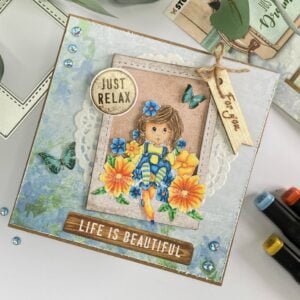
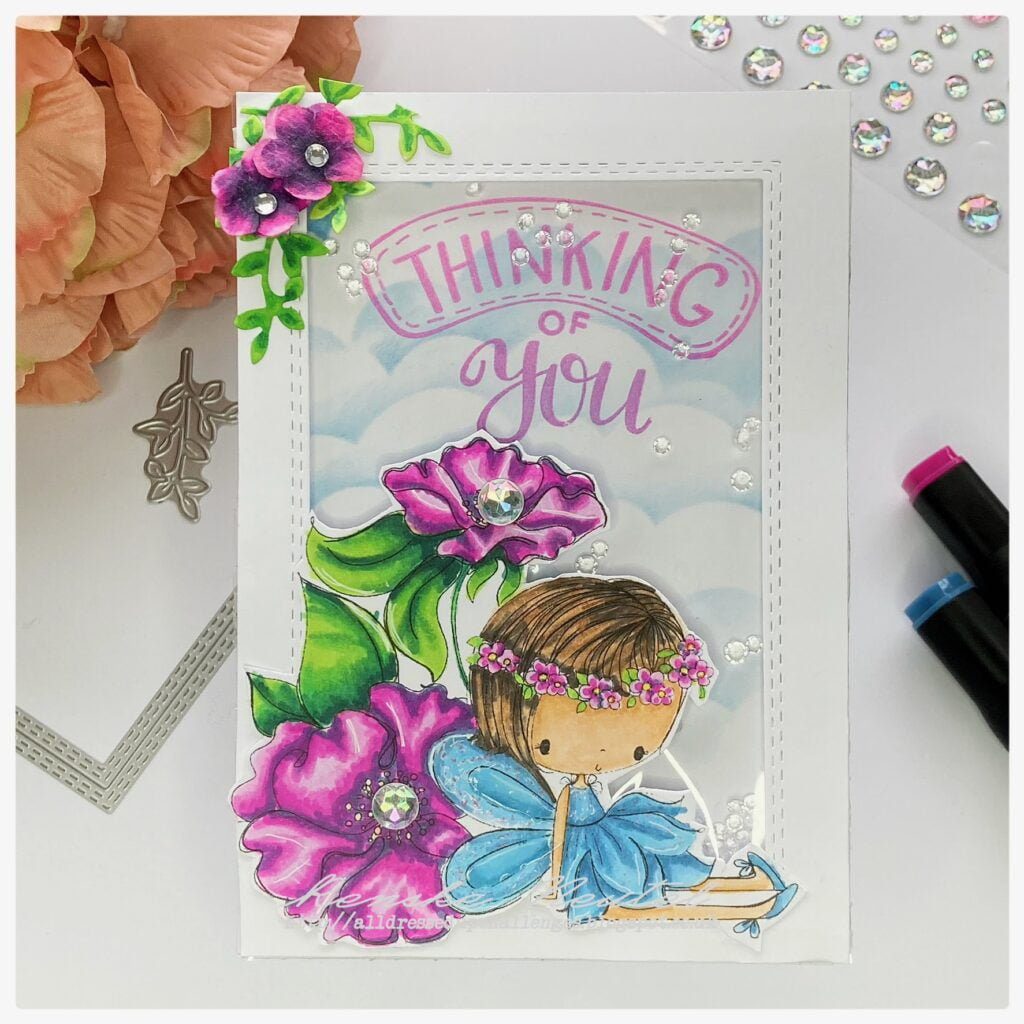
Welcome, crafting friends! Today I’m happy to share with you a beautiful creation straight from the heart of my craft room. Today, a new challenge has started on the Penny’s Paper-Crafty Challenge blog. This challenge is sponsored by Hetty Clair, Fred He Said, and Odynetika. For this challenge, I had the opportunity to work with the digital stamp “Set of Girls” by Hetty Clair, which allowed me to make a stunning handmade flower girl card.
Please find the logos of our sponsors below:

Hetty Claire
Fred She Said
Odynetika. The shop doesn’t exist anymore. (noted September 2025)
Without further ado, let’s get started and explore step-by-step how to create this charming masterpiece.
Gather Your Supplies
To create this handmade flower girl card, you’ll need the following materials:
- Digital stamp “Set of Girls” by Hetty Clair (Alternatively, you can use any digital stamp featuring a girl surrounded by flowers).
- Craft card base (13 cm x 13 cm).
- Patterned background paper (You’ll need at least 3 different patterns for layering).
- Polaroid frame die or template.
- Alcohol markers (for colouring the digital stamp) or any colouring medium you like.
- Rhinestones or other embellishments for added sparkle.
- Adhesive foam tape or dots (for adding dimension to the Polaroid frame).
- Decorative elements like stickers, wooden banners, or serviettes (optional, for additional embellishments).
- Scissors and/or paper trimmers.
- Die-cutting machine for die-cutting the Polaroid.
- Glue or adhesive tape.

Feel free to get creative with your choice of materials and adapt based on what you have available in your craft stash. Remember, the key is to have fun and let your creativity flow!
Step-by-Step Tutorial: Bringing Your Handmade Flower Girl Card to Life
Let’s get the creative process started and discover how we can bring this charming handmade flower girl card to life.
Step 1. Lay the Foundation: Crafting Your Card Base
Let us begin creating our handmade flower girl card by laying the foundation. Start with a craft card base that measures 13cm x 13cm. This will provide a sturdy canvas for our creation and ample space for the charming design to stand out.
Check that the craft card’s base is flat and free of folds or wrinkles. This will give you a smooth surface for your design. You can use a ready-made craft card base or create your own card using kraft paper measuring 26cm x 13cm. To make your own card, score the paper halfway (13cm) along the longer side and fold it in half to create the base.
Now that our card base is ready, we can move on to the next step and start working on the digital stamp.
Step 2: Printing, Coloring, and Cutting Your Digital Stamp
In this step, we will bring our flower girl to life by printing, colouring, and cutting out the digital stamp.
- Printing the Digital Stamp: Start by printing the digital stamp “Set of Girls” by Hetty Clair onto DCP paper. Ensure the stamp’s size fits your desired layout, and use this specific paper as it is ideal for alcohol markers and provides a smooth surface for vibrant colours.
- Colouring with Alcohol Markers: Once printed, it’s time to add colour to our flower girl. Use alcohol markers to achieve a beautiful and vibrant look. Here are the colour combinations I used with my Twin markers:
- Skin: Tanned Skin (260), Peachy Blush (259), Salmon Pink (25), Barely Beige (29).
- Hair: Tawny (106), Brown Grey (104), Walnut (100), Clay (116).
- Shirt: Pale Yellow (38), Pastel Lemon (39), Lemon Yellow (35).
- Pants and Blue Flowers: Baby Boy (144), Sweet Dreams (76), Midi Sky (190), Dark Sky (191).
- Yellow Flowers: Pale Yellow (38), Pastel Lemon (39), Lemon Yellow (3), Yellow (34), Orange (23).
- Leaves: Yellow Green (48), Grass Green (47), Forest Green (50).
- Cutting the Digital Stamp: Once you finish colouring, carefully cut out the digital stamp using scissors. Take your time and follow along the edges of the image for a clean and precise cut.
Now that our stamp is coloured and cut, we can move on to the next step to start making the Polaroid.
Step 3: Crafting the Polaroid Frame
In this step, we’ll create a lovely Polaroid frame to display our flower girl.
- Die-cutting the Frame: To begin, use a die or template to cut the polaroid frame from patterned paper in the StudioLight paper block that complements your design. This will add a touch of elegance and whimsy to your card.
- Adding Dimension: Next, add adhesive foam tape or dots to the back of the Polaroid frame to give it depth and visual interest. Then, attach it to a coordinating patterned paper, like brown patterned paper, to create a beautiful background for our flower girl. This dimensional element will enhance the overall look of the card, making it stand out.
- Positioning the Flower Girl: Now, carefully position the flower girl within the Polaroid frame. Use a combination of adhesive foam tape for the top part of the stamp and regular glue for the bottom part to ensure that she sits gracefully on the edge of the frame as if she’s nestled among the flowers.
With our Polaroid frame in place and our flower girl beautifully showcased, our card is taking shape. Let’s move on to the next step to assemble the card layers.
Step 4: Bringing It All Together
In this step, we will assemble a charming handmade flower girl card by combining all the elements.
- Layering the Card: First, stick a patterned background paper onto the craft card base. Choose a design from the StudioLight paper block that complements the theme and adds visual interest to the card. Use adhesive to secure the paper evenly onto the base, ensuring a smooth and clean finish. Cut the paper to 12.5 cm by 12.5 cm and distress the edges with a distress tool or scissors.
- Adding the napkin: Place a napkin in the centre of the card, coming out from behind the Polaroid.
- Adding the Polaroid Frame: Carefully place the Polaroid frame on the layered card, placing it slightly askew for a playful touch. Ensure that the frame is securely attached to the card base.
- Adding the sentiments: Use three different texts on the card. Two texts come from the paper block, while the other does not. The text “Just relax” is a sticker from the paper block, which you should stick on paper and then cut out. This way, you can move the sticker freely across the card. Place it in the top left corner of the Polaroid. There is also a wooden banner with text on the block that says “Life is beautiful.” Use this to place under the Polaroid. Place the wooden banner with the words “for you” burned into it in the top right corner of the Polaroid with a brown rope bow.
- Adding Embellishments: To add the finishing touches, embellish the card with additional decorations such as rhinestones and stickers. Arrange them around the flower girl and Polaroid frame to enhance the overall design and create a delightful visual effect.
With all the elements in place, our handmade flower girl card is now complete and ready to spread joy to its recipient.
Inspire, Create, Share, and More!
Welcome to the final section of my tutorial, where I invite you to explore creative possibilities and join me in the exciting world of card making!
Join the Challenge
Are you feeling inspired by my handmade flower girl card? Why not take your creativity to the next level by participating in the current challenge hosted by Penny’s Paper-Crafty Challenge blog? It’s a fantastic opportunity to showcase your talent, connect with fellow crafters, and win some fabulous prizes! Join the challenge today, and let your imagination soar.
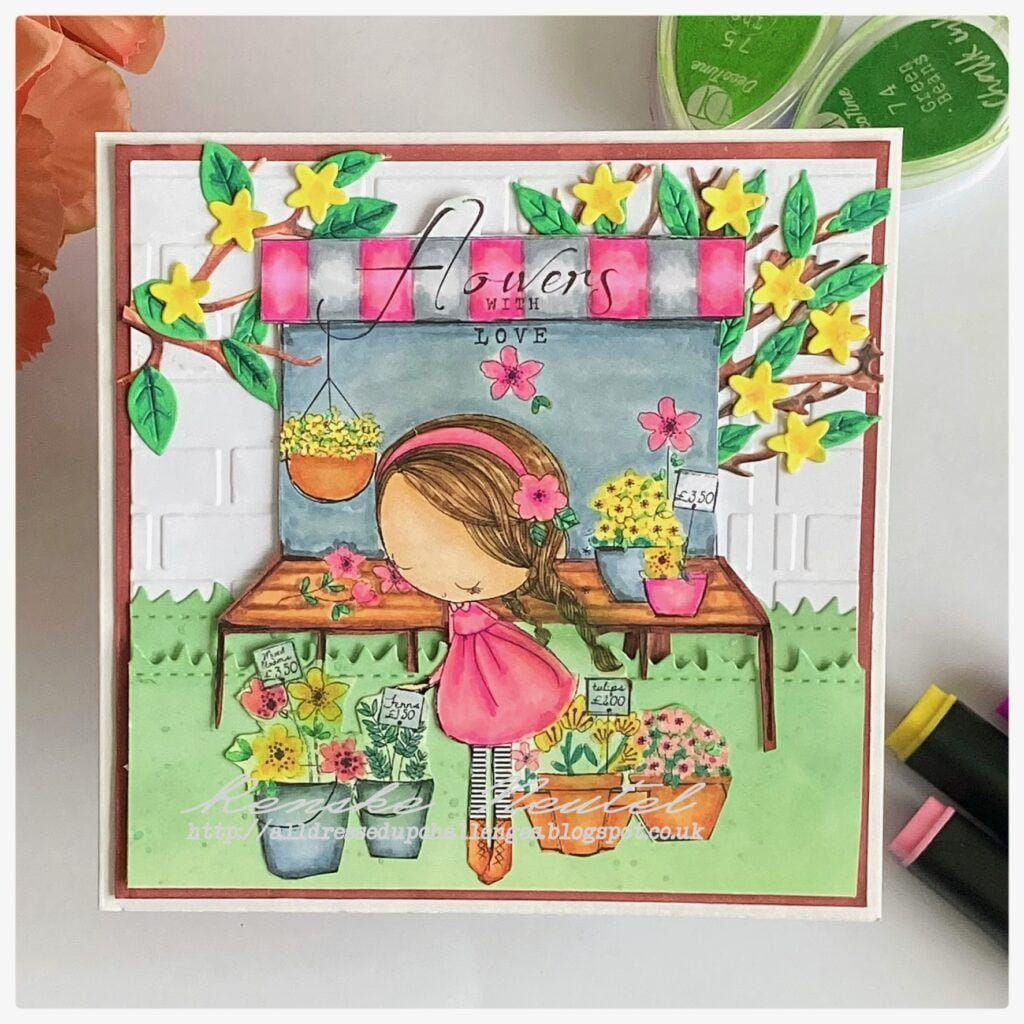
More Flower Girl Card Inspiration
Are you curious to see more flower girl card designs and get inspired for your next project? Keep reading to explore additional card-making ideas featuring charming flower girls. From different colouring techniques to unique card layouts, there’s no shortage of creativity to explore. Get ready to be inspired and create your own masterpiece!

Products used
“Disclosure: Some of the links provided in this post are affiliate links, which means that I may earn a commission if you make a purchase through these links. This comes at no additional cost to you and helps support the creation of more content like this. I only recommend products and brands that I trust and have personally used. Thank you for your support!
Products used with affiliate links
Set of girls digital stamp Hetty Claire
Products without affiliate links
- Just keep dreaming my favourite crafting book from Studiolight. Unfortunately no longer available.
- Craft card base. Brand unknown.
- Poloroid die from Aveccreative
- Rhinestones from Aveccreative
- Alcohol markers (Twin markers) from Decotimecrafts.
I would like to enter my card in the following challenges
- Passion for Markers: Dies and Punches
- Through The Purple Haze Challenges: Anything goes
- Krafty Chicks Challenge: All occasions
- Lil Patch of Crafty Friends Challenge …: Anything goes
- Daisy Chain Challenges: Flowers
Just popping back to say thank you for linking up with Krafty Chicks challenge to. Hugs, Denise x
Such a beautiful card Renske and lovely colouring ….love the Polaroid look and the design
Thanks so much for joining us on the Passion challenge…. 💗
Love and crafty hugs from
Wendy (DT)
Thank you Wendy
Such a pretty card Renske. I love the sweet image and your colouring is perfect. I really like the vintage style papers and embellishments. Thanks for sharing with us at Passion for Markers for our ‘fabulous florals’ challenge. Hugs, Denise x
Thank you so much
Such a beautiful card and your colouring is awesome! Love how you’ve framed her too and your embellishments are gorgeous! A perfect floral card for my challenge this week at Passion for Markers. Hugs, Karen x
Thank you so much