
How to dry emboss with stencils.
Today I share with you a floral card using dry embossing with stencil technique. I used a freebie from the Papercrafter Magazine’s website. You can download the image here.
Now let’s get into it.
Measurements of this Handmade Flower card
- A square base card. You need a piece of white card stock measuring 26 centimetres by 13 centimetres. Score at the long side at 13 centimetres. Now you have your base card.
- A piece of white card stock measuring 12,7 centimetres by 12,7 centimetres.
- A piece of white card stock measuring 12,5 centimetres by 12,5 centimetres. This is the piece we are going to dry emboss on.
- DCP paper to print your digital stamp on and the sentiments.
Coloring the digital stamp with my Twinmarkers
I printed my image on DCP paper. I coloured the image with my alcohol markers.
I used the following colour combinations:
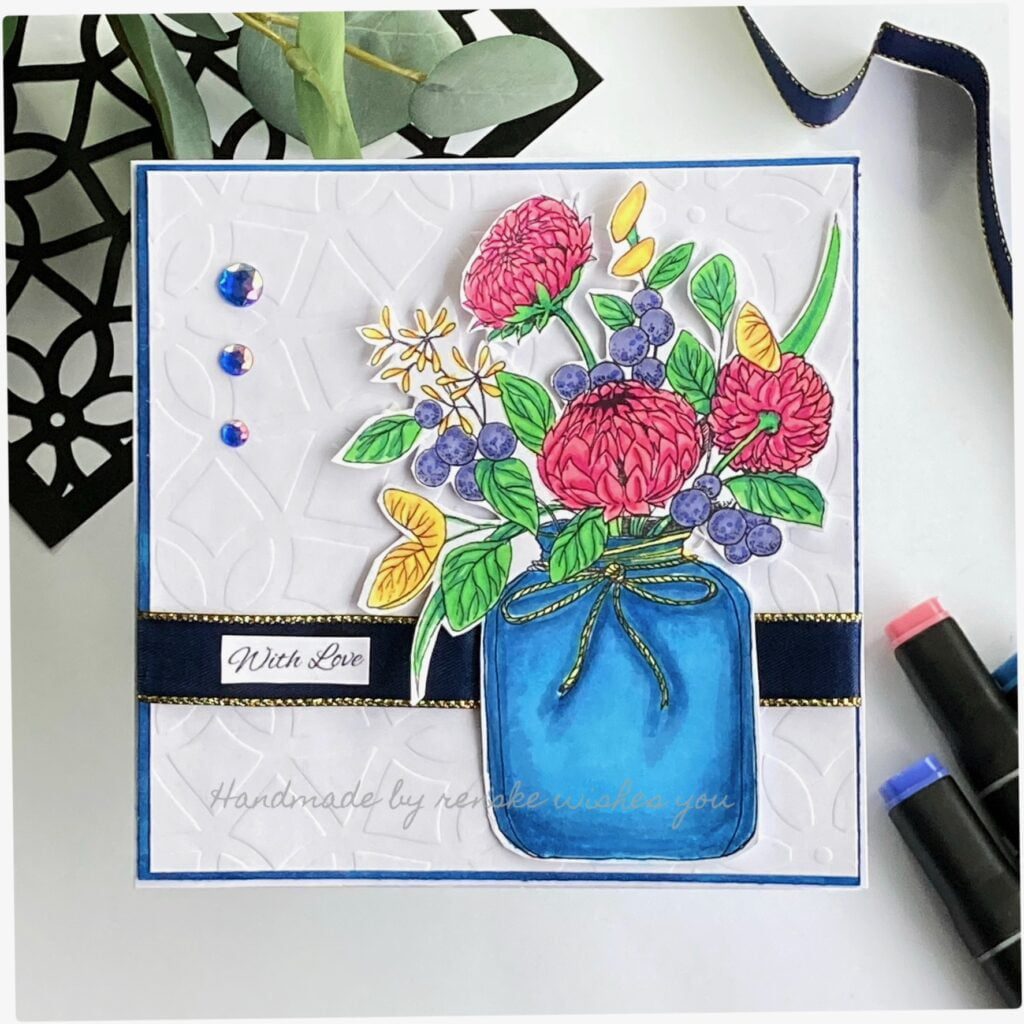
- Vase: Dark Sky (191), Midi Sky (190), Blue Sky (76) and Baby Boy (144).
- Pink flowers: Magenta Deep (292), Azalea Purple (87), Fluor Coral Pink (121), Rose Pink (08) and Pale Pink (09).
- Yellow leaves: Deep Yellow (32), Light Cantaloupe (275) and Lemon Yellow (35).
- Purple berries: Electric Purple (159), Blue Grey Purple (158).
- Green Leaves: Forest Green (50), Grass Green (47) and Weeds Green (162).

Dry embossing with a stencil
For the background, I used a stencil to emboss with. For this, you need your die-cutting machine and an embossing mat. First, I spray the paper with water on both sides. On the plate of the embossing machine, I start my sandwich with the embossing mat. On top of the embossing mat, I place my paper and my stencil. On top of that, I put a piece of paper and now run it through my die-cutting machine. Now you have this beautiful, embossed look.
Assembling the card
Now it’s time to assemble the card. First, I take my piece of white card stock measuring 12,7 centimeters by 12,7 centimeters. I color the edge with my Dark Sky alcohol marker to match this piece with my digital image. I stick my embossed panel onto the panel with the blue border. Now I take my piece of ribbon en glue this around the panel. Now I can stick my image with foam tape. On top of the ribbon, I glue my sentiment, and I add my blue rhinestones on the embossed panel.
Now you can glue it on your base card, and the card is ready.

Thank you for visiting my blog. Let me know if you ever used a stencil to emboss. I like to hear from you and see your creations. Hope to see you again.
Inspire, Create, Share, and More!
As we come to the end of our journey in creating a handmade flower card, let’s take a moment to appreciate the creative process and celebrate the joy of card making. Let’s continue to inspire and share our love of crafting with others.
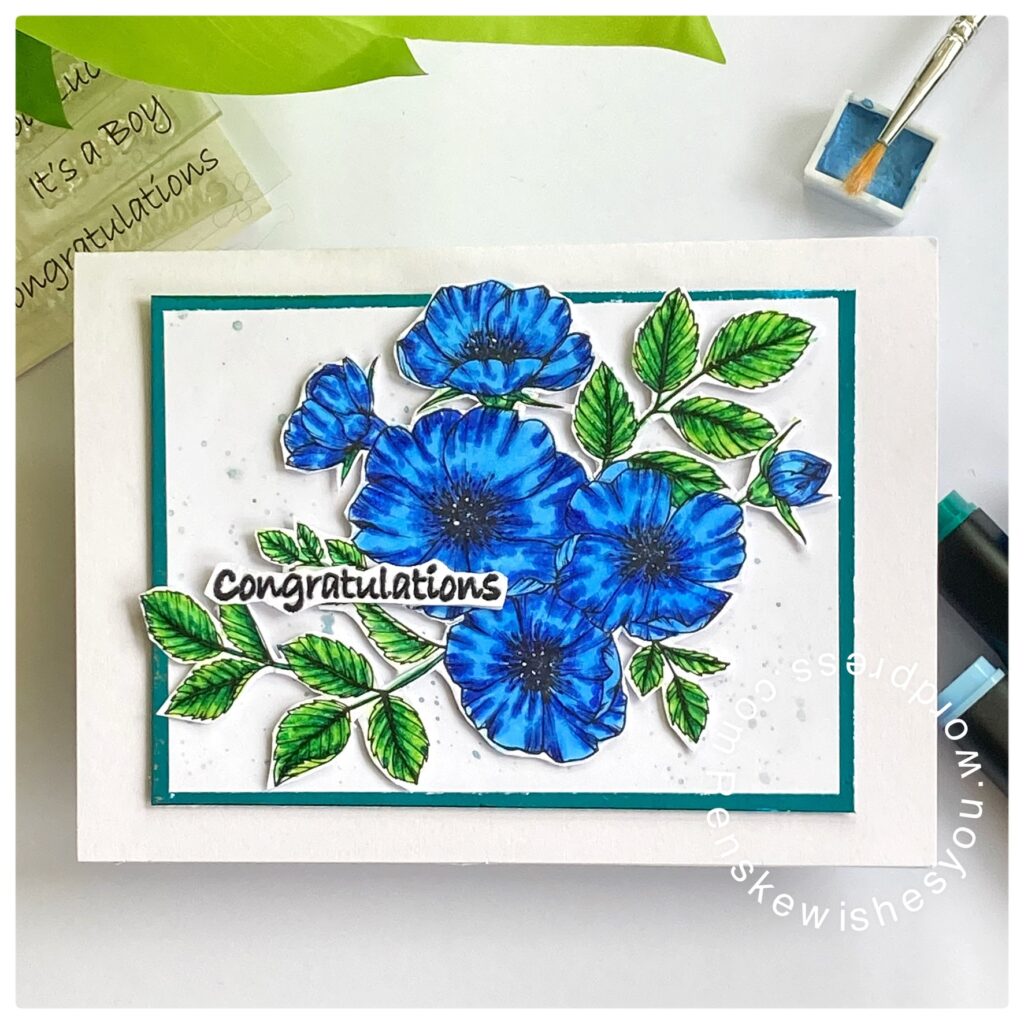
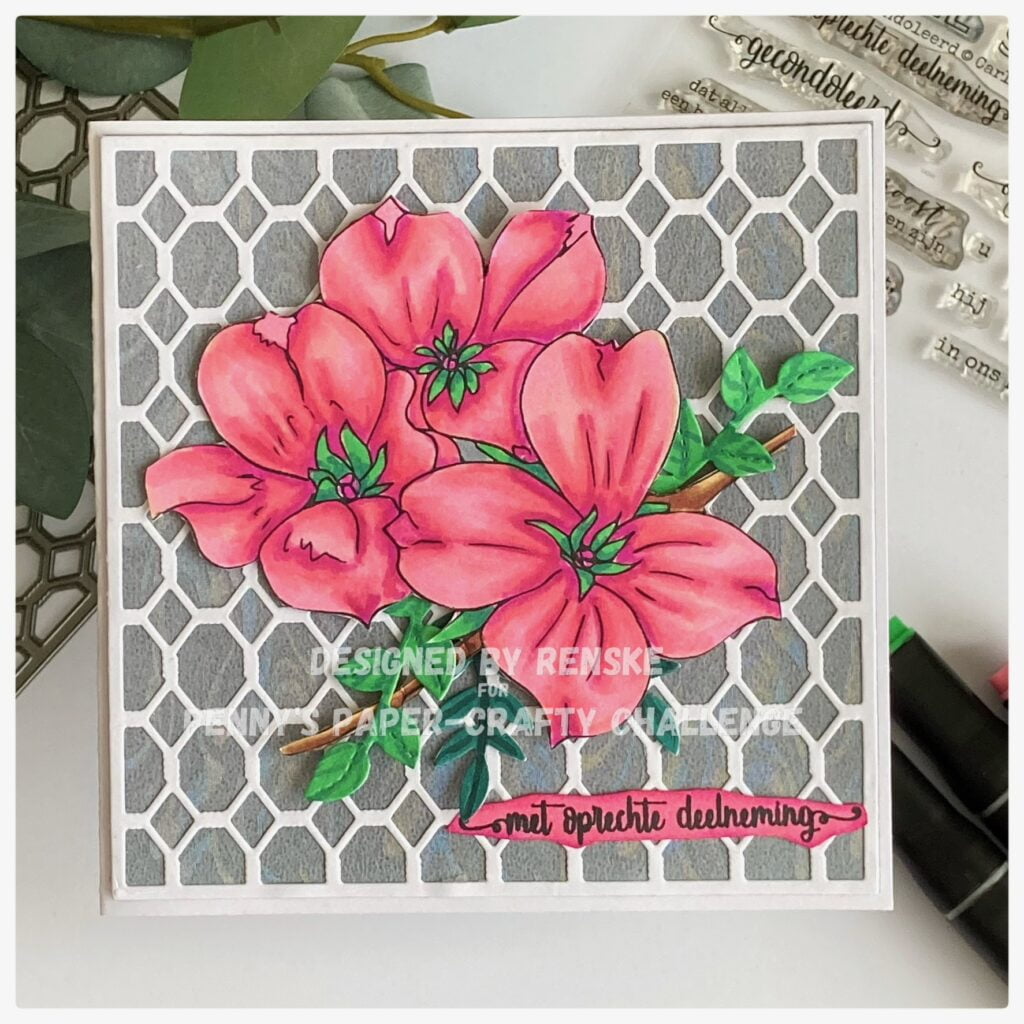
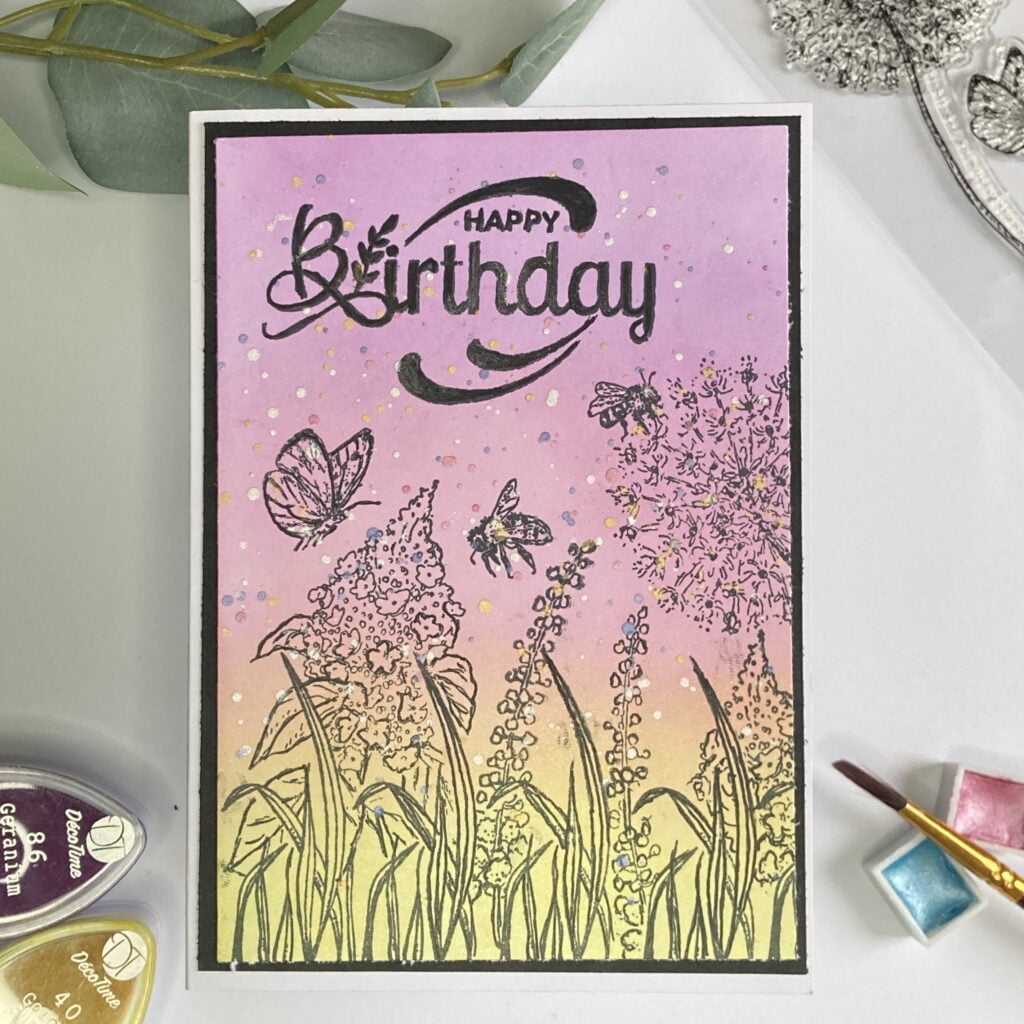
More Handmade flower card-making inspiration
Looking for more handmade flower card inspiration? Check out these related articles for additional ideas and techniques to try:
I would like to enter my card in the following challenges:
- Dream Valley Challenges: Hip to be square
- Simon says stamp monday blog: Beautiful blooms
- Simon Says Stamp Wednesday Challenge: Fabulous Flowers
- A Place To Start): Anything goes
- A Perfect Time To Craft Open Challenge: Anything goes
- Classic Design Challenge Blog: Anything goes
Products I used
- Digital stamp freebie from the Papercarfters Magazine’s website.
- Twinmarkers (alcohol markers) from Decotimecrafts.
- Stencil from Craftsensations.
- Rhinestones from Aveccreative.
- Ribbon from hobby flora.
- The sentiment is also a freebie from the Papercrafters magazine’s website. You can find it here.
Lovely card! Thanks for the tutorial and for sharing with us at A Place to Start!
Hugz,
Chana Malkah, Owner