Some links in this post are affiliate links. This means I may earn a small commission if you make a purchase, at no extra cost to you. I only recommend products I use and genuinely enjoy in my own cardmaking. Read more here.
Hello everyone!
I am so excited to tell you that I am a new design team member at Polkadoodles, and this is my first Design Team card. Every fortnight, I create an inspiration card for a new challenge on the Polkadoodles challenge blog. This time I made a flip-flap card with the sentiment Flip! It’s your birthday. The theme is always “Anything goes” and you can participate with whatever brand and project you like. As a design team, we are always given a theme to work on. This time it is “Pancake Day”.
I chose the Pancakes Oopsie digi stamp to work with. I combined the digital stamp with the Pancakes Sentiment set and the digital patterned paper set Paper Heaven 1 – Lil miss Sugerpops. I like the sentiment, Flip! It’s your birthday, so much so that I wanted to make a Flip Flap card with it. Read on to find out how to make this and what it looks like when you flip it.
Let’s get into it.
Measurements for this Flip Flap birthday card
- I made a craft base card measuring 13 centimetres by 13 centimetres. You need a piece of craft paper measuring 13 centimetres by 26 centimetres. You score at the long side at 13 centimetres.
- A piece of brown card stock measuring 12,5 centimetres by 12,5 centimetres.
- Digital patterned paper measuring 12 centimetres by 12 centimetres.
- Brown piece of paper 10 centimetres.
- Brown piece of paper, measuring 21 centimetres by 6 centimetres.
- A piece of brown paper measuring 8 centimetres by 8 centimetres.
- DCP paper to print your digital image and sentiment on. Leave room to die-cut it with a square-framed die.
Coloring the digital stamp Pancake Oopsie
I printed my image and sentiment on DCP paper. I colored my image with my alcohol markers.
- Face: Sand, Peachy Blush, Salmon Pink and Barely Beige.
- Hair: Clay, Walnut, Rose Beige and Hazelwood.
- Pancake: Darwood, Chocolat, Clay, Walnut and Hazelwood.
- Dress, shoes, and pocket: Sap Green, Dark Olive, Greyish Green, Sage and Soft Green.
- Apron and bow: Deep Yellow, Dark Yellow, Lemon Yellow and Pastel Yellow.
- Pan: Blue Grey 9, Blue Grey 5, Blue Grey 3 and Blue Grey 1.
After the coloring I die-cut the image out of the paper with a square die.

Having trouble editing or colouring digital stamps? Download my free guide for extra tips and tricks to help you perfect your digital stamps!
The sentiment Flip! It’s your birthday
I used the sentiment, Flip! It’s your birthday. It is one of the sentiments out of the set I mentioned. In the set, the sentiment is one line. But I wanted to separate it. You can do that in Word. You pasted the sentiment in a Word document. Click on the sentiment. Go to the Picture format menu. There, you can choose the Crop option. Click crop and you can crop the sentiment to the word you want. I first cropped it with the word Flip. And then I cropped the sentiment a second time to the words “It’s your birthday”.
Making the flip flap part
I decided I wanted to make a flip-flap card. It fits the sentiment perfectly. To make the flip flap, you need your pattern paper and the brown piece measuring 21 centimetres by 6 centimetres. You score your brown piece at 6 and 7 centimetres. I wanted to let the piece look like a tag, so I die cut the edge of the brown piece with a tag die. You can also cut it yourself into any shape you want.
Your piece now looks like this:
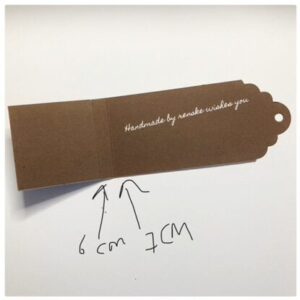
You take your design paper, and you make a notch in the centre of the card. In my case, that is at 6 centimetres. My brown piece is 6 centimetres wide, so I made the notch slightly bigger. The notch is 1 centimetre wide.

Stick your digital stamp on the 12,5 centimetres by 12,5 centimetres brown square. Stick the piece with the sentiment it’s your birthday on the 8 by 8 centimetres brown piece. Now it’s time to stick this on your flip-flap mechanism. The mechanism goes through the card like this:

First, glue your smaller square to the flip flap mechanism. You glue this on the score line on the side of the tag.
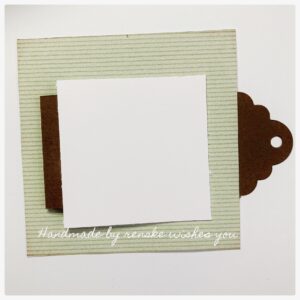
Now it’s time for the bigger piece. You stick this against the other score line. The large square will cover the small square.

Stick double-sided tape on the back of the small square. Place the squares how you want them on the card, then stick the small square to the patterned paper.
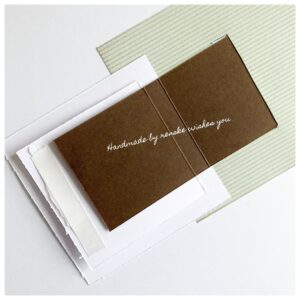
Now it’s time to stick this on your base card. Behind the pattern paper, attach foam tape. Position the foam tape so that it does not affect the flip flap mechanism.

I decorated the card with some elements and the card is ready.
Thanks for stopping by. I hope you like my project and check out the other projects of the other members of the design team too. I hope you will join our challenge.
Happy crafting!
Inspire, Create, Share, and More!
Thank you for joining me in creating this Flip Flap Birthday Card. I hope you enjoyed the process and found inspiration in creating a card with Polkadoodles products.
If you have any questions, need clarification, or want to share your thoughts, please comment below. I will answer as soon as possible.
Join the Polkadoodles Challenge
Remember, the beautiful handmade birthday flip flap card was created to inspire you to participate in the Polkadoodles’ “Anything goes” challenge. I am excited to see your creative journey unfold! This is your chance to showcase your skills, so gather your craft supplies and let your imagination run wild. Show us the amazing projects you come up with! I strongly encourage you to join in this thrilling challenge, create your art, and share your work with our lively community. Your talent deserves recognition, and who knows? You might be our next winner!
More Birthday card ideas with Polkadoodles
In this section, I show other birthday cards that are also made with Polkadoodles Products. Click on the link to go to the article
Polkadoodle products in the spotlight:
I’m listing the products I used below. I will link them when I can. Click on the link to go directly to the product. Where available I use compensated affiliate links which means if you make a purchase, I receive a small commission at no extra cost to you. Thank you so much for your support.
Flipping Pancakes
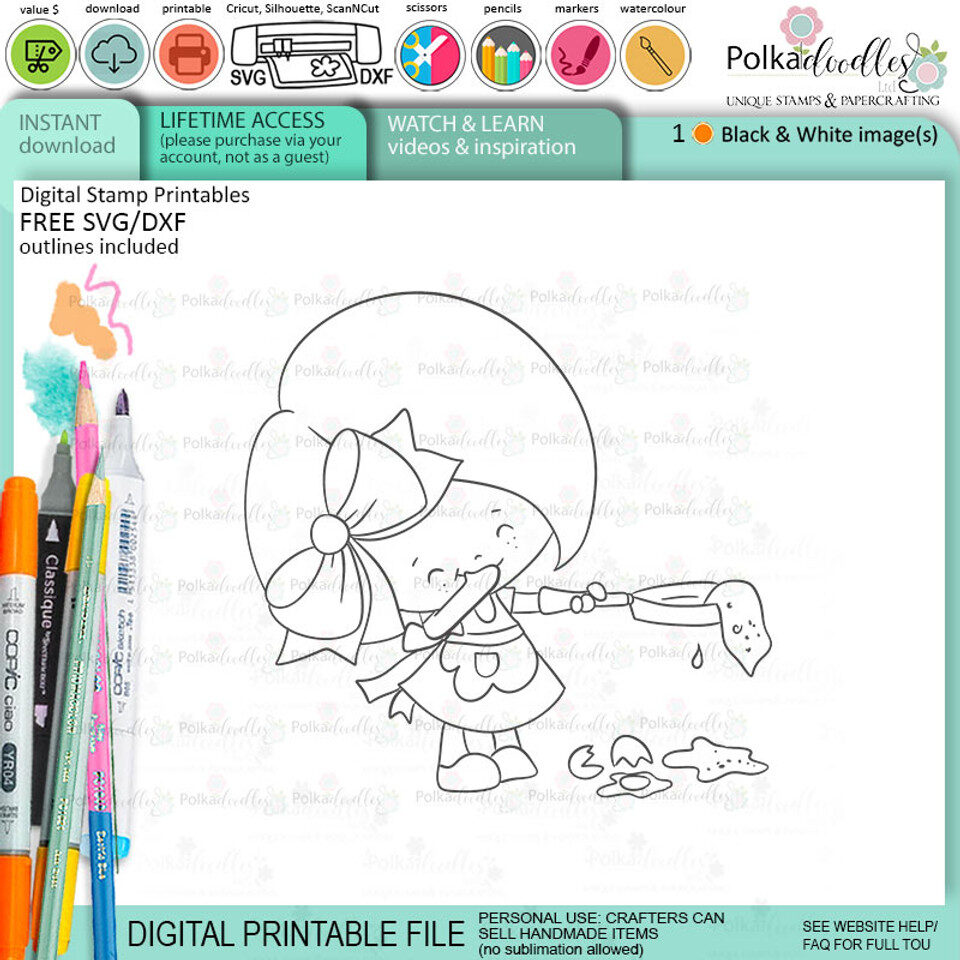
This digital stamp is no longer exactly the same as when I used it. It has been adjusted, but you can still create this card with it.
Pancakes and Waffles food-drink-printable-greetings-bundle-2

This is also another sentiment set. But in this sentiment set, there is the text that I have used for this card.
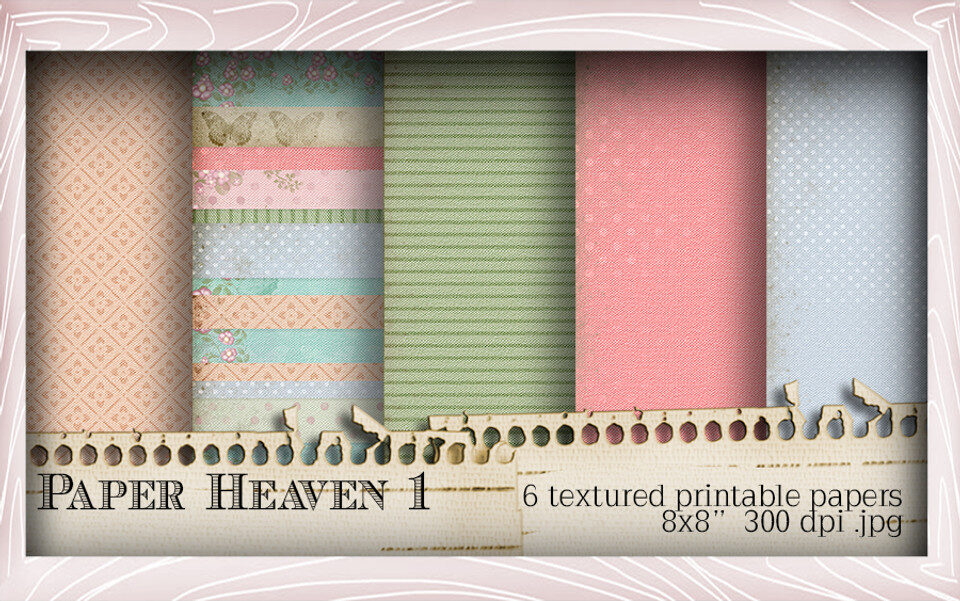
Paper Heaven 1 – Lil Miss Sugarpops Kit 1
I would like to enter my card in the following challenges.
- Crafting Happiness Challenges: Celebrations
- A Place To Start: Anything goes
- Lil Patch of Crafty Friends Challenge …: Anything goes
- A Perfect Time To Craft Open Challenge: Anything goes
- Classic Design Challenge Blog: Anything goes
- The Creative Crafters : Anything goes
- Daisy Chain Challenges: Birthday


Beautiful project Renski. Thank you for sharing with us over at The Creative Crafters (creativecrafterschallenge.blogspot.com).
Wendy DT
What a lovely card
This card is super cute. I love the papers you’ve chosen. And that little girl is adorable. You’ve made a fantastic job with the colouring. Thanks for joining us at A Place To Start. Hugs, María.
Congratulations joining Polkadoodles. They have some amazing images so fun to color and create cards with. I love this image and your fun flip fold card too. Thank you for the instructions. I have not made one and these directions look pretty simple to follow. I will have to give it a try.
Than you for your lovely comment. Let me know when you made the card. Love to see it.
Renske love this so beautiful xx
Ik vind dit zo’n leuk parkje!! Had hem natuurlijk al even mogen bewonderen bij je toen hij bijna klaar was, in het echt is hij nog mooier!❤
Dank je wel ❤️