

Hello everyone!
I’m excited to share with you my latest creation as a design team member of the CRAFT Challenge blog. As we kick off a new challenge with the theme of Easel cards. I got to work with the beautiful digital stamp “Dream Cather” from our sponsor All Dressed Up Stamps.

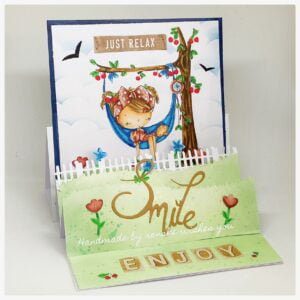
This image shows a peaceful scene—a girl lying in a hammock, accompanied by an adorable kitten, gently swaying on the branch of a cherry blossom tree. As soon as I saw this digital stamp, I knew it would be the perfect picture for an easel card.
In this tutorial, I’ll guide you through the process of creating a stunning easel card featuring the beautiful Dream Catcher digital stamp.
Easel card dimensions
- Base of the easel card: Cut a 5.5-inch by 11-inch piece of sturdy white cardboard. Score at 5.5 inches and 2 3/4 inches.
- Easel card pieces: Cut two pieces of sturdy white card stock measuring 5.5 inches by 5.5 inches. Score each piece at 2 3/4 inches and 1 3/8 inches. Fold along the score lines.
- For the back of the easel card: Cut a 5.25-inch by 5.25-inch piece of blue cardboard. A piece of white cardboard measuring 5 inches by 5 inches.
- For the stopper of the easel card, you need a piece of card stock measuring 1.5 inches by 5.5 inches.
Step-by-Step Guide: Creating a Dreamy Easel Card
Step 1: Printing and coloring the “Dream Catcher” digital stamp
I printed the image “Dream Catcher” onto a piece of DCP paper. I coloured the image with my alcohol markers, as they give vibrant and blended colors. But you can use any preferred colouring medium.
I used the following colours with my Twinmarkers:
- Skin: Tanned skin (260), Peachy Blush (259), Salmon Pink (25) and Barely Beige.
- Hair: Caramel (253), Brown Grey (104), Walnut (100) and Clay (116).
- Dress, Bow and Flowers: Midi Old Rose (199), Old Rose (201) and Dark Old Rose (202).
- Hammock: Baby Boy (144), Midi Sky (190), Dark Sky (191).
- Dots on the bow: Blue Grey 1 (BG1).
- Cat: Caramel (253), Sand (107) and Rose Beige (97).
- Leaves: Weeds Green (162), Grass Green (47) and Forest Green (50).
- Cherries: Cherry Pink (05), English Red (249) and Burgundy (247).


Having trouble editing or colouring digital stamps? Download my free guide for extra tips and tricks to help you perfect your digital stamps!
Step 2: Creating the Easel card base
- Cut a piece of white paper measuring 5.5 inches by 11 inches. Score it at 5.5 inches and 2 3/4 inches. This will serve as the base of your easel card.
- Cut two pieces of white paper, each measuring 5.5 inches by 5.5 inches. Score them at 2 3/4 inches and 1 3/8 inches. Fold along the score lines to create two smaller easel elements. These three pieces will form the foundation of your easel card. Arrange them to create the desired easel shape and ensure stability.
- Take the piece of card stock measuring 1.5 inches by 5.5. inches. This comes at the end of the base of the easel card.
- Then you have your two square pieces that will stand on the back of your Easel card.
Your easel card should be like this now.

Now that we have created the easel card base, we can design the background and add the fun elements that make our card special.
Step 3: Designing the background
- Print an additional copy of the “Dream Catcher” digital stamp on regular printing paper and trim it with scissors.
- Position the fussy-cut image over the printed image on the background piece and secure it in place with some purple tape or low-tack adhesive.
- Place a cloud stencil over the background and use blue ink to create fluffy clouds. Apply the ink gently with a blending tool, focusing on the open areas. Start from the top of the card and work your way down, gradually adding more colour to create a soft, dreamy sky. You can hold the stencil in different angles to make the background more interesting.
- Remove the tape and reveal the untouched image of the girl and the cat against the cloudy sky.
- For the bottom section, use a grass die to create a grass landscape. Cut the grass from white card stock and add colour with ink in various shades. Apply metallic paint splatters for a textured effect.
Step 4: Adding dimensions and details
- Cut three pieces of grass using the same technique as before. These grass pieces will be placed on the smaller easel card elements.
- Adhere the square blue card stock to the base of the easel card. Layer the printed background piece with the girl and the cat on top of the blue card stock.
- Attach the grass pieces to the two smaller easel elements, adding dimension and a cohesive look to the overall design.
- I die-cut a fence out of white paper. I adhere this behind my second grass piece.
Step 5: Bring in the Blooming beauty
- Use flower-shaped dies or punches to create several flower embellishments from white card stock. Layer different sizes and shapes of flowers to add depth and dimension. But you can also use coloured card stock for this.
- I coloured the flowers with my alcohol markers using the same colours as my digital image.
- Adhere to the flower’s glue to give it a raised effect. This will add a touch of elegance and make your card come alive.
- I also placed some cherries on the background piece in the grass. It creates the effect of the cherries falling from the tree.
Step 6: Adding sentiments for a Personalized Touch
- The first sentiment,” Just Relax, ” comes from the Paper blok “My favorite Crafting Book” from Studiolight. There are several sentiments in that paper block. I thought this one went very well with the image. I place the sentiment on top of the background piece where the girl is relaxing in her hammock.
- For the second sentiment, I die-cut the Word Smile out of craft paper. This uplifting word will add a touch of joy and positivity to your creation.
- From the same paper block, find the letters that spell “Enjoy”. Cut out the letters individually and arrange them to form the text “Enjoy”. Stick it on the card and complete the trio of sentiments.
Inspiration Hub: Let’s Get Creative Together
I hope this step-by-step tutorial has inspired you to make your own easel card with the enchanting “Dream Catcher” digital stamp.
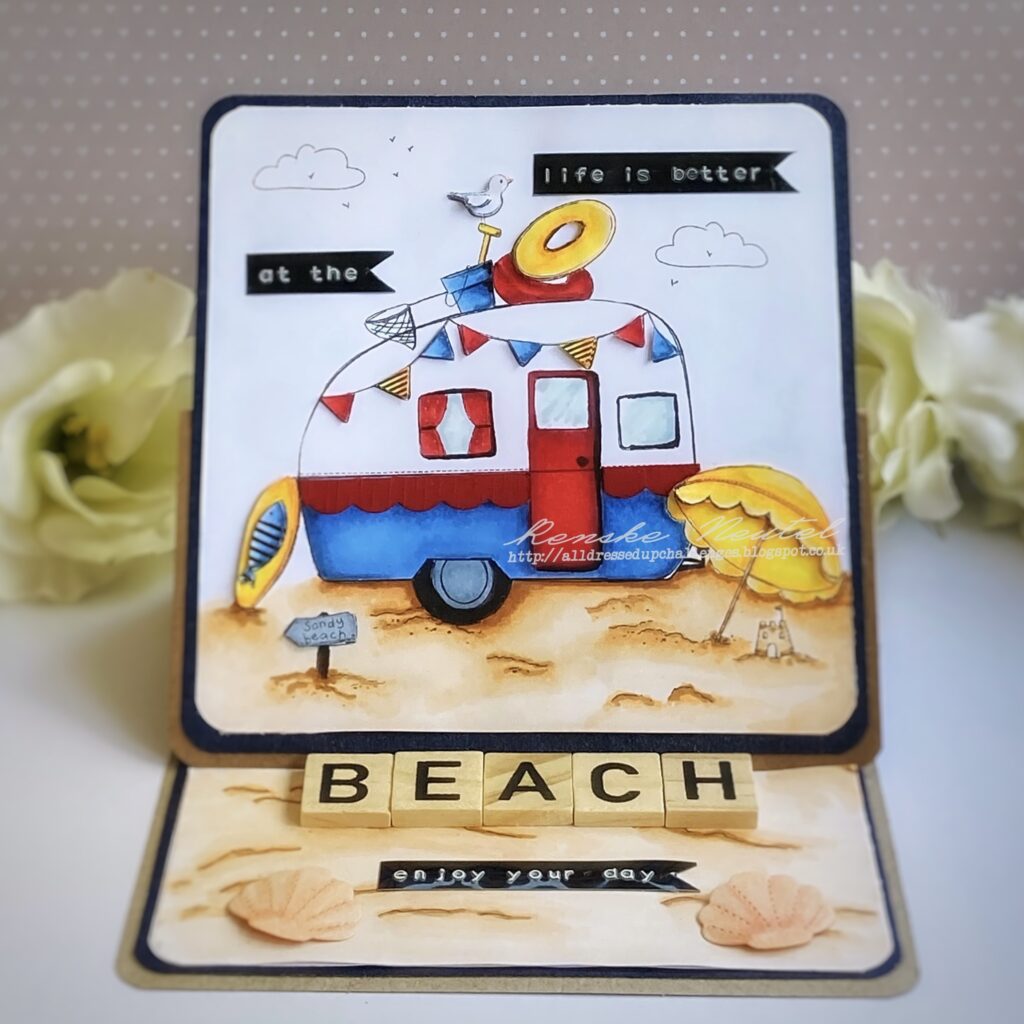
More Easel card inspiration
Thank you for joining me on this creative journey. I can’t wait to see the creations you’ll create. Show me on Instagram or Facebook by tagging me.
Happy crafting!
Disclosure: This post contains affiliate links. If you make a purchase through these links, I may earn a small commission at no additional cost to you. By using these affiliate links, you’ll be supporting my blog and helping me bring you more inspiring content. Thank you for your support!
Products used
Affiliate products


Non-affilate products:
- Bird die from Aveccreative
- Cloud stencil from Carlijn Design.
- Grass die from Aveccreative
- Chalk ink from Decotimecrafts
- Metallic paint brand unknown
- Craft paper brand unknown.
- Die with the word Smiles from Aveccreative.
- White card stock.
- Blue card stock.
- Black card stokc
- Glue
I would like to enter my card in the following challenges
- Dream Valley Challenges: use dies of punches
- A Place To Start: Anything goes
- Cardz 4 Galz: Use dies or punches
- Craft Rocket Challenges: Use dies
- Krafty Chicks Challenge: All occasions
- Crafty Catz: Anything goes
Beautiful easel card and love the gorgeously cute image
Carol x
Thank you so much ❤️
This card is adorable, I love the scene and how you’ve played with the shape of the card to create it. Your colouring is perfect. Thanks for joining us at A Place To Start. Hugs, María.
Thank you so much for your lovely comment
Absolutely precious Renske, adorable image of Wendy’s coloured perfectly xx
Thanks ❤️
Wow your 3d cards are amazing, I love the image and you coloured her beautifully,
Thank you so much for joining us at Crafty Catz this week we hope you will join us again
Happy crafting
Bridget CCDT
Ah thank you so much for your lovely comment