
Some links in this post are affiliate links. This means I may earn a small commission if you make a purchase, at no extra cost to you. I only recommend products I use and genuinely enjoy in my own cardmaking. Read more here.
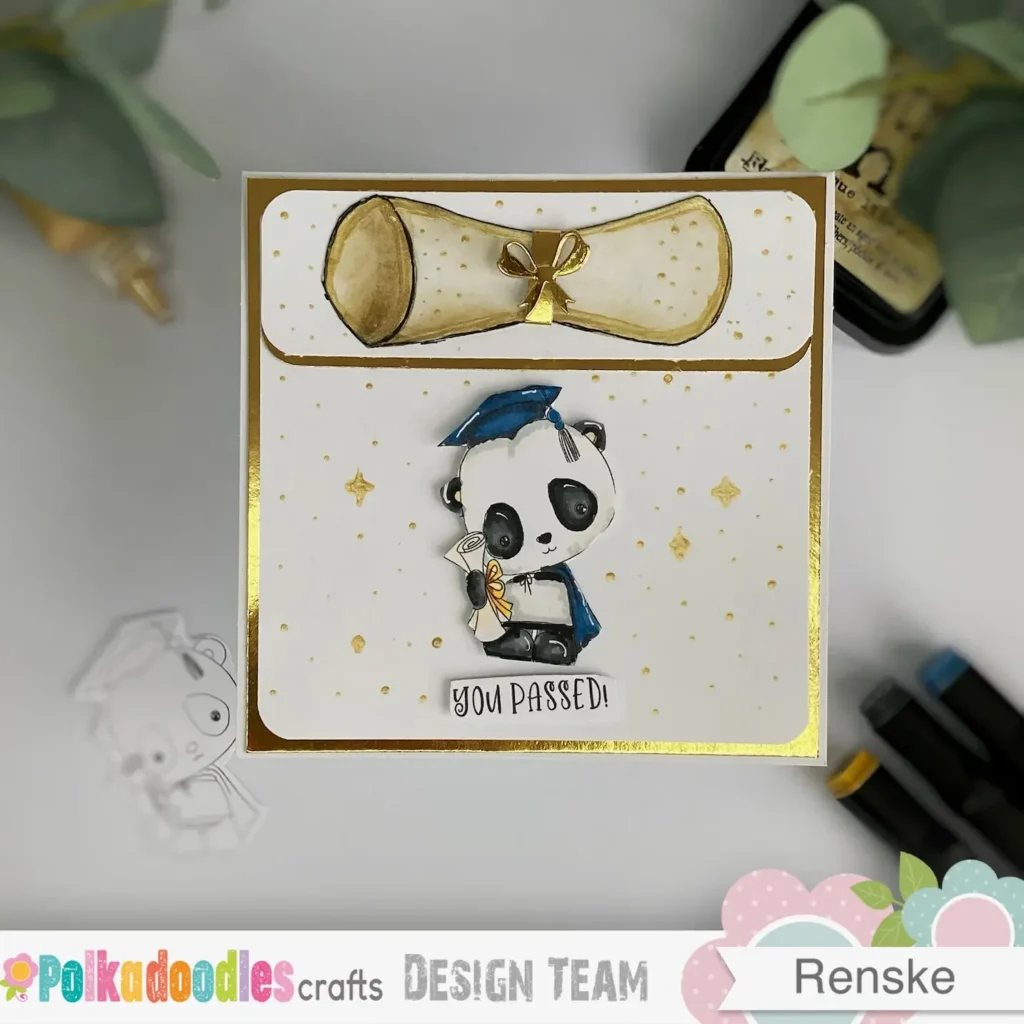
Looking for a fun DIY graduation card that stands out? This one has a handmade twist—a cheerful panda wearing a cape and holding a diploma, plus a scroll you make yourself. It’s playful, personal, and easy to create.
In this step-by-step tutorial, I’ll show you how to make this handmade graduation card using Polkadoodles digital stamps, distress ink, alcohol markers, and just a few basic supplies. You don’t need anything fancy—just some time and creativity.
You’ll learn how to colour a digital stamp, create your own scroll, and build a layered background. By the end, you’ll have a graduation card that stands out—and the confidence to make it your own.
Materials and dimensions for your DIY graduation card
Before we start, let’s gather the materials you’ll need to make this handmade graduation card with Polkadoodles digital stamps. I’ll share what I used and suggest easy alternatives if you don’t have the same supplies.
Polkadoodles products
- Graduation You Passed – digital stamp: A cute panda that’s the star of your card.
- Winnie Daisy Messages – sentiment set: We’ll use the “You Passed” sentiment from this set.
Card Dimensions
- Card base – 13 x 13 cm white cardstock the foundation of your card
- Gold paper – 12.5 x 12.5 cm for a shiny background layer
- White panel – 12 x 12 cm the main background
- White and gold strips – 4 x 12 cm each to create a layered flap effect
Other Supplies
- Alcohol markers: or colouring the digital stamp. You can also use water-based markers or coloured pencils.
- DCP printing paper: Ideal for sharp digital prints. Regular printer paper works too, but may absorb colour differently.
- White gel pen: Adds highlights and details to the coloured image.
- Star stencil: For decorative stars on the background. You can skip this or use other shapes if you like.
- 3D pearl glue (gold): Adds texture and shine to stars and the diploma scroll. Glitter glue or dimensional paint works too.
- Distress Ink: Antique Linen and Vintage Photo – To age and shade the diploma scroll. Any brown or neutral ink pads work well.
- Blending brush: For smooth ink application.
- Bow die: To cut a small bow for the diploma. You can also hand-cut bows or use stickers.
- Fine-liner: For crisp black outlines and details on the scroll.
- Pencil and scissors: To draw and cut the diploma scroll.
- Foam tape: Adds dimension by lifting the panda and sentiment.
Tip: Tip: Don’t worry if you don’t have the exact items. I’ll suggest alternatives and ways to adapt each step so you can make your own version with what you have.
Step-by-step tutorial: Make your own DIY graduation card
Now you have your materials ready, it’s time to get creative. In this tutorial, I’ll guide you step by step to make a fun, personal DIY graduation card. You’ll learn how to colour a Polkadoodles digital stamp, create a handmade diploma scroll, and build a layered background with simple techniques.
I keep the instructions easy to follow so you can enjoy the process and make it your own. Let’s bring this adorable panda graduation card to life.
Step 1: Colour the Panda Digital Stamp
Let’s start by bringing the panda to life with colour. This step covers printing and colouring the digital stamp to fit your card design.
Materials for this step
- Graduation You Passed digital stamp (Polkadoodles)
- DCP printing paper
- Alcohol markers (or your preferred colouring medium)
- White gel pen
- Scissors
Printing the Digital Stamp
I printed the panda on DCP paper at 6 centimetres tall. The width adjusts automatically to keep the proportions correct. I picked this size to create a flap at the top of the card for a fun, creative touch.
Colouring the Panda
Now comes the fun part—colouring. I used alcohol markers for my panda, but you can use coloured pencils, water-based markers, or inks—whatever you have.
Here are the colours I used:
- White fur: Cool Grey 3, Cool Grey 4, and Colourless Blender
- Black fur: Black, Cool Grey 9, Cool Grey 8, Cool Grey 7, and Cool Grey 5
- Diploma: Salmon Pink and Leather
- Cap and cape: Mint Blue, Baby Boy, Phthalo Blue, and Dark Sky
- Bow: Lemon Yellow, Golden Yellow, and Barn Red
Once coloured, I added highlights with a white gel pen on the cap, ears, eyes, cape, and feet. These details make the panda stand out and feel more dimensional.
Cutting Out the Panda
When the colouring is dry, carefully cut out the panda. It’s now ready for your DIY graduation card.
Remember, you can switch up the colours or medium to match your style and supplies.

Step 2: Create the DIY Diploma Scroll
Don’t have a scroll stamp or die? No worries—you can easily make your own diploma scroll. This simple technique lets you create a unique embellishment that fits perfectly with your DIY graduation card.
Materials for this step
- White paper
- Pencil
- Distress Ink: Antique Linen, Walnut Stain, Vintage Photo
- Blending brush
- Gold shimmer paper
- Gold 3D pearl glue
- Paintbrush
- Black fine-liner
Drawing and Inking the Scroll
- Start by lightly sketching the diploma scroll shape on white paper with a pencil.
- Use Antique Linen distress ink to add a soft base colour.
- Next, add Vintage Photo along the edges to give depth and a touch of vintage charm.
- When the ink is dry, trace your pencil lines with a black fine-liner to define the scroll’s shape and details—this helps it stand out on your card.
Adding the Gold Details
- Add gold dots with 3D pearl glue at the ends of the scroll.
- Use a small paintbrush to apply a thin line of gold glue along the edges for a subtle shimmer.
- Let everything dry completely before cutting out the scroll.

Finishing Touch: The Bow
Add a little bow in the centre to finish. If you have a bow die, cut one from gold shimmer paper. If not, hand-cut a bow or use a small sticker instead.
- Cut a thin strip of gold paper (about half a centimetre wide). Wrap the ends around the scroll and glue it at the back.
- Glue the bow on top of this strip.

This handmade diploma scroll adds a personal touch that suits your DIY graduation card perfectly.
No scroll stamp? No problem. This method gives you full control and looks great using just paper and ink.
Step 3: Build the Flap Background
Now we’ll create the background and flap that add interest and dimension to your DIY graduation card. This step brings the layers and sparkle together.
Materials for this step
- White background paper 12 x 12 cm
- White and gold strips 4 x 12 cm each
- Star stencil
- Gold 3D pearl glue
- Corner rounder punch (optional)
- Gold shimmer paper 4 x 12 cm
Round the Corners (Optional)
I like to round the corners of all three paper pieces to soften their look and add some detail. Don’t have a corner-rounder punch? You can round the corners by hand or leave them square for a cleaner, modern feel.
Create the Flap Layer
Glue the white and gold strips together so the gold peeks out just beneath the white, creating a subtle gold border. Attach this flap to the top edge of your large white panel, making sure it lines up neatly.
Add Stars and Gold Dots
Place your star stencil where you want the panda to sit, then stencil about four stars. Apply the gold 3D pearl glue carefully through the stencil and lift it off slowly. The glue can spread a little, so next time, you might want to wait a moment before removing the stencil to keep the stars sharp.
Next, put some pearl glue on your glass mat and use a toothpick or similar tool to add scattered gold dots on the background. This adds sparkle and texture without overpowering the design.
Allow everything to dry well before moving on.
This layered background, with stars and shimmer, makes your DIY graduation card feel special and gives the panda a perfect stage to shine.
Step 4: Assemble the Card
Now it’s time to bring everything together and finish your DIY graduation card. This step focuses on layering and adding the final touches to make your design stand out.
Materials for this step
- Gold paper 12.5 x 12.5 cm for the outer frame
- Foam tape
- The printed sentiment “You Passed” from Winnie Daisy Messages (Polkadoodles)
Building the Layers
- Start by attaching your white panel and flap it onto the gold background paper. For a clean frame effect, leave the gold paper’s corners square.
- Next, glue the diploma scroll onto the flap near the top for a nice highlight.
- Attach the coloured panda to the centre of the bottom panel with foam tape. This adds dimension and makes the panda the focal point.
- or the sentiment, print and cut out “You Passed” from the Winnie Daisy Messages set. Raise it with foam tape and place it so the panda stands right over it for a layered look.

And just like that, your graduation card is complete—fun, creative, and ready to celebrate a special moment.
This layout keeps the focus on the panda while adding playful texture and movement to your DIY graduation card.
")
Let’s Get Creative Together
You just made a cheerful panda graduation card full of personality and handmade charm. This tutorial shows how easy it is to use Polkadoodles digital stamps and simple techniques to craft something special.
Try experimenting with different colours and add your own twist to the scroll and background. Your creativity is what makes each card one of a kind.
Join the Polkadoodles Challenge
Share your card and join the Polkadoodles “Anything Goes” challenge. It’s a great chance to connect with fellow crafters, get inspired, and showcase your creativity. Everyone is welcome, and you don’t need Polkadoodles products to take part.
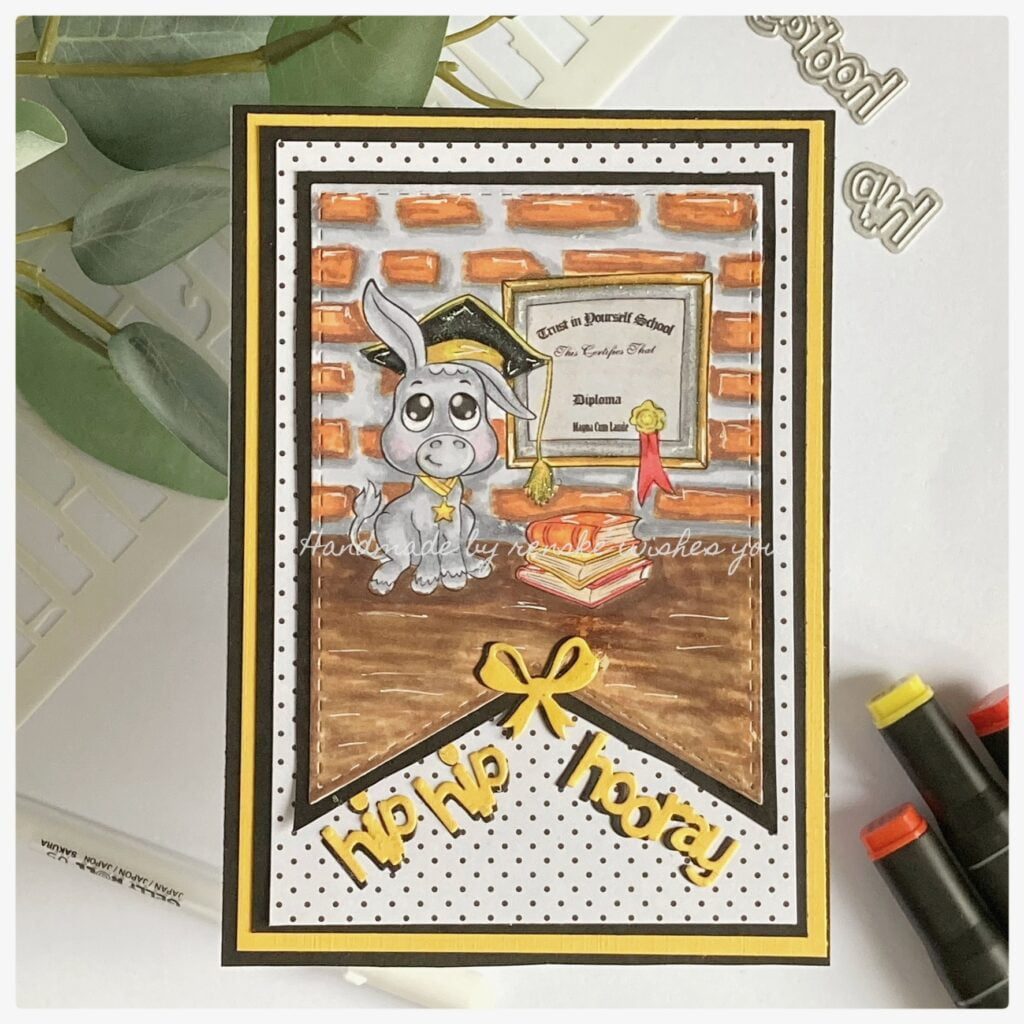
More handmade graduation card ideas
Polkadoodles products in the spotlight
Graduation You Passed Digital stamp

Winnie Daisy Sentiments set

I would like to enter my card in the following challenges
- Fab ‘n’ Funky Challenges: Anniversary or Graduation
- Word Art Wednesday: Anything goes
- Craft Rocket Challenges: No design paper
- A Perfect Time To Craft Open Challenge: Anything goes
- Crafts Galore Encore Challenge Blog: Anything goes
- Critter Crazy CHALLENGE BLOG: Anything goes + featured critter
- Crafty Animals: Anything goes + must use an animal
Beautiful card. I love it. Thank you for joining us at the Crafts Galore Encore Challenge.
Hugs
Danka
Twórcze pasje Danki {My Blog}
Thank you.
Wow, that’s a long post with really detailed information. Thanks for all that. Thank you also for stopping by to share this delightful graduation card with us at Word Art Wednesday. What a treat to have you share your talents with us. I hope that you’ll join us again soon.
Karen L, Owner
Word Art Wednesday
http://www.karen-mycuprunnethover.blogspot.com
Ah that is so very kind of you to see. Thank you so much.
Such a sweet card Renske! I love how soft it is, yet the gold really makes it pop. And your instructions are wonderful too. Thanks so much for sharing with us at Word Art Wednesday. We really appreciate you!
Thank you so much for your lovely comment.