
Hello everyone!
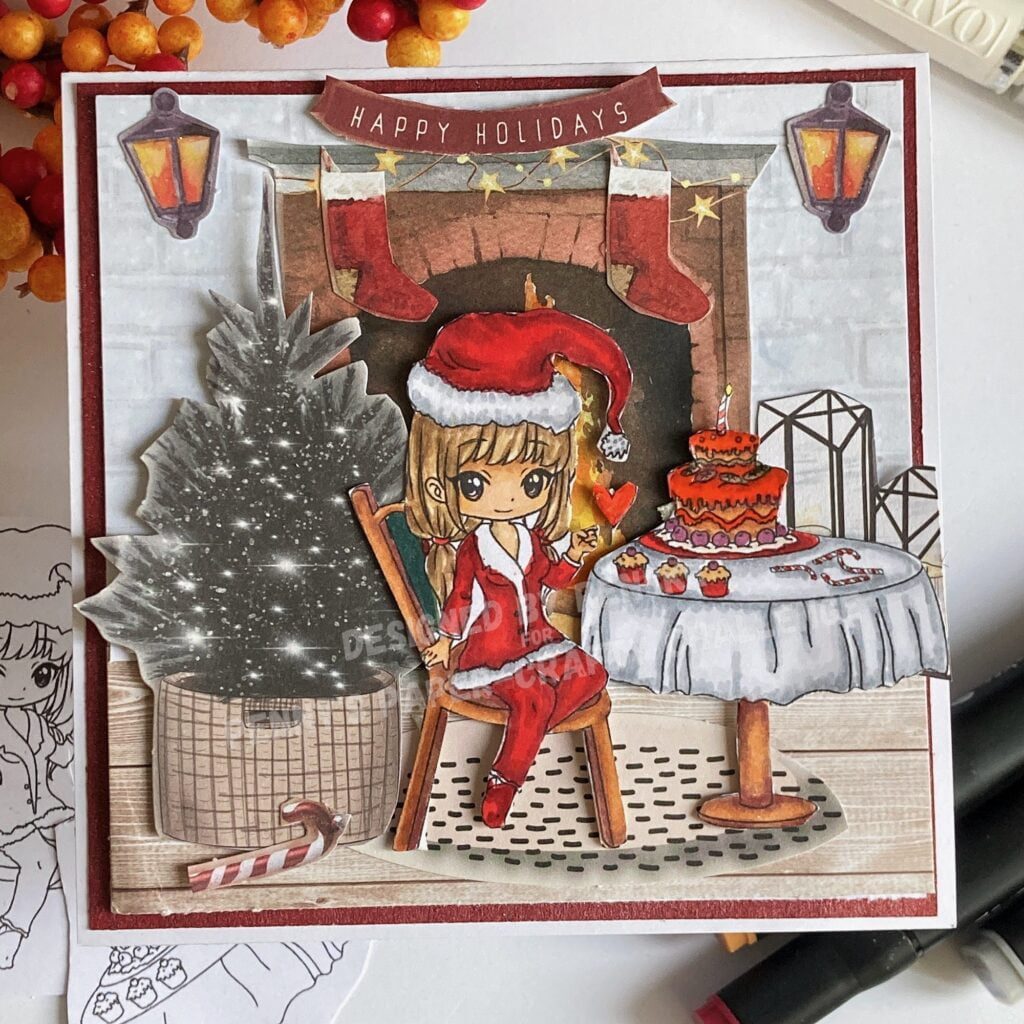
Welcome to my blog. Today we are going to make a heartwarming project – a cosy Christmas scene card perfect for the upcoming holidays. I made this card as inspiration for the new challenge on Penny’s Paper-Crafty Challenge Blog.
Our sponsors are:


For this card, I enjoyed working with the “Party Pam” digital stamp from Leann’s World 101.
Imagine a handmade card that captures the essence of a warm and inviting Christmas gathering, complete with festive decorations, a delicious feast and an inviting atmosphere that says, “Come in and celebrate! Whether you are a seasoned card maker or just beginning your creative journey, this project is sure to inspire you.
So let’s get started.
Materials Needed for this Cosy Christmas scene card
For starters, let’s make sure we have all the supplies on hand. Here’s a quick overview of the materials you’ll need for our cosy Christmas scene card project:
- Digital stamps: To bring our heartwarming scene to life, you’ll need a digital stamp. In this case, we are working with the charming “Pam’s Party” from Leann’s World 101.
- Colouring tool: Collect your favourite colouring tool. I used Twin Markers in different shades to bring out the details and vibrancy in our scene.
- Cards: You’ll need sturdy cardstock for the base of your card, as well as layers and a cosy background.
- Patterned paper: Dive into your paper stash and find patterns that evoke a cosy, festive atmosphere. We’ll use these to create a warm environment for our scene.
- Glue and double-sided tape: A trusty glue is essential to keep all elements in place. Double-sided tape ensures a clean and professional finish.
- Scissors or paper cutters: useful to cut or trim everything to size.
- Foam Tape: To add dimension to your scene and make certain elements stand out, foam tape or foam dots are handy.
- Decorative embellishments: You can add charm with embellishments such as glitter, sparkles or gems.
With all these materials ready, you’re well-prepared to create your Cosy Christmas Scene Card. In the next section, I’ll walk you through the step-by-step process to bring this heartwarming card to life. So grab your crafting supplies, and let’s get started!
Step-by-Step Tutorial
Okay, let’s start with our creative step-by-step tutorial.
In this section, I will guide you on how to make a cosy Christmas scene card with all the trimmings. So grab your crafting materials, find a comfortable workspace and let’s get started.
Step 1: Print and colour the digital stamp
Start by printing the “Pam’s Party” digital stamp on high-quality cardstock. To bring the digital stamp to life, I used my alcohol markers. But of course, you can use any colour medium you like. These are the specific colour combinations of the Twin markers I used:
- Skin: Tanned Skin (260), Peachy Blush (259), Salmon Pink (25) and Barely Beige (29).
- Hair: Leather (113), Brown Grey (104), Walnut (100) and Clay (116).
- Hat, dress and shoes, layers on the cake: Cardinal (244), English Red (249), and Burgundy (247).
- Fur, tablecloth: Cool Grey (CG1), Cool Grey (CG4) and Cool Grey (CG5)
- Cherry: Wine red (01).
- Cake: Sand (107), Pink beige (97), Burnt sienna (95)
- Chair: Sand (107), Rose Beige (97), Sienna Burnt (95), Natural Oak (95)
Take time to mix and layer these colours to create a warm and inviting atmosphere.

Step 2: Cutting Out Your Elements
Once your colouring is complete, carefully cut out all the elements from the digital stamp. Take your time, especially with intricate parts, to create a clean, precise cut and maintain the professionalism of your card.
Step 3: Preparing the Card Base
Start with a 13×13 cm card base made of high-quality white cardstock. You can use a ready-made card base, or make your own. I decided on the latter. You will then need a piece of paper measuring 13 centimetres by 26 centimetres. Score it at 13 centimetres and fold it in half. The card base is ready.
Step 4: Layering Your Background
Begin by layering your background to create the perfect setting for your scene. For the background, I used a patterned paper of a white wall with bricks. For the floor, I used patterned paper with wooden planks. Cut the brick wall patterned paper to 12×8 cm, creating a warm and inviting backdrop. To craft the look of a cosy floor cut the wooden planks paper to 4×12 cm. Adhere it to the bottom of the background. Add a 0.5 cm white strip at the seam between the two patterned papers to serve as a decorative plinth.
Step 5: Add different elements to make the cosy scene complete.
I found various elements from different blocks, including a Christmas tree in a basket with lights, a fireplace, two candle standards, two Christmas socks, a rug, and a candy cane in an old luxe paper block.
To attach all of these elements to the card, we start by placing the rug, followed by the fireplace in the centre. The Christmas tree is then placed on the left side of the card using foam tape, and next to it comes the girl and the table. Behind the table comes the two candle stands.
On the mantelpiece of the fireplace, we hang the two socks, and just above the fireplace, a banner with the text “Happy Holidays” is placed. Two lanterns will hang on either side of the fireplace to complete the cosy scene.
I place the candy cane in front of the Christmas tree for a delightful touch.
Step 6: A touch of magic.
Use an aqua glitter pen to add a shimmering effect to the fur trim of the girl’s outfit, the Christmas lights on the tree, and the stockings on the mantel.
For the final flourish, add paper glaze to the cake and cupcakes for a tempting, glossy look.

There you have it, your very own Cosy Christmas Scene card that exudes the warmth and charm of the holiday season.
Inspire, Create, Share, and More!
Thank you for joining me on this creative journey as we crafted this heartwarming “Cosy Christmas Scene card”. I hope you have joined the process and feel inspired to create your unique handmade cards.
If you have any questions, need clarifications, or want to share your thoughts, I’d love to hear from you. Crafting is not just a hobby; it’s a wonderful community, and I’m here to support you in your creative endeavours.
Join the Challenge
Remember this card was designed to inspire you for the new challenge on Penny’s Paper-Crafty Challenge blog. I’m genuinely excited to see your creations. This is your moment to shine, so get your crafty gears in motion, and let’s see what amazing projects you can come up with.
I encourage you to participate in the challenge. Craft, Create, and share your projects. The crafting community is waiting to celebrate your talent, and who knows, you might win a prize!
You can find the challenge blog here.
More Handmade Christmas Card Ideas
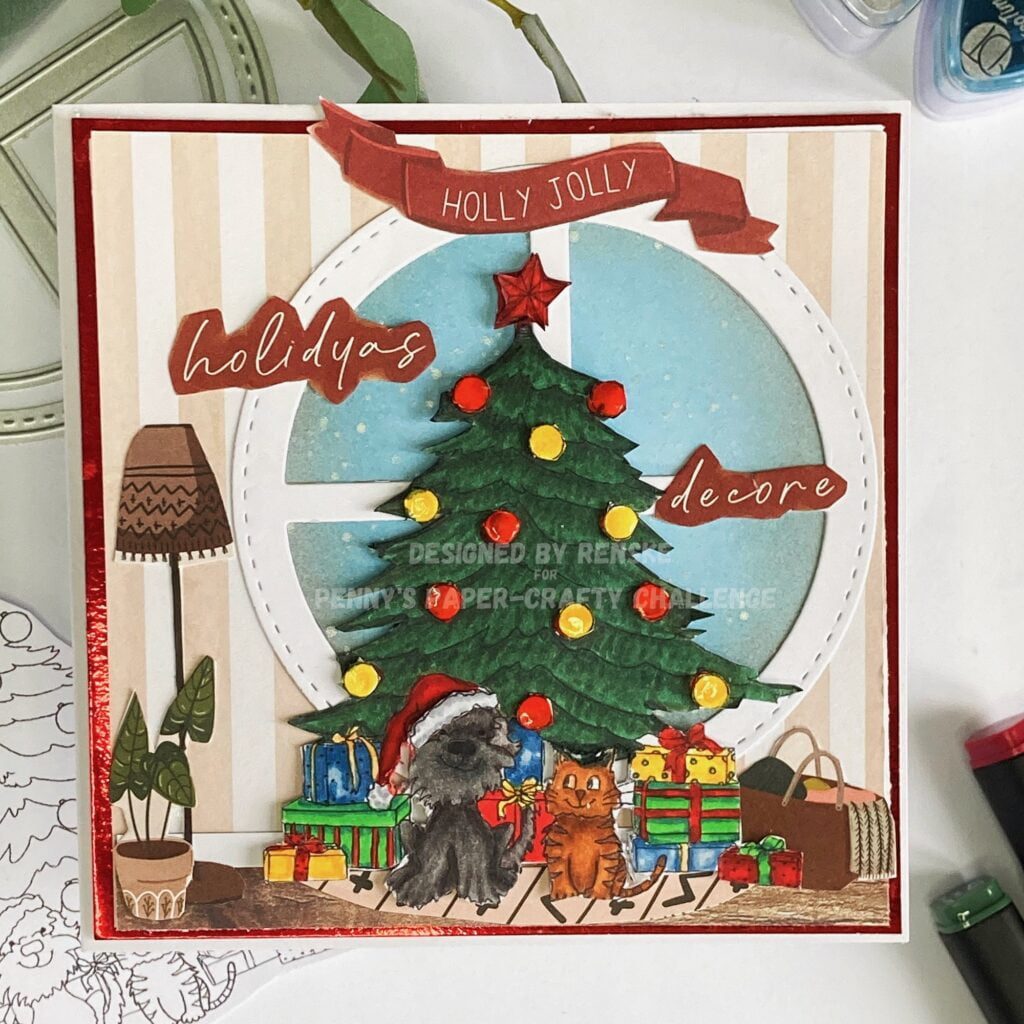
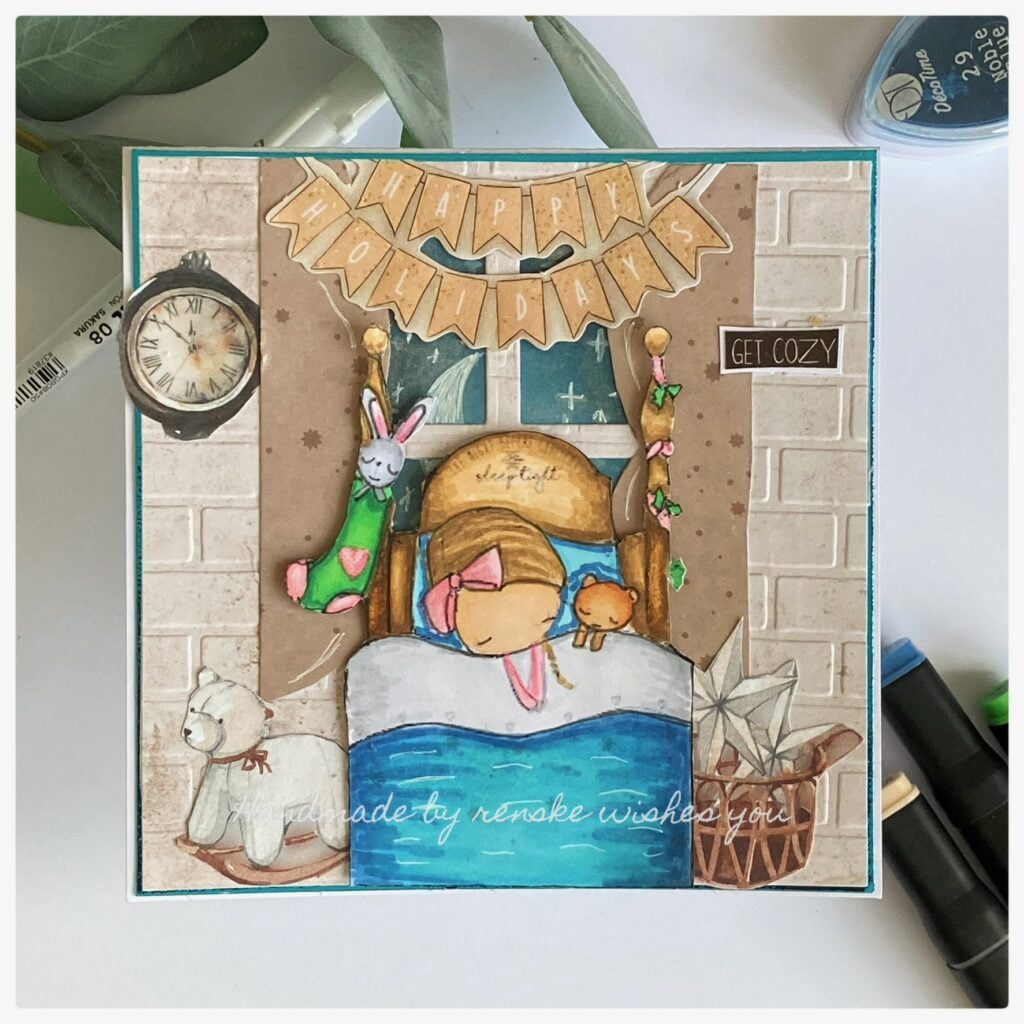
Need more inspiration? You can, I’ve linked two more cards below that you might also be interested in.
Products Used
- Digital stamp “Party Pam” (not available anymore) from Leann’s World 101.
- Luxe Paperblock from Decotimecrafts
- DIY block Decotimecrafts.
- Twin markers (alcohol markers) Decotimecrafts
- Paper Glaze from Aleene’s.
I would like to enter my card in the following challenges:
- Unicorn Challenge Blog: Christmas
- Through The Purple Haze Challenges: Anything goes
- Krafty Chicks Challenge: Stamp act
- Lil Patch of Crafty Friends Challenge ...: Anything goes
- Stamping Sensations: Get ready for Christmas
- 613 Avenue Create: Anything goes
- A Perfect Time To Craft Open Challenge: Anything goes
- Classic Design Challenge Blog: Anything goes
- Daisy Chain Challenges: Anything goes
- Pearly Sparkles Challenge Blog: Christmas/Winter
- SheepSki Designs Challenges: Getting Ready for Christmas
- Most Magical Time of the Year!: Most Magical Anything “Halloween or Christmas” goes.
- The 12 Months of Christmas Link Up:
Great card, you have creating a lovely Christmas scene, thanks for joining us at Pearly Sparkles this month for our Christmas/Winter challenge
Thank you
It looks like such a cozy and warm place; perfect for the Holidays! And great to read how you made it! Thank you for joining us at Stamping Sensations!
Thank you so much for your lovely comment ❤️
Beautiful card and beautifully coloured image-love the warm cosy scene.Thank you for joining us at The Crafty Addicts
Stamping Sensations
Pearly Sparkles
Carol DT x
Thank you ❤️
Wow what a cute card, the details the stamps the coloring a great job, and your details/tutorial on your blog wonderful. Thank you for playing our Stamp Act Challenge this week at Krafty Chicks Challenge. Have a great day!
Leanne DT Member/KCC
Krafty Chicks Challenge
Thank you so much for your lovely comment ❤️
A fun and colourful Christmas scene, thanks so much for joining us at Allsorts challenge this week.
B x
Thank you