

Some links in this post are affiliate links. This means I may earn a small commission if you make a purchase, at no extra cost to you. I only recommend products I use and genuinely enjoy in my own cardmaking. Read more here.
Hello Crafty Friends!
I’m excited to share a new card that I’ve created for the All Dressed Up Stamps Facebook group.
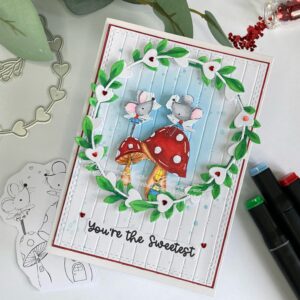
The challenge theme for this month is “cuteness overload”. To match the theme, I’ve used the “Two Little Fairy Mice” digital stamp, which is super adorable.
In this project, we will be making this cute handmade Valentine’s Day card featuring these cute fairy mice. So, let’s gather our crafting supplies and spread some love and creativity!
Materials needed for this card
Before we start making our cute handmade Valentine’s Day card, let’s gather our craft supplies. This is what you’ll need:
- Sturdy white paper: you will need this to create the base of your card. Prepare a piece of white paper measuring 21 centimetres by 14.8 centimetres.
- Red Card stock: Use this for a nice red border around our background panel.
- Rectangular die with a double-stitched edge: You will need this to create your background panel. But you can also cut it yourself from white paper.
- Round frame die: I used a round frame die with hearts, but you can use whatever you want. Maybe you have some kind of wreath sticker lying around that you can use.
- Embossing folder: You use this to add texture to the background.
- Blue ink: for creating a dreamy sky background.
- Blending brush: for smooth ink application.
- Metallic paint: for adding magical splatters.
- DCP paper: for printing the “Two Little Fairy Mice” digital stamp.
- Alcohol markers (Twin Markers): for colouring the stamped image.
- White gel pen: for adding highlights.
- Red heart embellishments: for decorating.
Now that we have gathered our materials, let’s get to work making this cute handmade Valentine’s Day card.
Step-by-Step Tutorial: Creating a Cute Handmade Valentine’s Day Card with Adorable Fairy Mice
We will now begin our step-by-step tutorial on creating a handmade Valentine’s card with cute fairy mice. These mice are the stars of our card. Let’s get started!
Step 1: Crafting the Card Base
Firstly, let’s create the foundation of the card. This will be the canvas for our fairy mice to come to life. Follow the steps below to create a sturdy card base:
Materials required:
- Sturdy white paper (21 cm x 14.8 cm)
Process:
- If you already have a pre-made card base, you can skip this step.
- Take a piece of sturdy white paper measuring 21 centimetres by 14.8 centimetres.
- Score the paper at the halfway point, which is 10.5 centimetres on the 21 centimetres side.
- Fold along the scoreline to create a neat and sturdy card base.
Creating the card base will set the stage for the beautiful scene we’ll create. Next, we will add a magical backdrop.
Step 2: Creating the Background
Now let’s add a dreamy background to our Valentine’s Day card. The background panel sets the stage for our fairy mice. This is how you make it:
Materials Needed:
- Rectangular die with a double-stitched edge.
- Blue ink.
- Blending brush.
- Metallic paint.
- Embossing folder.
Process:
- I used a rectangular template with a double-stitched edge to create the panel. Place the die on the white paper and run it through your die-cutting machine.
- Place the die-cut paper on your workspace and place the round frame die on top to plan where your fairy mice will be placed.
- Apply blue ink with a blending brush, creating a gradient effect from dark in the centre to lighter at the edges. Make sure the ink stays within the planned round frame area.
- Apply blue metallic paint splatters to the background. Add some water to the paint. Dip your brush in it and hold it above your paper. Tap the brush gently, causing splatters to fall onto the paper.
- Use the embossing folder to add a delightful texture to the background. This will create a whimsical touch to the scene.
Now that our background is ready it’s time to bring our digital stamp to life.
Step 3: Printing and colouring the digital stamp “Two Little Fairy Mice”.
Now let’s bring our fairy mice to life by printing and colouring the digital stamp. Follow these steps for a charming result:
Materials Needed:
- DCP paper
- “Two Little Fairy Mice” digital stamp
- Alcohol markers (Twin Markers)
- White gel pen
Process:
- Print the digital stamp “Two Little Fairy Mice” on DCP paper. Determine how large the digital stamp should be based on the size of your wreath. The inside of my die was 7.5 centimetres. I set the height of my stamp to 6.5 centimetres. The width is adjusted equally based on the height so that the proportions remain the same.
- Once printed, it’s time to colour the adorable mice. Here are the colour combinations I used:
- Mice: Cool Grey 5 (CG5), Cool Grey 4 (CG4), and Cool Grey 1 (CG1).
- Inside ears: Blush (136) and Pastel Pink (17).
- Shirts: Cardinal (244).
- Skirts and door: Baby Blue (144), Sky Blue (76), and Midi Sky (190).
- Stem of the mushroom: Hazelwood (108), Sand (107), and Barn Red (245).
- Mushroom cap: Cardinal (244), English Red (249), and Burgundy (247).
- Windows: Canaria Yellow (245) and Pastel Lemon (39).
- Wings: Cool shadow (178).
- Enhance the details by using a white gel pen to add highlights to the mushroom.
- Carefully cut out the stamped image.
Tips:
- Use the colour red last in the colouring process. This is best done to avoid picking up some red with a lighter color and therefore getting a red color in the wrong places.
- Experiment with different colour variations to personalize your fairy mice.
Step 4: Make the wreath with hearts and leaves
Now let’s add a touch of love to our card by making a wreath/frame. This frame will beautifully surround our fairy mice. Follow these steps:
Materials Needed:
- Round die with hearts.
- Red heart embellishments
- Alcohol markers for colouring the leaves
Process:
- Use the die with hearts to cut the frame from white paper.
- Cut the leaves from white paper and colour them using the following green marker combinations:
- Weeds Green (162), Grass Green (47), and Forest Green (50).
- Arrange the coloured leafy elements partially behind and on top of the heart frame, leaving some white heart spaces untouched.
- Place small red heart embellishments on the remaining white heart spaces of the frame.
Potential Alternatives:
- Experiment with different shapes for the frame to suit your style.
- Use alternative embellishments like gems or pearls for added elegance.
Creating the heart frame, along with the coloured leaves, adds a delightful touch of romance to our card. Let’s move on to the final steps and complete our enchanting creation.
Step 5: Adding the sentiment You’re the Sweetest
Let’s give our card a heartfelt message by adding the chosen text. Follow these steps to complete this beautiful touch:
- “You’re the sweetest” sentiment from Thea Sentiment Set by Polkadoodles
- DCP paper
Process:
- Print the “You’re the sweetest” sentiment along with the digital stamp on DCP paper.
- Carefully cut out the sentiment, leaving a small border around it.
Adding the chosen text is the final step to convey your heartfelt message. Let’s move on to the finishing touches and admire our enchanting creation.
Step 6: Assembling the Card
Now that we have all our beautifully crafted elements, let’s bring them together to complete our enchanting card. Follow these steps for the final assembly:
Materials Needed:
- Red paper for the card base
- Adhesive or double-sided tape
Process:
- Cut a piece of white or red paper measuring 10.3 centimetres by 14.2 centimetres.
- Colour the edges of the white paper using a burgundy marker to create a cohesive look with the card design if you’re using white paper. If you are using red paper, you can skip this step.
- Attach the background panel with the heart frame to the red paper using adhesive.
- Place the wreath on the background panel with foam tape. I use square foam tape blocks for this.
- Place the coloured fairy mice inside the wreath. Place the bottom of the mushrooms slightly under the leaves. Use the same height foam tape for this picture as you used for the wreath/frame.
- Place the sentiment under the heart frame, aligning it neatly.
- Place a red heart at the edges of the text.
- Attach the assembled piece to the card base using adhesive or double-sided tape.
The card is ready and can now be shared with someone you love.
Inspire, Create, Share, and More!
Thank you for joining me in creating this cute handmade Valentine’s day card. I hope you enjoyed the process and found inspiration.
If you have any questions, need clarification, or just want to share your thoughts, please comment below. I will answer this as soon as possible.
Join the challenge in de All Dressed Up facebook group
Remember, the beautiful cute handmade Valentine’s day card was created to inspire you to participate in the new challenge from All Dressed Up Stamps. The theme is “cuteness overload”. To participate in this challenge you must use a stamp from All Dressed Up Stamps. But the Facebook group also contains freebies that you can start with. And who knows, you might win and get to choose a stamp.I am excited to see your creative journey unfold!
More homemade Valentine’s Day card ideas
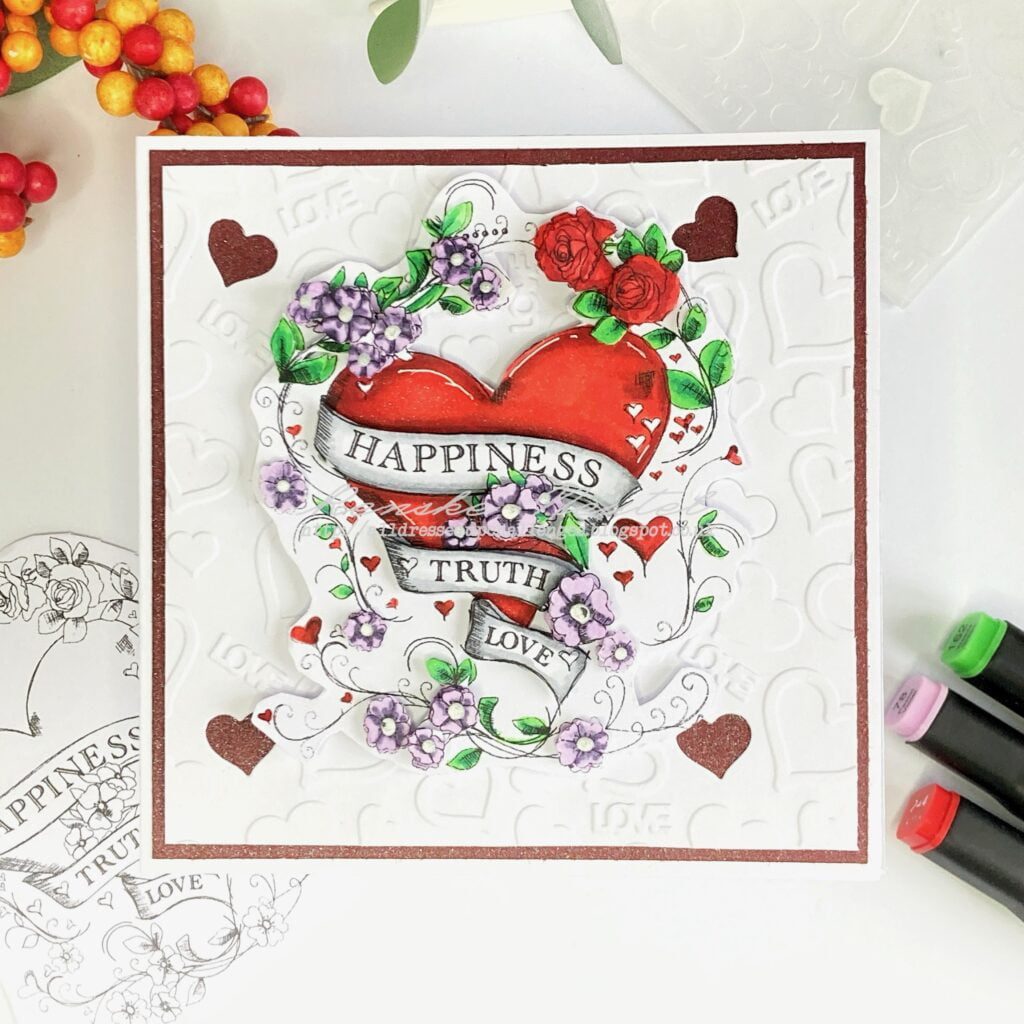
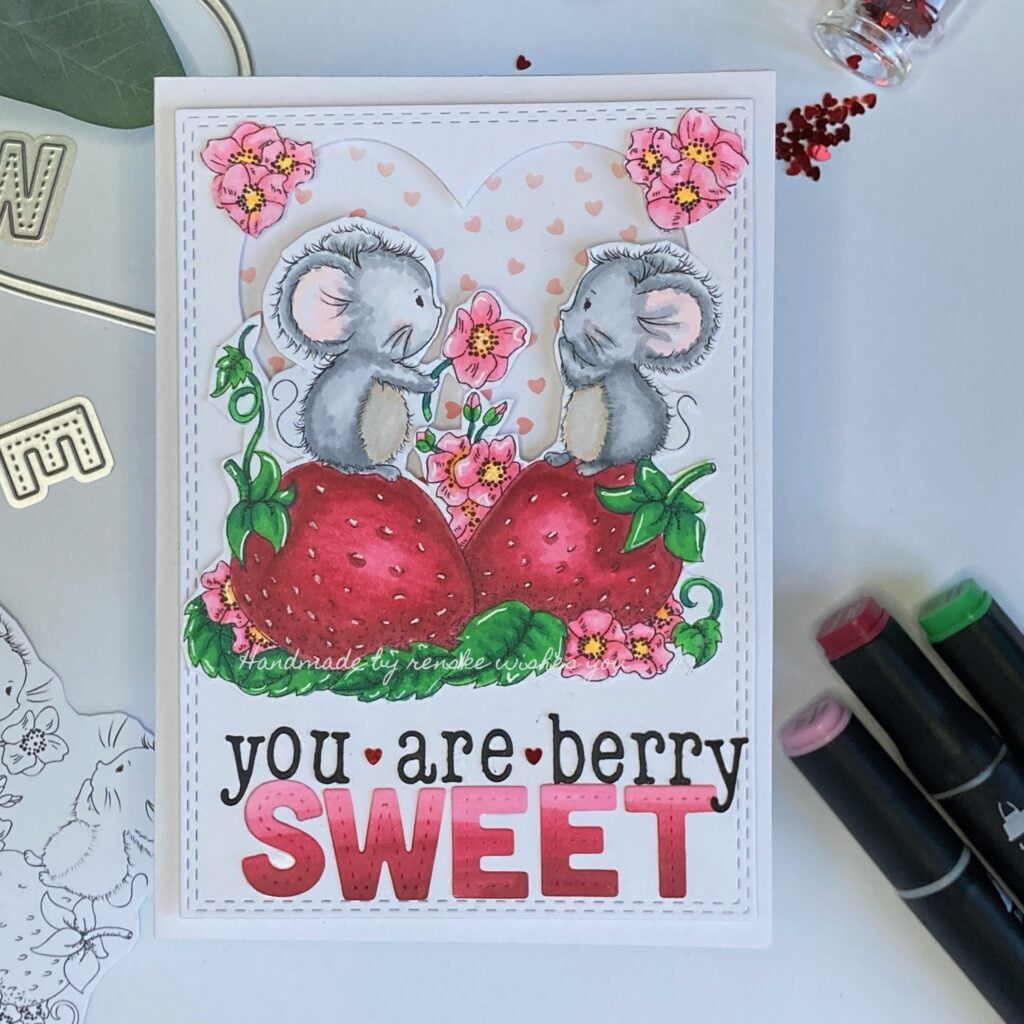
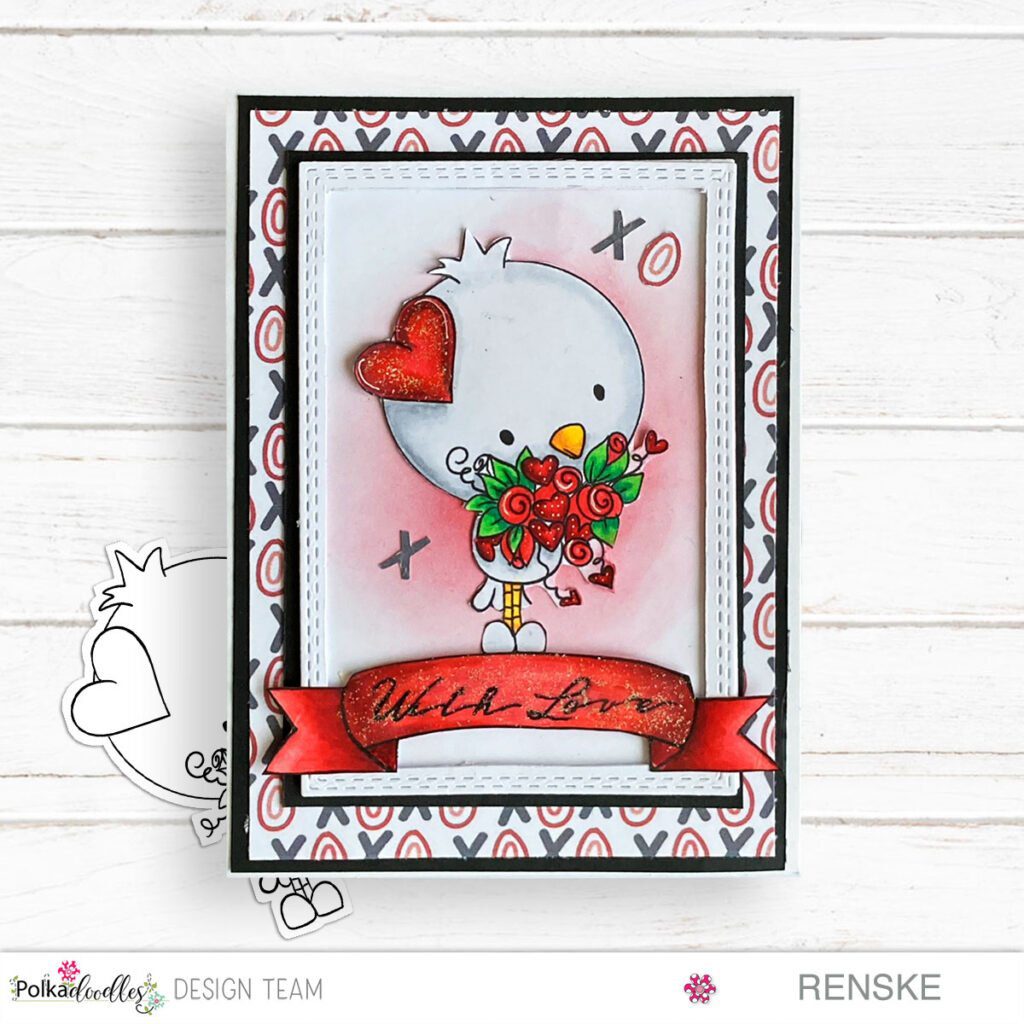
Below I have linked three articles that you might also find interesting. These are other Valentine’s cards.
Products used for this cute Valentine’s card
Affiliate discloser: Where available I use compensated affiliate links which means if you make a purchase, I receive a small commission at no extra cost to you. Thank you so much for your support.
Products with affiliate links
Two Little Fairy Mice Digital stamp from All Dressed Up stamps

White Gelly Rol Pen 08
Products without Affiliate links
- Foam tape. Brand unknown.
- Glue. Sticky Glue from ActionNL.
- Heart wreath die from Aveccreative.
- Leaves die from Aveccreative.
- Twin Markers (alcohol markers) from Decotimecrafts.
I would like to enter my card in the following challenges:
- 4-Season Swap Challenge Blog: Challenge: XOXO
- Krafty Chicks Challenge: Stamps
- Dutch Card Lovers: Valentijn
- Lil Patch of Crafty Friends Challenge …: Anything goes
- Stamping Sensations: Birds, animals creatures
- The Paper Players: To the one I love
- 613 Avenue Create: Anything goes + twist love letters
- Dragonfly Dreams: Hearts
- We Love Stamping: Romance
- A Perfect Time To Craft Open Challenge: Anything goes
- Classic Design Challenge Blog: Anything goes
- Pearly Sparkles Challenge Blog: Love/have a heart
- Critter Crazy CHALLENGE BLOG: Anything goes + featured critter
- SheepSki Designs Challenges: Anything goees
- Crafty Animals: Anything goes + must use an animal
This is adorable Renske! Love the little fairy mice and your wreath. Thank you for sharing with us over here at the Critter Crazy Challenge and best of luck with your entry. Love to see you join in each month. Thank you.
Gale DT for
https://2craftycrittercrazies.blogspot.com/
Thank you
Renske, this is adorable! Thanks for joining us at 613 Avenue Create. I hope we see you on the front porch again soon!
Hugs, Em
613 Avenue Create DT
Creative Em my blog
Creative Em on YouTube my Youtube channel
Thank you
This is a very cute card design. Thank you for joining us at Sheepski Designs Challenge
Best Wishes Lisa (DT) xx
craftycard-designs.co.uk
Thank you
What sweet little mice! Cute card. Thank you for sharing this with us at Paper Players this week. Cheers, Jolanda – DT
Thank you so much
That is so cute! Great to read how it was put together.
Thanks for joining the Krafty Chicks Challenge.
Helen x
Guest Chick
Thank you
Beautiful!! Thanks so much for participating in our DRAGONFLY DREAMS challenge!!! I appreciate that you play along and I enjoy visiting your blog!! Have a happy crafty day!! Deanne at A Little Bit O’ Paper
Thank you
A very sweet card, thanks so much for sharing with us at Stamping Sensations and We Love Stamping challenges.
B x