
Some links in this post are affiliate links. This means I may earn a small commission if you make a purchase, at no extra cost to you. I only recommend products I use and genuinely enjoy in my own cardmaking. Read more here.
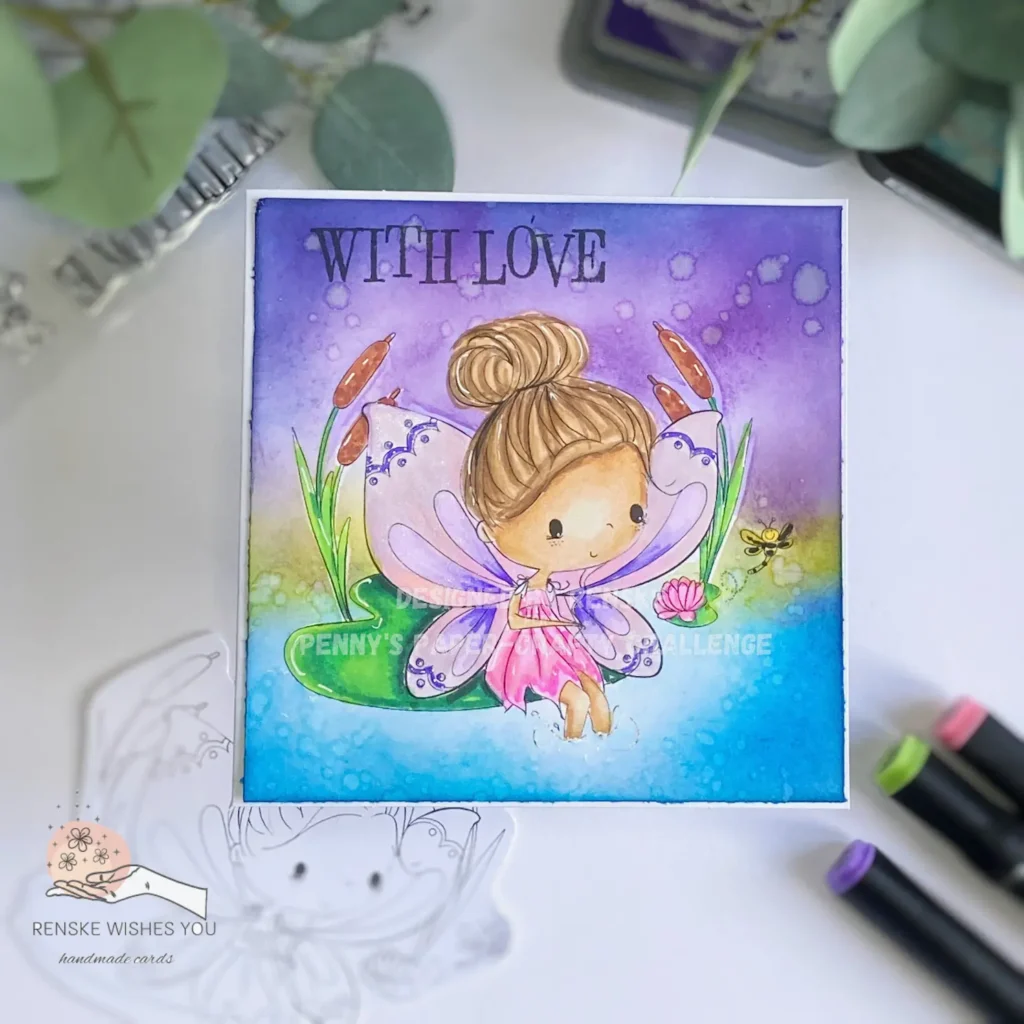
Create a magical one-layer card featuring a beautiful fairy design! Using simple tools and a few creative techniques like masking and digital stamps, you can create a design that feels intricate yet easy to make. I made this card, especially for Penny’s Paper-Crafty Challenge blog, and I’m excited to show you how to bring this fairy-themed design to life.
We’re thankful to our sponsors, All Dressed Up Stamps and Colour of Love, for their exceptional products that make crafting a joy.


In this tutorial, I’ll guide you step-by-step to create your magical fairy card, sharing masking techniques, alternative materials, and simple steps to follow along seamlessly.
- Crafting Essentials for Your One-Layer Fairy Card
- A Step-by-Step Tutorial to Craft Your One-Layer Card with the Water Lily Digital Stamp
- Let’s Get Creative
- Products used for this one-layered fairy card
- Affiliate products used
- Water lily Digital stamp All Dressed Up Stamps
- Distress Oxide Villainous potion from Ranger
- Distress Ink Chipped Sapphire from Ranger
- Distress Ink Salty Ocean from Ranger
- Distress Ink Tumbled Glass from Ranger
- Distress Mustard Seed from Ranger
- Blending brushes from StudiolightNL
- Memento Tuxedo Black Ink
- Twinmarkers from Decotimecrafts
- White Gelly Roll Pen 08
- Nuvo Aqua Shimmer Pen
- Affiliate products used
- Products used without affiliate links
- I would like to enter my card to the following challenges
Crafting Essentials for Your One-Layer Fairy Card
To create your captivating one-layer fairy card, it’s important you need the right materials to achieve the desired effect. Below is a detailed list of the supplies I used, with brief descriptions and alternatives to help you personalize this project.
| Material/Tool | Description | Alternatives |
|---|---|---|
| Digital Stamp | Water Lily from All Dressed Up Stamps. A detailed fairy stamp, perfect for magical-themed cards | Any fairy or nature-themed digital stamp or clear stamp. |
| White Card Base | Smooth white cardstock, 13 by 13 cm, used for the card base. | Any size or colour of card base, depending on your preferred style. |
| DCP Paper | White DCP paper to print the digital stamp, ensuring vibrant colours. | Any smooth, high-quality paper suitable for printing digital stamps. |
| Distress Inks | Salty Ocean, Chipped Sapphire, Tumbled Glass, Mustard Seed from Ranger, for blending the background. | Other water-based inks such as dye inks or chalk inks for a different texture. |
| Distress Oxide Ink | Villainous Potion from Ranger, adding depth and a magical feel to the design.. | Any rich purple ink or distress effect ink you have available. |
| Blending Brushes | StudiolightNL blending brushes to create smooth, blended transitions between ink colours. | Makeup sponges, soft cloth, or ink daubers. |
| Masking Tape/Post-It Notes | Used for masking areas to protect parts of the design while blending the background. | Washi tape, low-tack painter’s tape, or regular sticky notes. |
| Acrylic Block | Used to mount and stamp clear stamps accurately. | A stamping platform or any clear stamping tool you have. |
| Alcohol Markers | Used to colour the fairy with vibrant and rich hues. | Coloured pencils, watercolour pens, or any other preferred colouring medium. |
| White Gel Pen | Adds highlights and details to the fairy’s wings and other elements for a magical effect. | White paint pen, acrylic paint with a fine brush, or glitter pens for added sparkle. |
| Nuvo Aqua Shimmer Pen | Applied over the fairy and flowers to give a shimmering, magical finish. | Any clear glitter pen, Wink of Stella pens, or even liquid glitter glue for similar results. |
| Memento Tuxedo Black Ink | Crisp, clear ink for stamping the fairy outline. | Any black ink pad suitable for clear stamps, like Versafine or archival inks. |
Now that you have all your materials ready, you can begin making your magical one-layer fairy card! Each item is important for bringing your enchanting design to life, so don’t hesitate to try different options that match your style and preferences. Let’s move on to the step-by-step tutorial that will help you through the creation process!
A Step-by-Step Tutorial to Craft Your One-Layer Card with the Water Lily Digital Stamp
Creating a one-layer card with the Water Lily digital stamp is a delightful process that combines creativity with technique. In this step-by-step tutorial, you’ll discover how to use masking techniques and Distress Inks to achieve a vibrant background while keeping the card design simple yet captivating. Let’s get started!
Step 1. Preparing the “Water Lily” digital stamp for Printing
To kick off your enchanting one-layer fairy card, the first step is to prepare and print the Water Lily digital stamp from All Dressed Up Stamps. Ensuring the correct dimensions of the stamp is essential for the overall look of your card. Follow these steps to prepare your digital stamp for colouring:
Decide on Card Size
Determine the final size of your card. For this project, I’ve chosen a 13 by 13 cm one-layer card, so the digital stamp layer should be 12.5 by 12.5 cm.
Prepare the Digital Stamp
Open a Word document and paste the Water Lily digital stamp into it. Make sure there’s enough space around the stamp to achieve your desired size without distortion.
Set the Print Size
Print the digital stamp at a height of 9.5 cm, allowing the width to adjust automatically. Double-check that both dimensions fit within the 12.5 cm boundary.
Select the Right Paper
For optimal results, use DCP paper. This paper works well with alcohol markers and ensures vibrant colours when you start colouring.
Trim the Printed Stamp
Once printed, carefully cut your stamp down to 12.5 by 12.5 cm to match the card size.
Following these steps ensures your digital stamp is ready for the next step in crafting your one-layer card
Having trouble editing or colouring digital stamps? Download my free guide for extra tips and tricks to help you get started and perfect your digital stamps!
Step 2: Masking technique for digital stamps
In this step, we’ll focus on creating a beautiful background using a simple yet powerful masking technique. Masking is key to giving your card depth and dimension, allowing different layers to stand out while protecting certain areas from unwanted ink. By covering specific parts of the design, you create the illusion of depth as elements appear to be in front of or behind one another.
Unfortunately, I ran out of masking paper, but don’t worry—there’s an easy and cost-effective way to mask your digital stamp. For this project, I’ll be using regular copy paper and washi tape as my masking supplies. This technique still achieves great results, even with more affordable materials.
Print the Masking Pieces
Print the Water Lily digital stamp again on regular copy paper, ensuring it’s the same size as your original print.
Cut Out the Elements
Carefully cut out the different parts of the stamp, including the fairy on the water lily leaf, the reeds, the small water lily, and the butterfly. By cutting these pieces separately, you can mask individual elements more precisely. This is important because it allows you to apply different layers of ink or colour without affecting the masked sections.
Prepare the Masking
Use washi tape to adhere your cut-out pieces to the corresponding areas on your card. I like to fold the washi tape in half, so it has adhesive on both sides. Position the paper over the digital stamp, ensuring it covers the stamped area completely. Proper masking ensures these elements remain crisp and clean as we work on the background.

Mask the Remaining Elements
Repeat the masking process for the reeds, small water lily, and butterfly. This protective layer shields these elements from the ink we’ll apply to the background. Masking adds another dimension to your design because, once removed, the untouched areas will pop against the inked background, creating depth and interest.
Apply the Ink
Now that the masking is in place, grab your blending brush and create your background. Lightly draw a pencil line to mark the boundary between the water and the sky.
Start with the blue distress inks to create the water. I’m using Tumbled Glass, Salty Ocean, and Chipped Sapphire. Begin by applying Tumbled Glass over the entire water area. Next, add Chipped Sapphire along the edges and blend it inward with Salty Ocean. Layer the colours until you achieve the desired look.
When the water is finished, you can create the sky. Create a seamless transition between the water and sky, and add a small layer of Mustard Seed along the boundary. Apply Chipped Sapphire ink along the top edges, blending it into Villainous Potion Distress Oxide for depth.

Add Water Droplets
To finish off the background, use a small brush to splatter water droplets onto the inked area. This technique interacts with the Distress Ink, adding extra interest to your design.
Mastering the masking technique with digital stamps opens up a world of creative possibilities for your card-making projects. It allows you to layer inks, paints, and colours to build scenes with depth, making your designs stand out. Experimenting with different elements and colours can transform a simple project into a multi-dimensional work of art.
Now that we have a stunning background, we can move on to colouring our digital stamp.
Step 3: Bringing Your Fairy to Life with Colour
With a beautiful background in place, it’s time to add colour to the fairy and surrounding elements. For this project, I’ll use alcohol markers from Decotimecrafts. Here’s how I brought the Water Lily digital stamp to life:
Choose your colour combinations
Here are the marker combinations I used for different parts of the image:
- Skin: Tanned Skin (260), Peachy Blush (259), Salmon Pink (25), and Pale Cream (142)
- Hair: Pale Cream (142), Brown Grey (104), Walnut (100), and Clay (116)
- Dress and Lily: Pastel Pink (17), Pale Pink (09), Rose Pink (08), and Peony Purple (282)
- Reeds and Lily Pad: Yellow Green (48), Grass Green (47), Forest Green (50), and Deep Green (51)
- Upper Reeds: Rose Beige (97), Burnt Sienna (95), and Natural Oak (91)
- Wings (Inner Part): Pastel Pink (17), Flesh (139), and Pink Mauve (90)
- Wings (Outer Part): Ultra Marine (73), Pale Lilac (147), and Pastel Violet (78)
- Swirls and Dots: Ultra Marine (73)
- Butterfly: Lemon Yellow (35) and Black (120)
Start colouring
Begin by applying the colour combinations to each element. Work in layers to build depth and vibrancy. Here are some tips for softening transitions between colours:
- Layer Light to Dark: Start with lighter shades and gradually build up to darker shades. This technique helps avoid harsh lines and enhances the depth of your image.
- Blend While Wet: Apply your first colour and then immediately blend in the second colour while the first’s still wet. This helps to create smooth transitions.
- Use a Colourless Blender: This marker can help soften edges and blend colours seamlessly. Apply it where colours meet to create a softer look.

Add highlights
Once you’re satisfied with the colouring, grab a white gel pen to add highlights. Focus on areas like the reeds, lily pad, and dress, as well as the swirls and dots on the wings and in the hair. These highlights add dimension and sparkle to your fairy card.
Finish with glitter
To add a magical touch, use a Shimmer Aqua pen to add glitter to the wings. This catches the light beautifully and enhances the enchanting feel of your one-layer card.

By using alcohol markers and adding those finishing touches, you can transform your digital stamp into a captivating piece of art. The colouring process is where your creativity truly shines, and it’s a great way to personalise your one-layer card for any occasion.
Step 4: Finishing Touches and Adding Your Sentiment
Adding a thoughtful sentiment is essential, for completing the card. For this step, I’ll use a clear stamp set to convey my message beautifully. Here’s how to do it:
Choose your sentiment
I decided to use the sentiment “With Love” for this card. If you prefer digital text, ensure it’s printed alongside your image so that it seamlessly integrates into your one-layer design
Stamping the sentiment
To stamp the text, I used Memento Tuxedo Black ink for a crisp finish. Attach your chosen stamp to an acrylic block, position it at the top of your panel, and stamp down firmly.
Attach the Panel
With the sentiment stamped, it’s time to secure your panel to the card base. Apply a layer of glue to the back of the panel and press it onto your card base. Make sure it’s aligned properly for a clean look.

And just like that, your one-layer card’s complete! This step showcases how simple additions, like a sentiment, elevate your card design and make it truly personal. The combination of the Water Lily digital stamp and your heartfelt message creates a lovely card suitable for any occasion.
With your card finished, you can now showcase your beautiful creation or gift it to someone special!
")
Let’s Get Creative
With these steps, you’ve created a beautiful one-layer card featuring the Water Lily digital stamp. Using colour and applying masking techniques adds depth and character to your design. I hope you’re inspired to try these techniques yourself!
What technique do you use to mask your digital stamps? I look forward to hearing your experiences and tips!
Join the Challenge
I’d love for you to participate in the Penny’s Paper-Crafty Challenge blog!! It’s a fantastic opportunity to showcase your creativity and connect with fellow crafters. Join us and share your beautiful creations! Click the button below to learn more:
More Card Making Inspiration
Looking for additional card-making ideas? Here are some related blog posts you might find helpful:
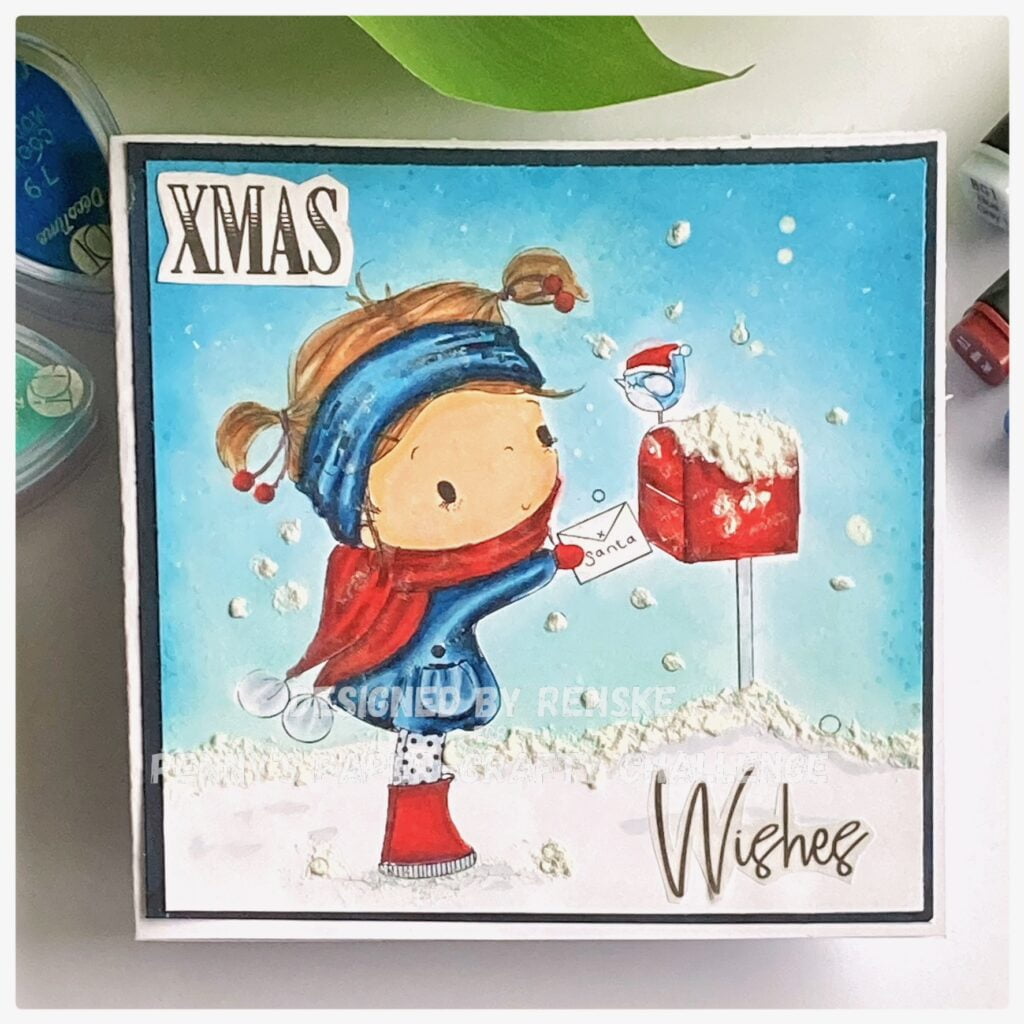
Santa Post | All Dressed Up Stamps
Another post on how to mask your digital stamps. This time I’ll use purple tape instead of washi tape.
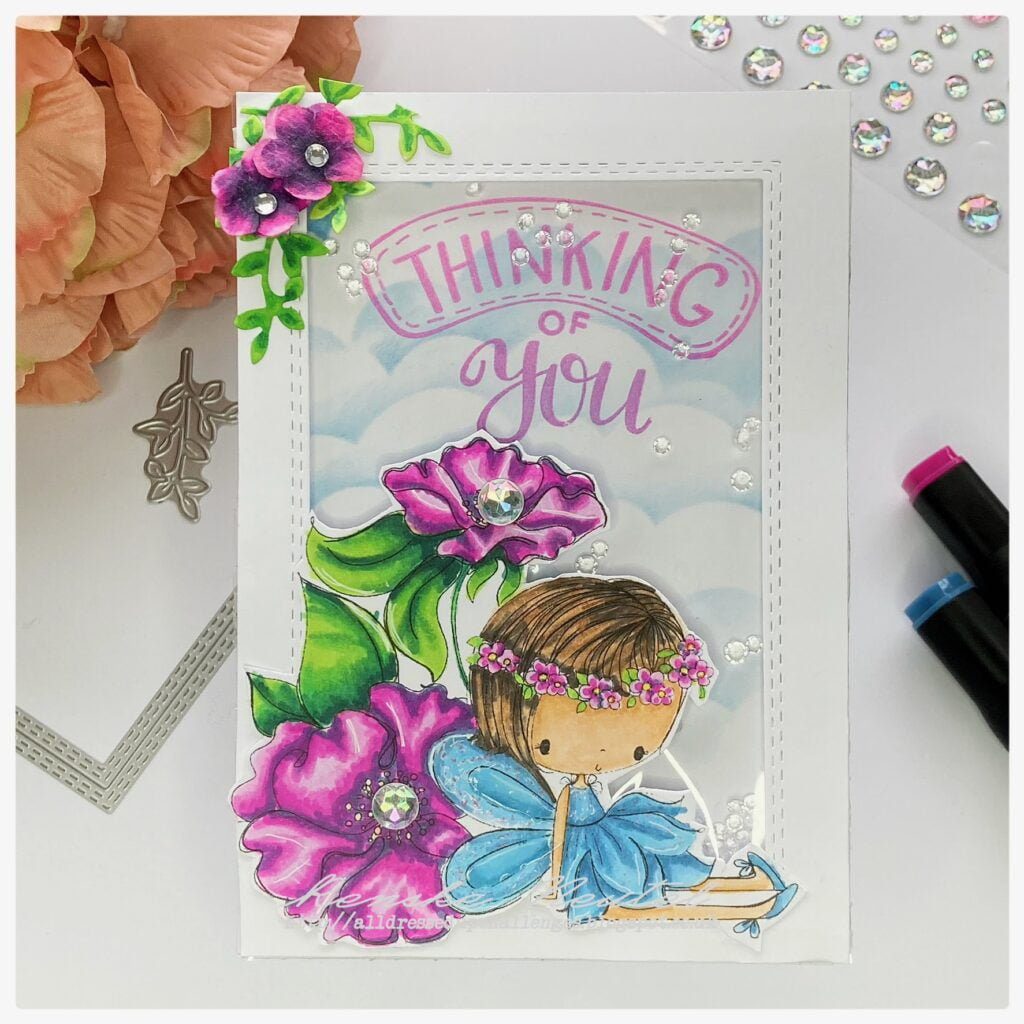
Little flower fairy shaker card | All Dressed Up Stamps
Another card I made with a fairy digital stamp from All Dressed Up Stamps.
Products used for this one-layered fairy card
Affiliate disclosure: This post contains affiliate links. If you click on one of these links and make a purchase, I may receive a small commission at no extra cost to you. This helps me continue sharing creative tutorials and tips. Thank you for being so supportive!
Affiliate products used
Water lily Digital stamp All Dressed Up Stamps

Distress Oxide Villainous potion from Ranger

Distress Ink Chipped Sapphire from Ranger

Distress Ink Salty Ocean from Ranger

Distress Ink Tumbled Glass from Ranger

Distress Mustard Seed from Ranger

Blending brushes from StudiolightNL

Memento Tuxedo Black Ink

Twinmarkers from Decotimecrafts

White Gelly Roll Pen 08

Nuvo Aqua Shimmer Pen

Products used without affiliate links
- Washi Tape (brand unknown)
- Acrylic Block (brand Unknown)
- DCP paper from Claire Fontaine
- Clear stamp set from Inkadinkadoo (Can’t find a link any more).
I would like to enter my card to the following challenges
- Krafty Chicks Challenge: Stamps
- Lil Patch of Crafty Friends Challenge …: Anything goes
- A Perfect Time To Craft Open Challenge: Anything goes
- Crafts Galore Encore Challenge Blog: Anything goes
- Pearly Sparkles Challenge Blog: Fantasy
A lovely card. Great techniques and tutorial. The image is adorable.
Thank you for joining in with the Crafts Galore Encore October Challenge “Anything Goes”. Good luck! x
thank you so much