
Some links in this post are affiliate links. This means I may earn a small commission if you make a purchase, at no extra cost to you. I only recommend products I use and genuinely enjoy in my own cardmaking. Read more here.
Crafting involves more than just paper and ink; it also encompasses the creative process, which is the part I enjoy the most. Imagine being able to capture the essence of love in a single card – a card that’s full of dimension and radiates love to the recipient.
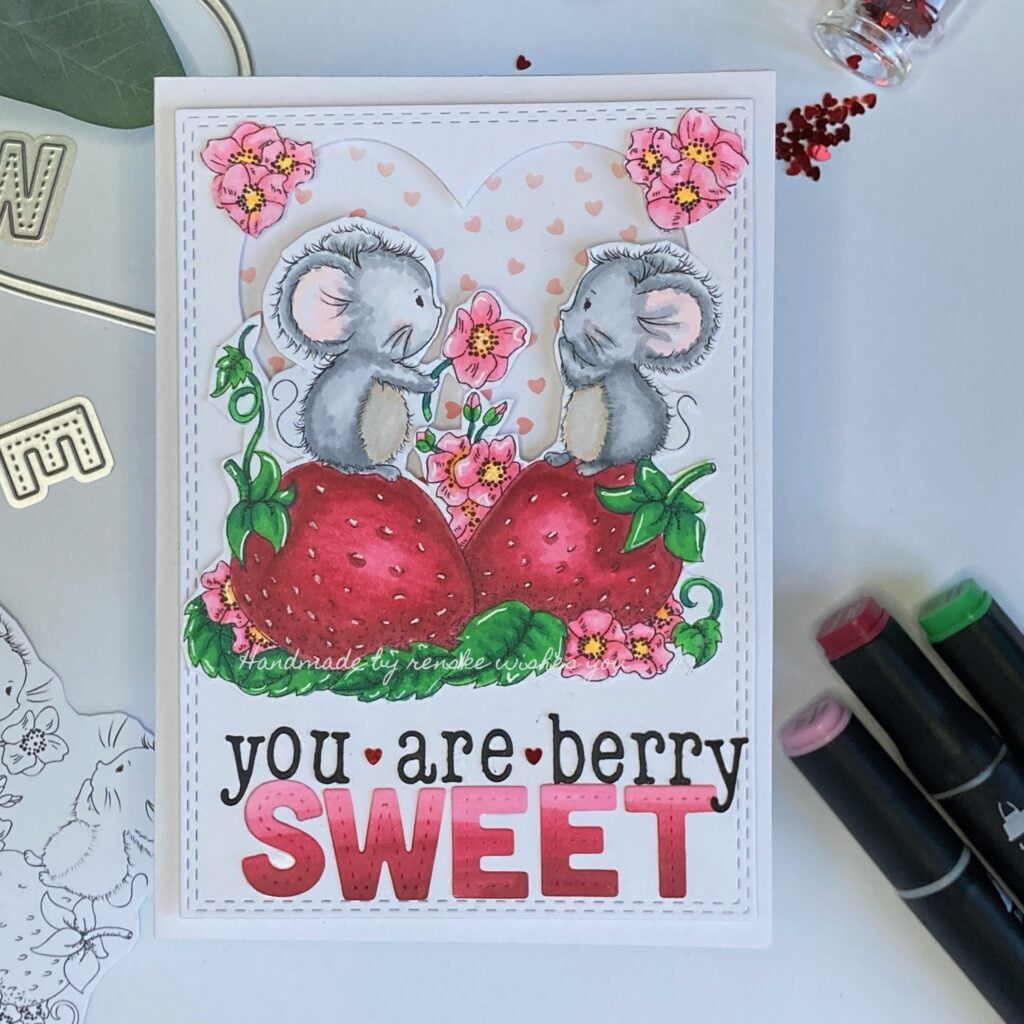
Join me as we discover the technique to transform a digital stamp into a 3D image, resulting in a beautiful 3D Valentine’s card.
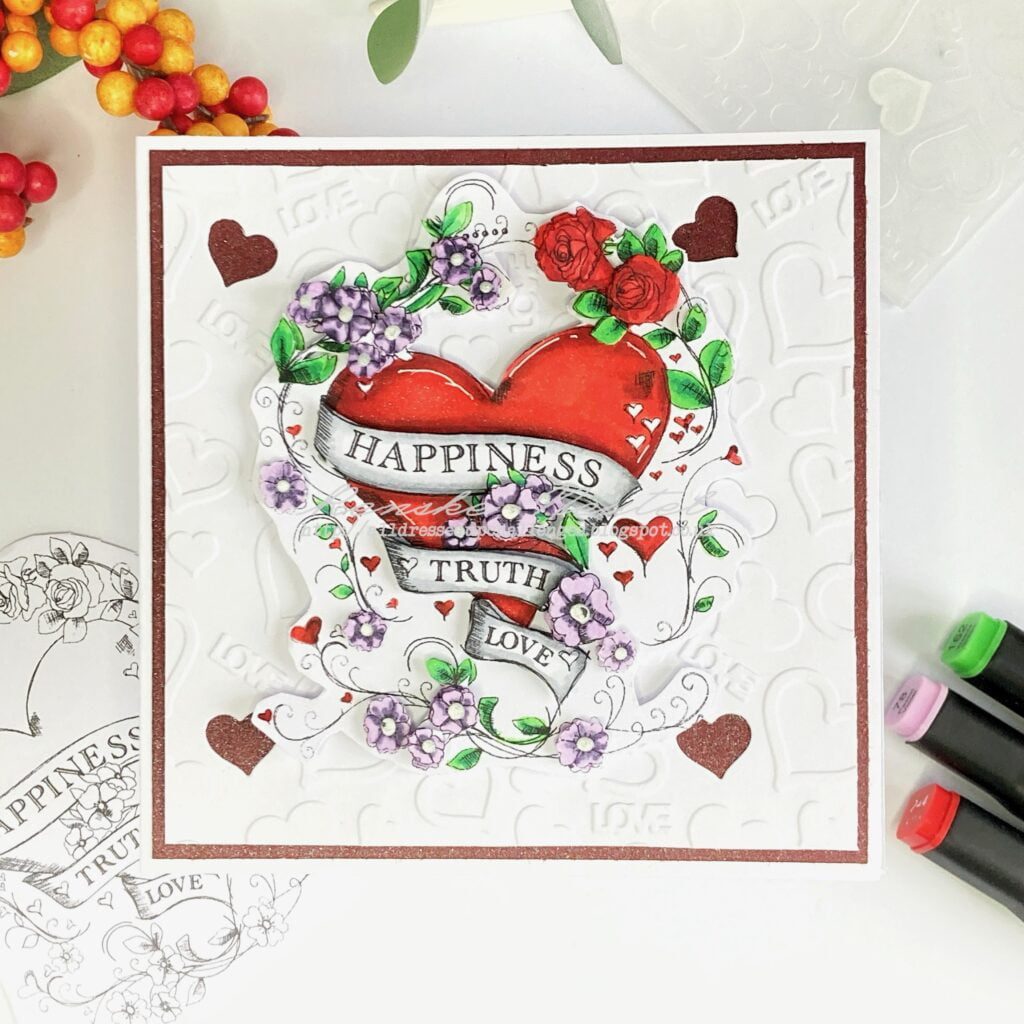
As a member of the design team at All Dressed Up Stamps, I created this inspirational Valentine’s card for the new Facebook group challenge. This time, the theme is ‘layer it’, and I started working with the digital stamp called ‘Happiness’, which is perfect for creating a 3D image.
Are you curious about how to create this beautiful card? Let’s dive into the explanation together.
Materials and dimensions for this 3D Valentine’s card
To make this 3D Valentine’s Day card we need the following materials and measurements.
Materials
- Digital Stamp: “Happiness” by All Dressed Up Stamps (you can use any digital stamp if you prefer).
- Paper for Printing: DCP paper (recommended for best results if you use alcohol markers).
- Embossing Folder: A hearts and love-themed embossing folder (or any other embossing folder of your choice).
- Colouring Tools: Alcohol markers (or any other colouring medium of your choice).
- Foam Tape: Needed to lift different elements.
Card dimensions
- Base Card: Handmade card measuring 13 cm x 13 cm.
- Background Paper: Red paper sized at 12.5 cm x 12.5 cm.
- Embossed Paper: White paper sized at 12 cm x 12 cm.
By gathering these materials and following the given dimensions, you can create your beautiful 3D Valentine’s Day card. Let’s get started!
Inspiration Behind the Card
Behind every creation lies a story, and the 3D Valentine’s Day card is no exception.
As a member of the All Dressed Up Stamps design team, the challenge of incorporating layers and dimensions was presented. I began searching for a stamp that would allow me to apply 3D elements and chose the digital stamp ‘Happiness’ for its genuine emotions.
Instead of using layers of paper, I aimed to create layers on the digital stamp. Join me on this creative journey and I will guide you step by step on how I transformed this digital stamp into a 3D image.
Step-by-Step Guide to Creating the 3D Valentine’s Card
Let’s create our card together with a step-by-step guide.
Step 1. Printing the Digital Stamp on DCP Paper
In order to use a digital stamp for creating a card, the first step is to print it out. To achieve the best results, it is recommended to use DCP paper which is compatible with alcohol markers.
To give the digital stamp a 3D effect, it is necessary to print it out multiple times. Choose the desired size of the stamp, and copy and paste it repeatedly to achieve uniformity across all the images. Make sure you have four equally-sized images and then print them out.
Step 2. Colouring the digital stamp Happiness
Once you have printed the digital stamp on DCP paper, you can start colouring it. For the digital stamp ‘Happiness’, the following colour combinations were used:
- The Heart: Cardinal (244), English Red (249), and Burgundy (247).
- The Banner: Cool Grey 5 (CG5), Cool Grey 4 (CG4), and Cool Grey 1 (CG1).
- The Leaves: Weeds Green (162), Grass Green (47), and Forest Green (50).
- The Roses: Cardinal (244), English Red (249), and Burgundy (247).
- Other Flowers: Pastel Violet (78), Grey Violet (80), and Deep Violet (81).
Now we can add layers to the digital stamp.

Step 3. Creating Dimension with Layering Techniques
In this step, we will learn how to add dimension to the coloured digital stamp using layering techniques.
To begin with, choose the specific elements of the stamped image that you want to enhance and raise. For instance, in the ‘Happiness’ digital stamp, you may want to raise elements such as roses, flowers, and the banner to create depth and visual appeal.
Next, cut these parts from the other printed non-coloured digital stamps with precision and accuracy to maintain their integrity during layering. Colour these elements using the same colours as indicated in the previous section.
Using foam tape, create layers by raising the selected elements and placing them strategically. This process gives a multi-dimensional effect to the design, making it look realistic and lively.
Step 5: Adding Finishing Touches and 3D Accents
After placing the 3D elements on the card, it’s time to work on the details of the card
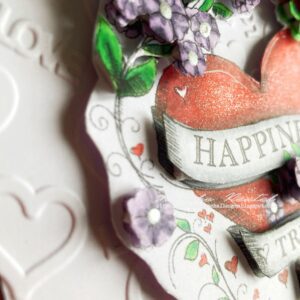
- Pearly 3D drops: First, apply pearly 3D paint to the centre of flowers like the violets to create stunning dimensional accents.
- Highlighting Details: Use a white gel pen to delicately highlight the heart-shaped centrepiece and accentuate specific areas to create a radiant effect.
- Adding shimmer to the heart: I used an aqua shimmer pen to add shimmer to the heart.
The final details, from pearly 3D droplets to nuanced highlights, provide an enchanting look to the ‘Happiness’ digital stamp, culminating in an enchanting 3D Valentine’s Day card.
Step 6. Creating the Embossed Background
To create a beautiful 3D Valentine’s Day card, it’s important to start by creating a textured embossed background. This will add visual interest and set the stage for the rest of the elements. Follow these steps to create the perfect embossed background:
- Choose an embossing folder that fits the theme of your card. Typically, folders with heart motifs or other love-themed designs work well, as they contribute to the card’s sentiment.
- Prep a piece of white paper by placing it into the embossing folder and ensuring it’s properly aligned to capture the desired pattern.
- Run the paper through a die-cutting and embossing machine to emboss the paper.
- Remove the paper from the embossing folder to reveal the intricate embossed pattern, which might include hearts and expressions like ‘love.’
This beautiful and textured paper will serve as the perfect background for your 3D Valentine’s Day card, elevating its visual appeal and setting the foundation for the layered design.
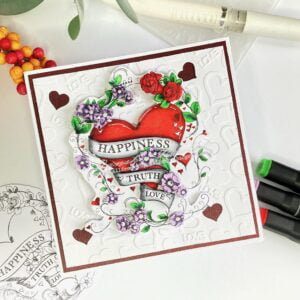
Step 7: Assembling the 3D Valentine’s Card
The culmination of meticulous crafting efforts is the assembly phase, where every element is carefully brought together to form the final 3D Valentine’s card.
- Attach the 3D image to the embossed background: Decide where you want the 3D image to be and use foam tape to attach it accurately to the embossed background panel.
- 2. Paste the embossed background to the red paper: Take a red paper measuring 12.5 centimetres by 12.5 centimetres and paste it onto it.
- 3. Glue everything to the card base: Finally, glue this entire arrangement to the card base.
And that’s it! Your 3D Valentine’s card is now ready to woo your loved one.
Crafting Together: Engage with the All Dressed Up Stamps Challenge
Are you feeling creative? Join the vibrant All Dressed Up Stamps community and take part in their exciting challenge! This month’s theme is ‘Layer It’, which means you can use multiple layers of paper or make the digital stamp 3D. The choice is yours, so let your imagination run wild!
To participate in the challenge, you must use an All Dressed Up Image and share your creation in the All Dressed Up Stamps’ Facebook group. This is a perfect opportunity to showcase your skills and engage with fellow crafters.
So, what are you waiting for? Create your interpretation of the theme and join the fun! You can find the challenge here.
Crafting Connections: Explore, Shop, and Engage
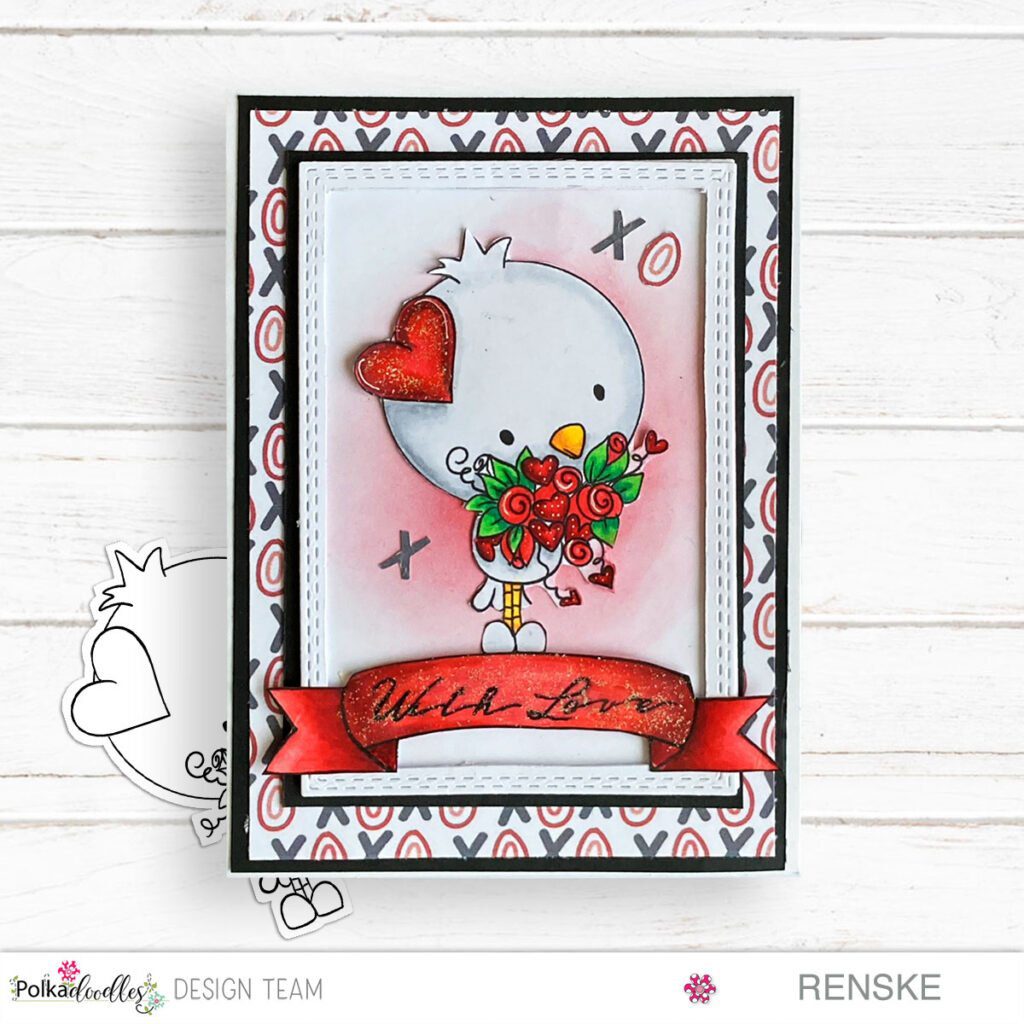
More homemade Valentine’s card ideas
While you’re here, feel free to explore related blog posts and discover the endless possibilities of card-making.

Affiliate products used
Happiness Digital stamp All Dressed Up stamps (nov 2025 not available anymore)

White Gel Pen

Nuvo Aqua Shimmer pen

Non-affiliate products used:
- Embossing folder. Brand unknown
- Alcohol Markers. Twin markers from Decotimecrafts
- Foam tape. Brand Unknown.
- Red card stock. Brand Unknown.
I would like to enter my card in the following challenges.
- Simon Says Stamp blog Wednesday: Anything goes
- Krafty Chicks Challenge: Anything goes
- Crafty Catz: Anything goes + Make them smile
- Lil Patch of Crafty Friends Challenge ...: Anything goes
- A Perfect Time To Craft Open Challenge: Anything goes
- Classic Design Challenge Blog: Anything goes
- Crafts Galore Encore Challenge Blog: Anything goes
- SheepSki Designs Challenges: Layer it
A fabulous, layered Valentine card! Love the dimension and textures. Thank you for sharing your project with us at the Crafts Galore Encore “Anything Goes” December Challenge. Good Luck and hope to see you again soon!
Carole x DT Craftilicious Creations
Thank you