

Hello, crafty friends!
Welcome to my blog, I love to share my passion and creativity with you and inspire you to make your beautiful cards. Today, I have a very special tutorial for you. I will show you how to make a cosy and snuggly snowman hug card with a new digital stamp from All Dressed Up Stamps.
All Dressed Up Stamps is a wonderful company that creates adorable and high-quality digital stamps for card making and other crafts. I am also a proud member of their design team, and I love working with their stamps. This month, they have released three new digital stamps that are perfect for winter and Christmas cards. You can see them in the previous section.
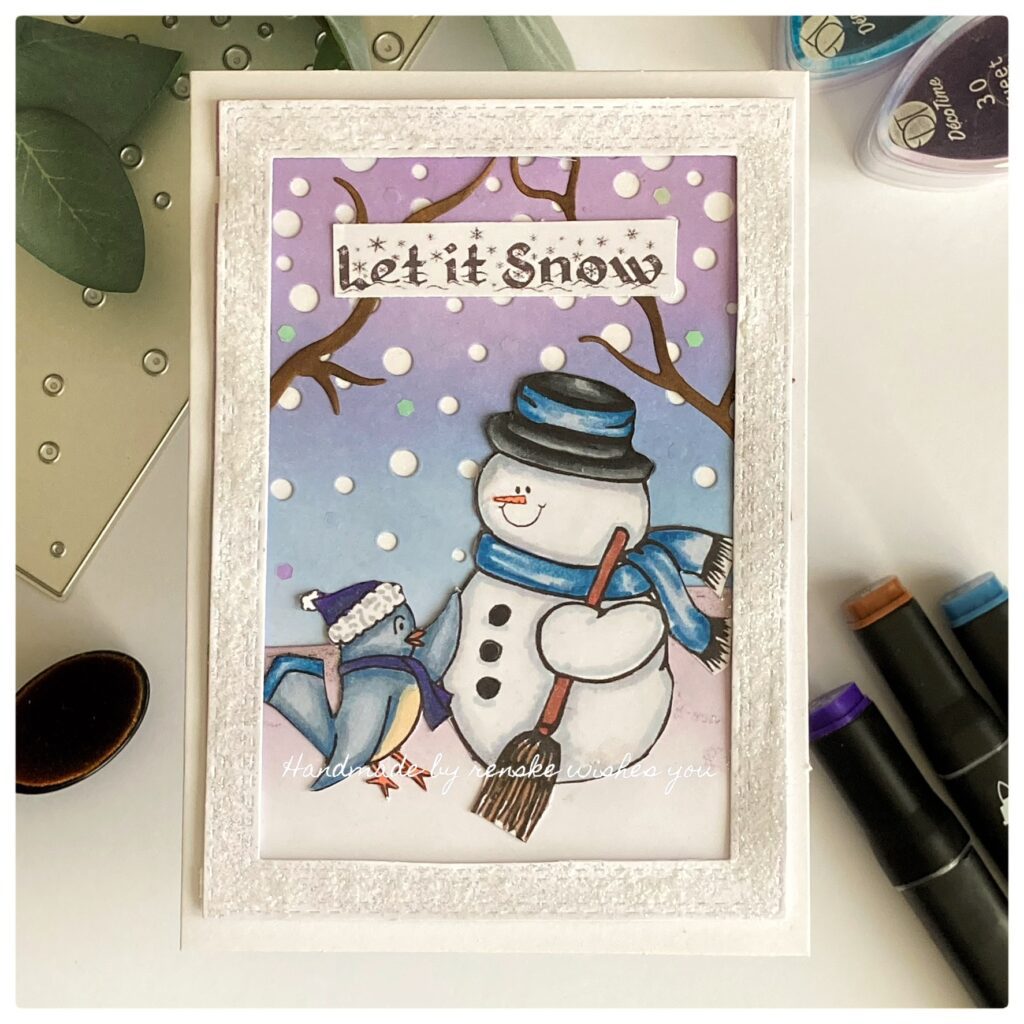
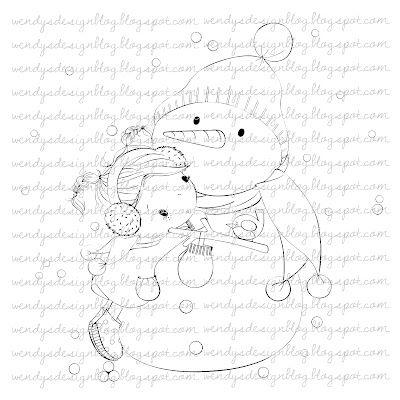
In this tutorial, I will use the snowman hug digital stamp, which is a cute image of a snowman getting a hug from a girl. It is a very cosy and snuggly stamp that can be used for any occasion. You can send this card to someone who needs a warm hug, or to someone who loves snowmen and winter.
By following this tutorial, you will be able to make a beautiful and unique card that will make someone smile. You will also learn some tips and tricks that you can use for your other card-making projects.
Are you ready to make this cosy and snuggly snowman hug card? Then, let’s begin! But before we do, I have a question for you. Have you ever used digital stamps for card making? Let me know in the comments below. And don’t forget to read on and subscribe to my blog and check out my related posts for more card-making inspiration. Thank you for reading and happy crafting!
New digital stamps from All Dressed Up Stamps
Before we start with the tutorial, I want to tell you about the new release stamps from All Dressed Up Stamps. They are a wonderful company that creates adorable and high-quality digital stamps for card making and other crafts. I am also a proud member of their design team, and I love working with their stamps.
This month, they have released three new digital stamps that are perfect for winter and Christmas cards. They are:
- Snowman hug: This is the stamp that I have used for my card. It is a cute image of a snowman getting a hug from a girl. It is a very cosy and snuggly stamp that can be used for any occasion. You can find it here or click on the link below the image.
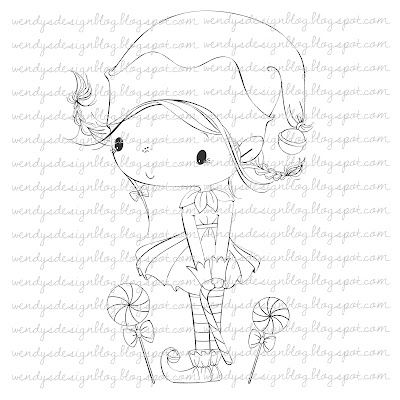
- Little Elf: This is a stamp of a little elf holding candy and being surrounded by candy. It is a very festive and cheerful stamp that can be used for Christmas cards or tags. You can find it here or click on the link below the image.
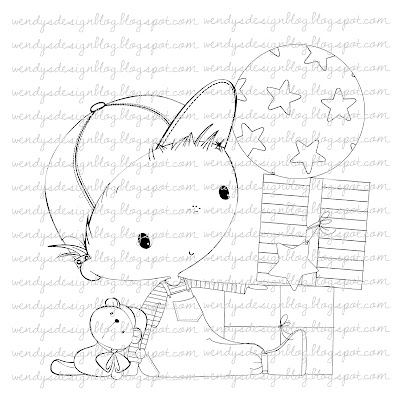
- Present Surprise: This is a stamp of a boy surrounded by presents and a balloon. It is an adorable and heartwarming stamp that can be used for Christmas cards, birthday cards or thank you cards. You can find it here or click the link below the image.
I hope you like these new digital stamps as much as I do. They are very fun and easy to use, and they can be coloured in many different ways. You can also mix and match them with other stamps or elements to create your own scenes and designs.
Now, let’s get started with the tutorial. I will show you how to make a cosy and snuggly snowman hug card with the snowman hug digital stamp. You will learn how to colour the stamp with alcohol markers, how to create a winter cottage background with embossing technique, and how to assemble and decorate the card. Are you ready? Let’s go!
Materials, tools, and measurements for this Snowman Hug card
To make this cosy and snuggly snowman hug card, you will need the following materials, tools, and measurements:
Materials
- Snowman Hug digital stamp by All Dressed Up Stamps
- Chalk ink by Decotimecrafts for the background
- Winter cottage stencil by Simple Stories to create the background.
- Nuvo clear mark embossing ink to emboss.
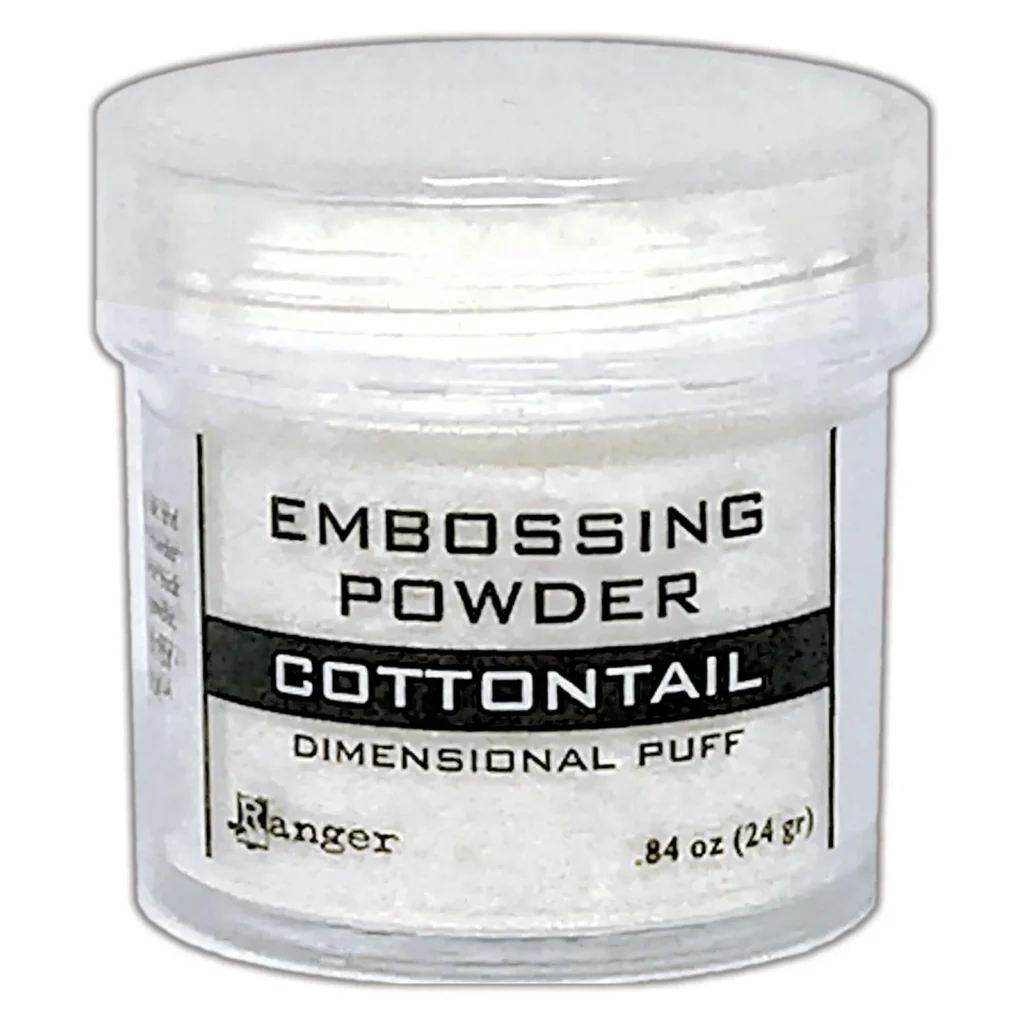
- White embossing powder by Ranger to create the shiny iceflowers.
- Alcohol markers by Decotimecrafts for colouring the digital stamp. But you can use any colouring medium you like.
- Clear stamps penguins by Craftemotions for additional elements
- Alphabet stans by Craftemotions for creating sentiments. But you can use any supplies to create letters for the sentiment.
Tools
- Rectangular and hill-shaped dies for card elements.
- Heat gun for embossing
- Cutting machine or scissors for crafting
- Stamping blocks for clear stamps
Card Dimensions
- Card base: I used a white card base measuring 10.5 cm x 14.8 cm.
- Background panel: I cut a white piece of paper measuring 10.5 cm x 14.8 cm
- Frame: Same as background panel size. I used white paper for this.
- Snow hill: Hand-cut or die-cut to fit the bottom of the background panel

These are the materials, tools, and measurements that I have used for my card. You can use the same ones or you can use different ones that you have or prefer. You can also use different colors or designs that suit your style or theme. The most important thing is to have fun and be creative.
Do you have all the materials and tools that you need? If not, you can click on the links that I have provided to get them. For a comprehensive list of the specific products used, including images and affiliate links, refer to the detailed product list provided at the end of this post.
Now that you have all the materials and tools, let’s move on to the next section. In the next section, I will show you how to download, print, and cut the digital stamp. Are you ready? Let’s go!
How to download, print, and cut the digital stamp
The first step to making this cosy and snuggly snowman hug card is to download, print, and cut the digital stamp. A digital stamp is a digital image that you can print and use for your card-making or other crafts. You can resize, flip, or rotate the digital stamp to fit your design. You can also combine it with other digital stamps or elements to create your own scenes and designs.
To download the digital stamp, you need to go to the All Dressed Up Etsy shop and find the Snowman Hug digital stamp. You can also click on the link that I have provided to go directly to the product page. You need to add the digital stamp to your cart and check out. You will receive an email with a link to download the digital stamp.
To print and cut the digital stamp, you can use any method that you prefer. I printed my image on DCP paper because it’s a good paper to use for my alcohol markers.
Colouring the digital stamp Snowman Hug
The next step to make this cosy and snuggly snowman hug card is to colour the digital stamp. I used alcohol markers for this, but you can use any colouring medium you like.
Colour combinations of the twin markers
To colour the digital stamp, you need to choose the colours that you want to use. I decided to use a light blue, pink and white colour scheme for my card.
The colour combinations that I used for the digital stamp are:
- The snowman: mauve shadow (146), Cool Grey 1 (CG1)
- Hat and scarf from the Snowman: Baby Boy (144), Midi Sky (190), Dark Sky (191), Dark Indigo (188). –
- The nose from the snowman; Bitter Sweet (267), Amber (266), Carrot Orange (269) –
- Skin: Tanned Skin (260), Peachy Blush (259), Salmon Pink (25), Barely Beige (29). –
- Hair: Leather (113), Brown Grey (104), Walnut (100) en Clay (116).
- Coat and earmuffs: Pastel Violet ( 78), Pastel Pink (17), Pale Pink (09), Rose Pink (08)
- Scarf and legging: Cool Greij 5 (CG5), Cool Grey 4 (CG4), and Cool Grey 1 (CG1).
- Shoes and a branch: Sand (107), Rose Beige (97), Natural Oak ( 91).
Colouring techniques
To colour the digital stamp, you need to follow these steps:
- Start with the lightest colour and colour the whole area of the part that you want to colour. For example, I started with the lightest blue and coloured the whole hat of the snowman.
- Add the second lightest colour and colour the areas where you want to create some shadows. For example, I added the second lightest blue and coloured the areas under the hat, the scarf, the arms, and the bottom of the snowman.
- Add the third lightest colour and colour the areas where you want to create more shadows. For example, I added the third lightest blue and coloured the areas under the hat, the scarf, the arms, and the bottom of the snowman, but with a smaller area than the second lightest colour.
- Add the darkest colour and colour the areas where you want to create the deepest shadows. For example, I added the darkest blue and coloured the areas under the hat, the scarf, the arms, and the bottom of the snowman, but with a smaller area than the third lightest colour.
- Go back to the lightest colour and blend the colours together. For example, I went back to the lightest blue and blended the colours from the lightest to the darkest, using small circular motions and overlapping the colours slightly.
- Repeat these steps for the other parts of the digital stamp, using different colours. For example, I repeated these steps for the girl’s hair, skin, clothes, and shoes, using different colours that you can see in the picture below.

These are the steps that I followed to colour the digital stamp with alcohol markers. You can follow the same steps or you can use different steps that work for you. You can also use different colours or techniques that suit your style or theme. The most important thing is to have fun and be creative.
How to create a winter background with embossing technique
The next step to make this cosy and snuggly snowman hug card is to create a winter background with an embossing technique. Embossing is a technique that creates a raised or textured pattern on paper. It can add some dimension and interest to your card and make it look more realistic and cosy.
To create a winter background with an embossing technique, you need to use a stencil, an embossing ink, and an embossing powder. A stencil is a thin sheet of plastic or metal that has a cut-out design. An embossing ink is a clear or coloured ink that is sticky and stays wet for a long time. An embossing powder is a fine powder that sticks to the embossing ink and melts when heated.
Making the blue background
To make the background for this card, you will need the white paper panel measuring 10,5 centimetres by 14,8 centimetres.
To create a beautiful background for your card, apply ink all over the white card panel using a blending tool. Begin from the top and blend downwards using circular motions, and slightly overlapping the colors. You may use multiple colours of chalk ink to achieve a gradient effect. I recommend using four colours of chalk ink such as blueberries, cookie monster, bright eyes, and pastel mint. Allow it to dry before embossing it to prevent unwanted areas from sticking with the embossing powder.
Using the Heat Embossing Technique
Take your stencil and place it over your background panel. Secure it with some tape to prevent it from moving. Apply the embossing ink over the stencil with another blending tool. Make sure to cover all the stencil areas with the embossing ink.
Remove the stencil and sprinkle the embossing powder over the card panel. Tap off the excess powder and return it to the container. You can use a small brush to remove any stray powder from the card panel.
Heat the card panel with a heat gun until the embossing powder melts and becomes shiny. Be careful not to overheat or burn the card panel.
Now you have your winter background ready to use for your card. You can set it aside for now and move on to the next step. In the next step, I will show you how to assemble and decorate the card. Are you looking forward to it? Let’s go!
Assemble and decorate the card
The final step to make this cosy and snuggly snowman hug card is to assemble and decorate the card. In this step, you will put all the elements together and add some finishing touches to your card. You will also add the sentiment and the embellishments to your card.
Creating the rectangle frame
Take your white card base and adhere to your winter background panel on top of it. You can use any adhesive you like. I used sticky glue.
Take your white cardstock and die-cut a rectangular frame with a double-stitched edge. You can use any rectangular die that you have or you can cut it by hand.
Adhere your rectangular frame on top of your winter background panel, aligning it with the edges of the card base. I used foam tape for this, to get more dimension on the card.
Creating the snow hill
Take your white cardstock and die-cut a snow hill with a curved edge. You can use any hill-shaped die that you have or you can cut it by hand. Colour the edge of your hill with the same colours you used for the snowman.
Adding the snowman and stamping the snowballs
Cut the coloured digital stamp with your scissors and adhere it with foam tape on the snow hill.
Stamp the snowballs on white paper with black ink.
Cut out the snowballs and colour them with the same colours that you used for the snowman. I used Mauve Shadow and Cool Grey 1 to create some shadows and highlights on the snowballs.
Adhere the snowballs on the snow hill, on both sides of the digital stamp. You can use the same adhesive that you used for the other elements or you can use foam pads to give some more dimension to your card. I used foam pads to make the snowballs stand out more.
Creating the Sentiment
Take your alphabet dies and die-cut the letters for the sentiment “warm hugs”. You can use any alphabet dies that you have or you can use stickers, stamps, or handwriting. I used black paper for the little letters, to make the word warm. I used big stitched letters for the word Hugs. First I coloured the white paper, with the same colours that I used for the girl’s clothes. Make it big enough, so the letters fit the coloured part, and die-cut the letters. Now you have beautiful gradient pink letters.
Adhere the letters on the top of your winter background panel, forming the words “warm hugs”. Because you are adhering the letters to the heat-embossed background, it can be tricky to adhere. So, you use sticky glue, and put for example an acrylic block on top of that, to let it dry.
Adding embellishments
Add embellishments to your card, such as glitter, sequins, gems, or stickers. You can use any embellishments that you like or that match your theme or style. I used some white glitter on the snowman, the snow hill, and the snowballs to make them sparkle.
Now you have your cosy and snuggly snowman hug card ready to use or to send to someone. I hope you liked it and learned something new. I would love to see your card and hear your feedback.

Inspire, Create, Share, and More!
Thank you for joining me on this creative journey as we crafted this cosy and snuggly snowman hug card. I hope you have joined the process and feel inspired to create your unique handmade cards.
If you have any questions, need clarifications, or want to share your thoughts, I’d love to hear from you. Crafting is not just a hobby; it’s a wonderful community and I’m here to support you in your creative endeavours.
More Card making ideas
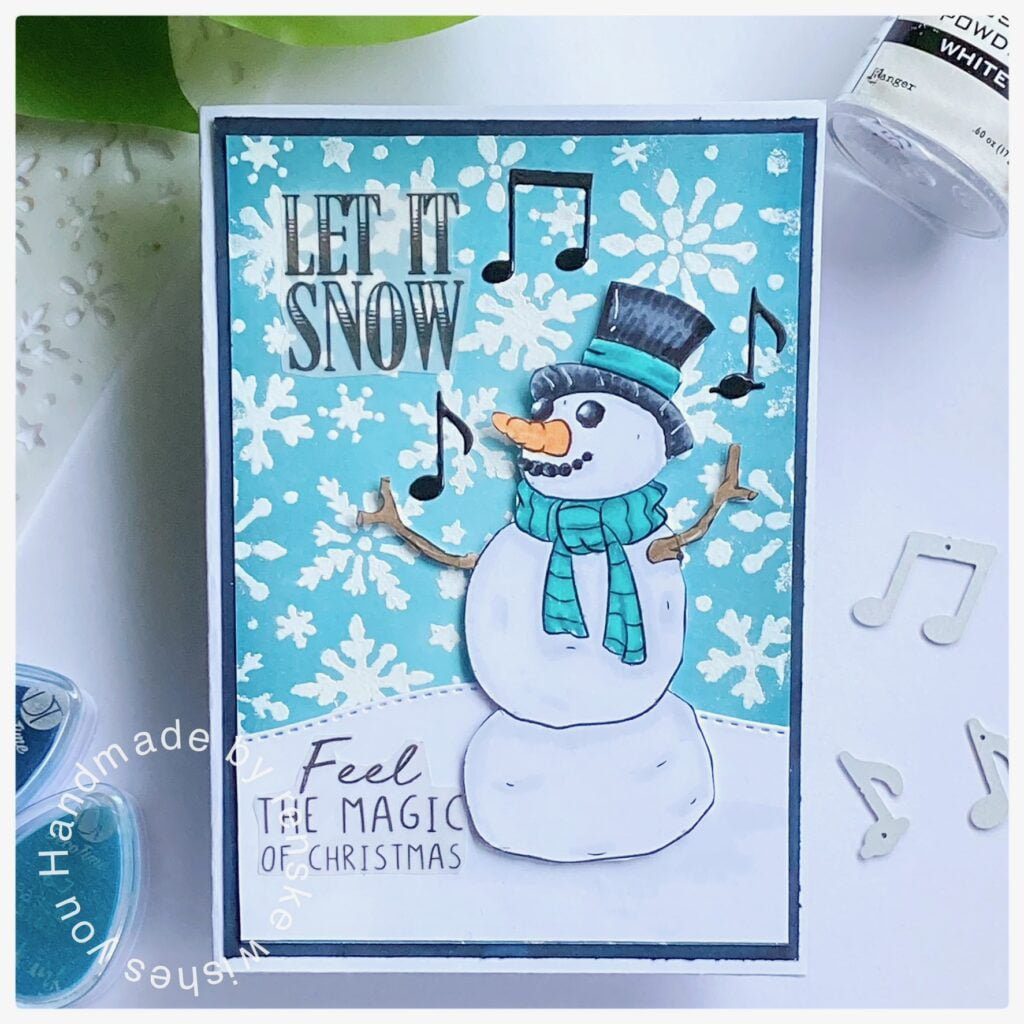
Do you want some more inspiration on cards with a snowman? I made a few more cards, which can also serve as inspiration.
Affiliate products used
Snowman Hugs Digital Stamp
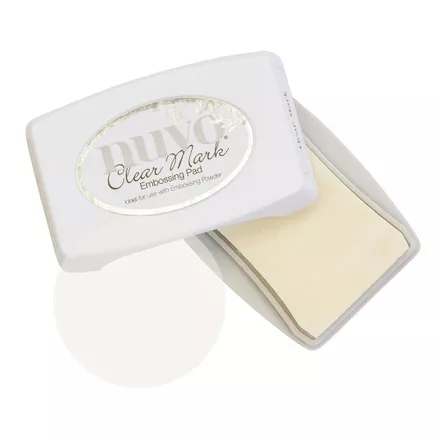
Nuvo Clear Mark Embossing ink

Penguin 2 Clear Stamps from Craftemotions

Little Alfabeth letters from Craftemotions
Non-Affiliate Products Used:
- Chalk ink Decotimecrafts
- Twin markers (alcohol markers) Decotimecrafts
I would like to enter my card in the following challenges
- Cardz4guys: Winter scene
- Passion for Markers: Winter
- Cardz 4 Galz: Embossing wet or dry
- Craft Rocket Challenges: Wintertime/no Christmas
- Krafty Chicks Challenge: All Occasions
- Lil Patch of Crafty Friends Challenge …: Anything goes
- 613 Avenue Create: Anything goes + embossing
- A Perfect Time To Craft Open Challenge: Anything goes
- Classic Design Challenge Blog: Anything goes
- Creative Moments: Winter
- Daisy Chain Challenges: Christmas/Winter
So adorable ❤️ sweet card Renske, as we are on the design team together I have to admit this is a fav of all the new releases we had this time… great card xx
Yes, me too. I love it. Thank you ❤️
Beautiful card. Image is adorable. Thanks for polaying with us at Creative Moments.
A super card. Thanks for joining Passion for Markers. Elaine
Another fun card Renske. The image is so sweet and your colouring is fantastic. I love the background and die cut letters. Thanks for sharing with us at Passion for Markers this week. Hugs, Denise x
Thank you so much ❤️
A truly sweet card. Winter Hugs, indeed. Thank you for sharing your project and all the creative details with us at C4G. Cheers, Jolanda – DT
Thank you
Love your creation! This looks stunning and cannot wait to try this. Thank you for inspiring me and for joining us at 613 Avenue
~Tamara (DT)
Thank you so much. I would love to see your creation ❤️