
Hello everyone!
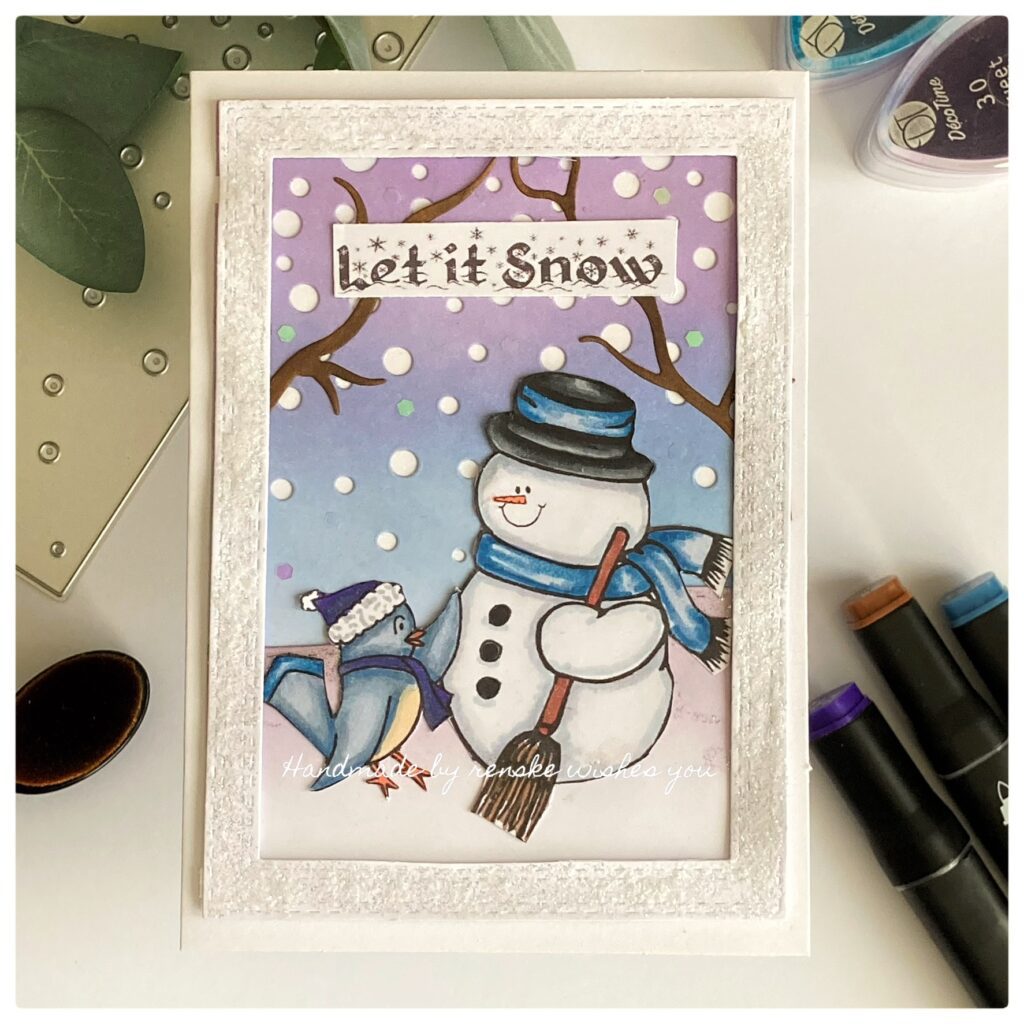
You’ve had to miss some inspiration from me for the Craft Challenge blog. I took a temporary break due to personal circumstances, but it all seems to be calmer now. I made this Christmas Snowman card for the new challenge, and the theme is Christmas this week. I had some trouble getting into the Christmas mood as it is quite hot here in the Netherlands. But the thought of snow did cool me down.
Our sponsors are:

I got to work on this cute snowman and bird.
Let’s get into it.
Card recipe:
- Base card measuring 10,5 centimetres by 15 centimetres. You will need a piece of card stock measuring 21 centimetres by 15 centimetres. Score at 10,5 centimetres.
- A piece of white card stock to make your background on.
- Rectangle die to die-cut the frame out of white card stock.
- Background die.
- Branch dies.
- Ink
- Twin markers (alcohol markers).
- Glitter glue.
- Glitter.
Coloring the digital stamp Christmas Snowman
I printed my digital stamp on DCP paper and coloured it with my alcohol markers.
- Hat of the snowman: Black (120), Cool Grey 9 (CG9), Cool Grey 8 (CG8), Cool Grey 5 (CG5).
- The band around the hat: Light Sky (189), Midi Sky (190) and Dark Sky (191).
- Snowman: Cool Grey 4 (CG4), Cool Grey 1 (CG1) and Colorless Blender (0).
- Broom: Dark Wood (119), Chocolat (118), Clay (116), Natural Oak (91), Burnt Wood (95).
- Hat of the bird: Blue Grey purple (158), Electric purple (159) and Ultra Marine (73).
- Bird: Blue Grey 1 (BG1), Blue Grey 3 (BG3).
- Belly of the bird: Caramel (253).
- Beak and legs: Orange (23).

Creating the Background
First, I apply the ink on the background. At the top of my background, I use the colour purple and at the bottom, blue.
I used the following colours:
- Sweet silk (30).
- I love purple (15).
- Blue Berry (78).
On this panel, I used a background die to make it look like it’s snowing. I also made a snow hill on which the snowman and the bird are standing. I die-cut it out of white card stock. On top of this snow mound, I applied some purple ink and glitter glue.
Creating your own glitter frame paper
I used two rectangular dies to die-cut a frame out of white cardboard. I want there to be glitter on the frame. On the frame, I apply some glitter glue and on top of that, I apply extra glitter to give it extra shine. I like the result.
Assembling the card
Now it’s time to assemble the card. First, I die-cut some branches out of brown paper and inked them with brown ink. I stick these branches on my background. On top of the branches, I stick my sentiment.
I stick my snow mound on the bottom of my background and stick my snowman and bird on top.
I stick the frame with foam tape on top of my background and stick this on top of my base card.

Thank you for visiting my blog. I hope you enjoy this post and get inspiration from it. Check out the creations of my other team members on the C.R.A.F.T. challenge blog. I hope to see you there.
Inspire, Create, Share, and More!
Thank You for joining me on this creative journey as we crafted this Christmas Snowman card. I hope you have joined the process and feel inspired to create a Christmas Snowman card yourself.
If you have any questions, need clarifications, or want to share your thoughts. I’d love to hear from you.
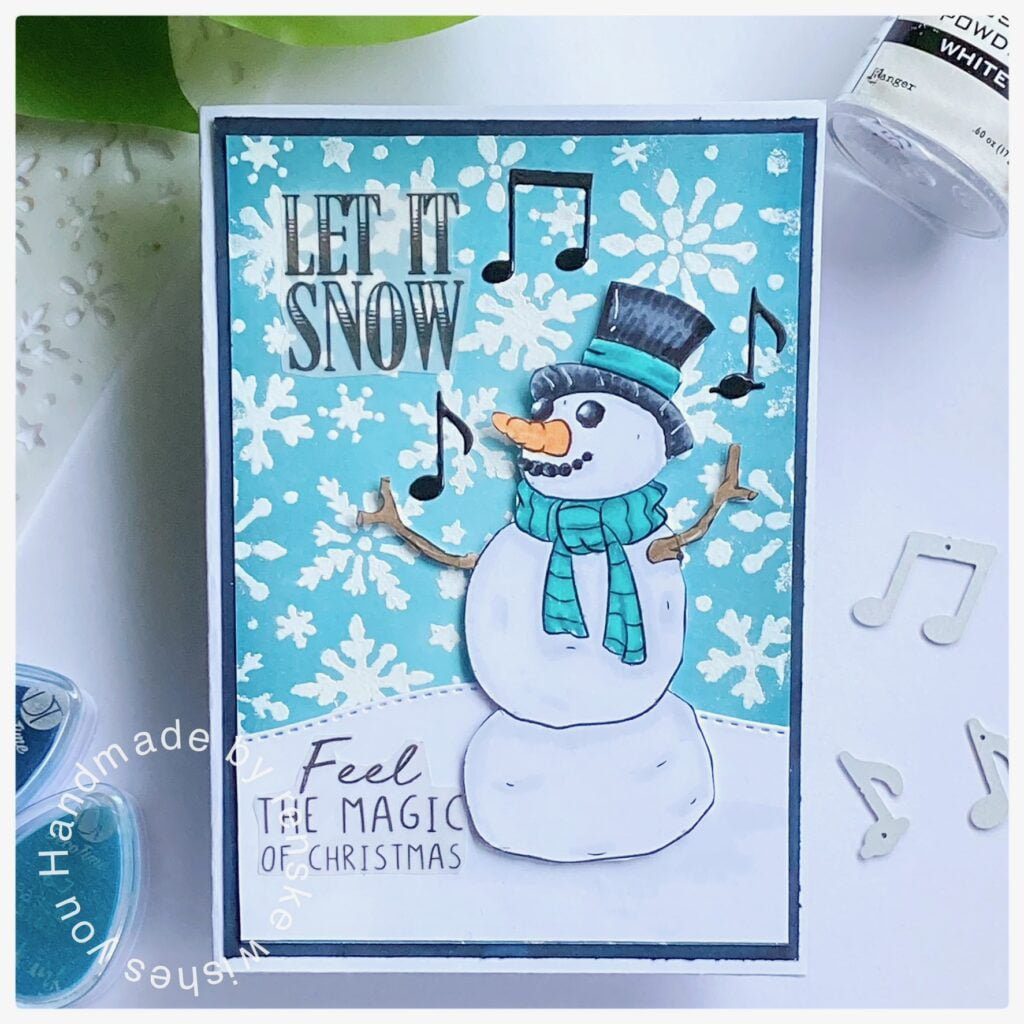
More Snowman Christmas card ideas
I would like to enter my card in the following challenges:
- Here is a place to start: Anything goes
- Fab ‘n’ Funky Challenges: Use a sentiment.
- The Paper Funday Challenges: Anything goes
- A Perfect Time To Craft Open Challenge: Anything goes
- Classic Design Challenge Blog: Anything goes
- Most Magical Time of the Year!: Most magical Halloween of Christmas Anything goes
Products I used:
- Digital stamp from D.R.S. designs.
- Chalk ink from Decotimecrafts.
- Twin markers (alcohol markers) from Decotimecrafts.
- Branch dies from Aveccreative.
- Glitter glue from Craftsensations.
- Glitter brand unknown.
Thank you for joining us at The Paper Funday, great colouring skills on a fab card.
Such a sweet Wintery scene and your coloring is fabulous. Thanks for joining us at the Paper Funday Challenge and we hope you will share again soon.
Donna xx
Beautiful Blossoms Challenge
Paper Funday Challenge
Inspiration Station Challenge
A little early over here for snow, but your project is adorable and nicely colored! Thanks for hanging out at A Place to Start !
Hugz,
Chana Malkah, Owner
Redora Lee Designs , My Blog
A Place to Start , Owner
613 Avenue Create , Owner
Love the cute image and sparkly frame.Thank you for joining us at The Crafty Addicts
Carol DT x
Thank you
Thank you for joining in at The Most Magical Time of the Year with your wonderful project. Val – DT
https://mostmagicaltimeoftheyear.blogspot.com
Met deze temperaturen zou je echt even de sneeuw willen hebben!
Het kaartje is superleuk, mooi gedaan!
Haha ja echt hè, even afkoelen en dan weer door. Dank je