

Welcome, crafters, to another exciting and creative journey on my blog! Today, we will be creating a strawberry gnome card.
Gnome-themed cards have become popular in the card-making community due to their whimsical charm and playful characters. These enchanting figures add a touch of magic and fun to any card, making them a favourite among handmade card enthusiasts.
In this tutorial, I will show you how to create a charming strawberry gnome card using digital stamps, digital paper, and sentiments from Polkadoodles. This project is part of the latest Polkadoodles challenge and is a fantastic way to explore new techniques and bring your creative ideas to life.
Creating this strawberry gnome card is a simple yet rewarding process, suitable for both beginners and experienced crafters. So, grab your crafting supplies, and let’s start this fun and inspiring project!
Materials Needed for this Strawberry Gnome Card
Here’s the list of materials needed to make the strawberry gnome card:
Polkadoodles Products
Digital Stamps
- Gnometastick Strawberry Dream: This adorable gnome with a pot of strawberries is the star of our card. Purchase here
- Spring Gnome fun puns, quotes and sentiments: Includes the “Gnome Sweet Gnome” sentiment. Purchase here
- Winnie Daisy greetings, quotes and sentiments: Includes the “Just wanted to make you smile” sentiment. Purchase here
Printable Paper Patterns
- Gnome Men Golf – Green and white striped paper: Used for the tablecloth design. Purchase here
Additional Materials
- Grey Textured Cardstock: Used for creating a background with a cosy, homely feel. Alternative: Any textured cardstock in a neutral colour.
- Background Die: Adds texture to the background. Alternative: Embossing folders or hand-drawn textures.
- Die-cutting machine (optional): Essential for using the background die and adding intricate details to your card.
- Distress Ink (Walnut Stain): Used to enhance the background texture. Alternative: Any brown ink pad.
- Green Cardstock: For layering and adding a pop of colour. Alternative: Any coloured cardstock that matches your theme.
- Black Cardstock: Forms the base of the table. Alternative: Dark brown or grey cardstock.
- White Cardstock: The base of the card. Alternative: Any sturdy, light-coloured cardstock.
- Edge Die: This creates a decorative edge for the tablecloth. Alternative: Scalloped scissors or an ornamental border punch.
- Colouring medium: Alcohol marker or any colouring medium you prefer.
- White Gel Pen: For adding highlights and extra details to your coloured image. You can also use a fine-tipped white marker or paint pen.
- Green and White Ribbon: Adds a finishing touch. Alternative: Any ribbon or twine that complements your card.
Feel free to substitute materials with what you have on hand, or explore the links to purchase the specific items used in this tutorial. Let’s gather our supplies and start crafting this charming strawberry gnome card!
Step-by-Step Tutorial Creating a Strawberry Gnome Card
Now that we have all our materials ready, it’s time to start the creative process! This step-by-step guide will walk you through making a charming strawberry gnome card. So, let’s get started!
Step 1: Preparing the Digital Stamp
To start, we will prepare our digital stamp, which will be the focal point of our card. Follow these steps to print, colour, and cut out the adorable strawberry gnome.
Printing on Suitable Paper
- Select the Paper: Use DCP paper, which is ideal for colouring with alcohol markers. This type of paper ensures smooth blending and vibrant colours. If you use a different colouring medium, a different kind of paper may be more suitable.
- Print the Stamp: Print the Gnometastic Strawberry Dream digital stamp on the DCP paper. Make sure your printer settings are adjusted for high-quality printing.
Colouring with Alcohol Markers
- Gather Your Markers: Use the following colour combinations to bring your gnome to life:
- Skin: Pale Cream, Salmon Pink, Peachy Blush, and Tanned Skin.
- Beard: Cool Grey 3 and Cool Grey 1.
- Hat: Yellow Green, Grass Green, Forest Green.
- Shirt: Cardinal, English Red, and Burgundy.
- Strawberries: Rose Pink, Cardinal, English Red, and Burgundy.
- Pot, Spoon, and Bowl: Terra Cotta, Terra, and Orange Ochre.
- Cream Pot: Apple Green, Grass Green, and Forest Green.
- Colour the Image: Carefully colour the digital stamp using the markers. Blend the colours smoothly to create depth and dimension.
- Tips for Beginners: If you’re new to alcohol markers, start by applying the lightest colour first, then add darker shades for shadows. Blend the colours together using a gentle, circular motion.
- Alternative Techniques: If you don’t have alcohol markers, you can use coloured pencils or watercolour paints. Just ensure the paper you use is compatible with your colouring medium.
Adding Highlights with a White Gel Pen
- Enhance with Highlights: Use a white gel pen to add highlights to your coloured image. This will give your gnome a more dynamic and polished look.
- Where to Highlight: Add highlights to the hat, stipple the strawberries, and highlight the pot and bowl for a glossy effect.
Cutting Out the Stamp
- Cut Precisely: Once the colouring is complete, carefully cut out the gnome image. Cut along the edges without leaving a white border for a clean look.


Having trouble editing or colouring digital stamps? Download my free guide for extra tips and tricks to help you perfect your digital stamps!
Step 2: Creating the Background
The background sets the scene for your charming strawberry gnome card. Follow these steps to create a textured, vintage-inspired background using grey cardstock and distress ink.
Using a Background Die to Create Wood Texture
- Select Your Cardstock: Choose a grey textured cardstock or any textured cardstock you prefer to give your card a cosy, homey feel.
- Prepare the Die: Use a background die with a wood texture pattern. If you don’t have a background die, use embossing folders or hand-draw wood grain patterns with a fine-tip pen.
- Die-Cut the Cardstock: Place the background die on the grey cardstock and run it through your die-cutting machine, ensuring even pressure to achieve a clear, consistent texture.
Applying Distress Ink for a Vintage Effect
- Choose Your Ink: elect distress ink in walnut stain for a vintage, aged appearance.
- Apply the Ink: Lightly drag the ink pad over the textured cardstock, focusing on the raised areas to enhance the wood grain effect. Use a light hand to avoid over-inking. If you don’t have distress ink, use other dye-based inks or lightly diluted acrylic paint.
Cutting the Background to the Correct Size
- Measure and Cut: rim the textured background to 9.5 centimetres by 13.8 centimetres. This size will fit perfectly on your card base, leaving a small border around the edges.
With the textured background ready, you can create the table where the gnome will sit in the next step!
Step 3: Making the Table Scene
Now that the background is ready, it’s time to assemble the table scene where your gnome will sit. This step involves putting together the table and placing the gnome to bring the card to life.
Cutting and Shaping the Black Cardstock and Pattern Paper
- Black Cardstock Base: Cut a piece of black cardstock to 9.5 centimetres by 5 centimetres. This will serve as the base for your table.
- Pattern Paper: Use the pattern paper from the Gnome Men Golf – printable paper patterns. Cut it to 9.5 centimetres wide and shape it into a point that falls downward, resembling a tablecloth.
- Edge Die for Decoration: Use an edge die with a wavy pattern to cut diagonally downward on both sides of the pattern paper. This will create a decorative edge, making it look like a tablecloth draping over the table.
Assembling the Table Scene with Foam Tape for Dimension
- Attach the Black Cardstock: Glue the black cardstock to the bottom of the textured background you created in Step 2.
- Add the Pattern Paper: Place the shaped pattern paper on top of the black cardstock, aligning it carefully. This layered effect simulates a table with a draped tablecloth.
- Position the Gnome: Place foam tape on the back of your coloured gnome stamp to give it dimension. Position the gnome logically on the table, ensuring his armrests naturally and the pot and bowl are on the table.
Once the table scene is complete, you will have set the stage for your gnome. Next, we’ll add the text elements to personalize and complete your card!

Step 4: Adding Sentiments
Adding sentiments to your card is a wonderful way to personalize and convey your message. In this step, we will incorporate text elements from the Polkadoodles sets to enhance the charm of your strawberry gnome card.
Choosing and Preparing the Sentiments from Polkadoodles Sets
- Gnome Sweet Gnome: From the Spring Gnome fun puns, quotes, and sentiments set, choose the “Gnome Sweet Gnome” sentiment. This sentiment adds a cosy, homey feel to your card.
- Just Wanted to Make You Smile: From the Winnie Daisy greetings, quotes, and sentiments set, use the sentiment “Just wanted to make you smile.” This sentiment is playful and heartwarming, perfect for adding a personal touch.
Inking the Edges for a Vintage Look
- Cutting the Sentiments: Cut the “Gnome Sweet Gnome” sentiment following the round shape of the text. For the “Just wanted to make you smile” sentiment, cut it into individual words: “just wanted to,” “make,” “you,” and “smile.”
- Distressing the Edges: Use distress ink to ink the edges of each cut-out sentiment. This technique gives the paper a vintage, aged look, adding depth and interest to your card.
Arranging the Sentiments on the Card
- Placing Gnome Sweet Gnome: Position the “Gnome Sweet Gnome” sentiment in the top right corner of your card. It should look like a framed picture on the wall behind the gnome, adding to the homey atmosphere.
- Arranging Just Wanted to Make You Smile:
- Just wanted to: Place this segment below the gnome, on the tablecloth.
- Smile: Position this word directly beneath “just wanted to,” completing the phrase on the tablecloth.
- Make: Place this word on the left side of the tablecloth.
- You: Position this word on the right side of the tablecloth. Together, these words form the complete sentiment “Just wanted to make you smile,” spread artfully across the card.
By carefully choosing, preparing, and arranging your sentiments, you add a layer of emotion and meaning to your strawberry gnome card. This step ties together all the elements, making your card truly special.

Step 5: Final Assembly and Embellishments
It’s time to bring all the elements together and add those final touches that make your card special. In this step, we’ll assemble the card base, layer the components, and add a green ribbon for a decorative finish.
Assembling the Card Base and Layering the Components
- Creating the Card Base:
- Dimensions: the card base should be 10.5 centimetres by 14.8 centimetres.
- Materials: Use sturdy cardstock measuring 21 centimeters by 14.8 centimeters.
- Scoring and Folding: Score the 21-centimetre side at 10.5 centimetres and fold it in half to create your card base.
- Adding a Green Border:
- Green Cardstock: Cut a piece of green cardstock to 10 centimetres by 14.3 centimetres. This will create a nice green border around your background.
- Layering: Attach the textured background with the gnome scene to the green cardstock.
- Final Assembly:
- Attach the Layered Background: Glue the layered background onto the card base, ensuring it’s centred and even.
Adding a Green Ribbon for a Decorative Touch
- Placing the Ribbon:
- Positioning: I noticed that the top left corner looked a bit empty, so I decided to add a green ribbon to enhance the overall look. The green ribbon complements the card’s colour scheme and adds a finishing touch of elegance.
- Tying the Bow: Tie a small, neat bow with the green ribbon and secure it in the top left corner of the card using glue or a glue dot.
You can use other embellishments on the place of the green ribbon to personalize the card further.
By carefully assembling the card and adding thoughtful embellishments, you’ll create a charming strawberry gnome card that will impress. These final steps bring your creation to life, adding depth, texture, and a personal touch that makes it truly unique.

Let’s Get Creative Together
We’ve covered the entire process of creating a strawberry gnome card, from preparing your digital stamp to assembling the final product. Now it’s your turn to test your crafting skills and bring your unique creations to life. Embrace the joy of handmade card making and let your creativity shine!
Join the Polkadoodles Challenge
This card was specially created for the new challenge on the Polkadoodles challenge blog. The challenge encourages crafters to showcase their creativity using any product they like. It’s a fantastic opportunity to join a community of like-minded card makers, get inspired, and maybe even win prizes! Click the button below to join the challenge and start creating.
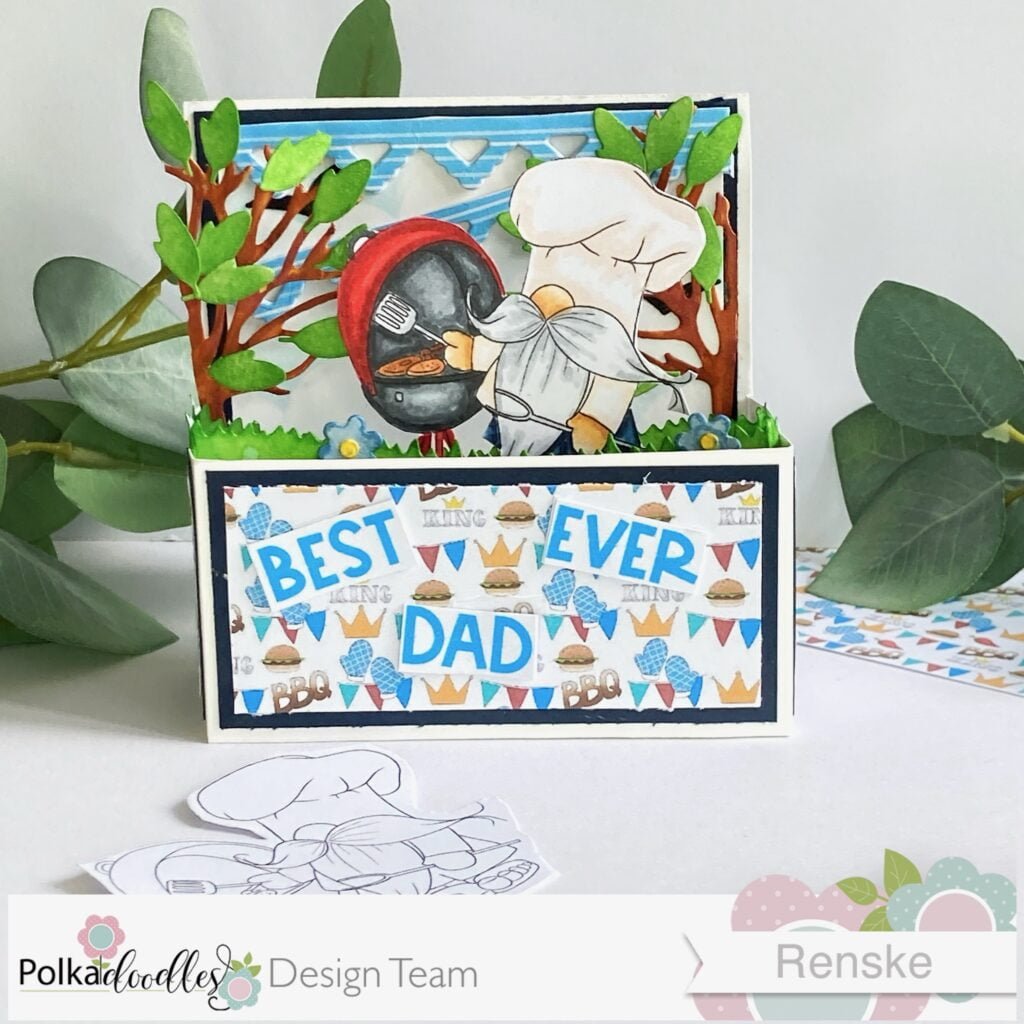
More Gnome Card Inspiration with Polkadoodles
Explore more creative ideas and tutorials on making gnome cards. These projects offer additional techniques and designs to keep your crafting journey exciting and innovative. Click the links below to discover more inspiring projects.
Polkadoodles products used for the strawberry gnome card
Gnometastic Strawberry Dream digital stamp

Gnome men Father’s Day digital pattern paper

Winnie Daisy Greetings

Spring Gnomes fun puns greetings

I would like to enter my card in the following challenges:
- A Place To Start: Anything goes
- Unicorn Challenge Blog: Not square
- Passion for Markers: Use a die
- CREATIVE INSPIRATIONS: Anything goes
- Crafty Catz: Anything goes + Embellishments
- A Perfect Time To Craft Open Challenge: Anything goes
- Carlin’s Kaartenparadijs: Anything goes
- Crafter’s Cafe: Include a gnome
Hello there, your gnome is super cute and you have made him into a wonderful card! Thanks for joining in with my use a die challenge at Passion for Markers this week, Sarah – DT.
Thank you so much Sarah.
OMGoodness he is such a cute little dude,
Thank you so much for joining us at Crafty Catz Challenge,
we hope to see you in future challenges.
Keep it Crafty
Hugs Bridget CCDT
Ah thank you so much for your lovely comment