

Some links in this post are affiliate links. This means I may earn a small commission if you make a purchase, at no extra cost to you. I only recommend products I use and genuinely enjoy in my own cardmaking. Read more here.
Hello everyone!
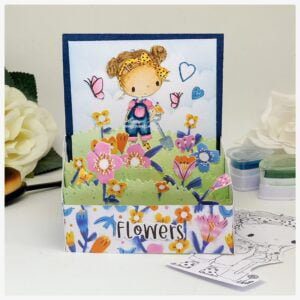
In this step-by-step card-in-a-box tutorial, I show you how to make a beautiful beach-themed card with Surfer Emma. Welcome to a new crafting adventure where we are making a card in a box. Whether you are a seasoned crafter or just starting, this journey promises a sea of inspiration and a chance to create a unique masterpiece.
But that is not all – another new challenge has started on the Penny’s Paper-Crafty Challenge blog. It is a chance to express your creativity and win fabulous prizes. So, before we start our crafting journey, let me introduce our sponsors for this challenge.

Paper Nest Dolls

In this tutorial, I guide you through how to make a beautiful card in a box with Surfer Emma. From the sandy beaches to the rolling waves, I explain every detail meticulously, with step-by-step instructions. By the end of this tutorial, you will not only have a beautiful card but also the skills to create a card in a box on your own.
So, grab your crafting gear, get inspired and let’s go on this creative adventure together!
Materials you’ll need for our Card in a Box tutorial
Before we start with our beach-themed card and Surfer Emma, we need to ensure you have all the craft supplies to hand. Here is a list of materials you’ll need:
For the card base:
- A4 size cardstock (colour of your choice)
- Glue (double-sided tape or glue)
- Scissors
- Ruler
For Surfer Emma and Decorations
- Printer and white cardstock for printing the digital stamp.
- Colouring materials (markers, coloured pencils or watercolours).
- Scissors or precision cutters.
- Glue.
- Craft paper for die-cutting the waves.
- Die-cutting machine (if available). You can also cut it yourself.
- Ink for shading paper (blue for water, brown for sand).
- Metallic paint for splatter effects, brown for the waves, and blue for the water.
Additional elements
- Die-cutting die for the coral.
- Die-cutting die for the stars.
- Die-cutting die for the crab.
- White card stock to die-cut from.
- Glitter pen
- Everything to make your creation personal!
Don’t worry if you don’t have all these materials – you can get creative with what you have. Now that we have gathered our materials, we can get to work making our card.
Surfer Emma: Our Star of the Day
Before we dive into the creative process, let’s meet our star of the day, Surfer Emma! She is the heart and soul of our beach-themed card, she is standing in the spotlight.
Surfer Emma
Surfer Emma is a digital stamp from The Paper Nest Dolls, one of our generous sponsors for this crafting adventure. This charming character is all set to ride the waves with her surfboard in hand and a sunny mood on her face.
Fun fact: Surfer Emma loves the sea. This is where she would prefer to be every day. So, every chance she has, she takes it to go surfing on the waves. Let’s reflect that love for the beach and the sea in our card.
Now that we have met Surfer Emma, it is time to bring her to life with colours and craft our beach paradise together. So, grab your favourite colouring stuff and let’s start the next step of our card-in-a-box tutorial!
Building the Card-in-a-Box Foundation
Before we start making the picturesque beach scene, let’s start with the base of our card in a box. In this step, I tell you how to make a box card. Follow these steps to make the card base:
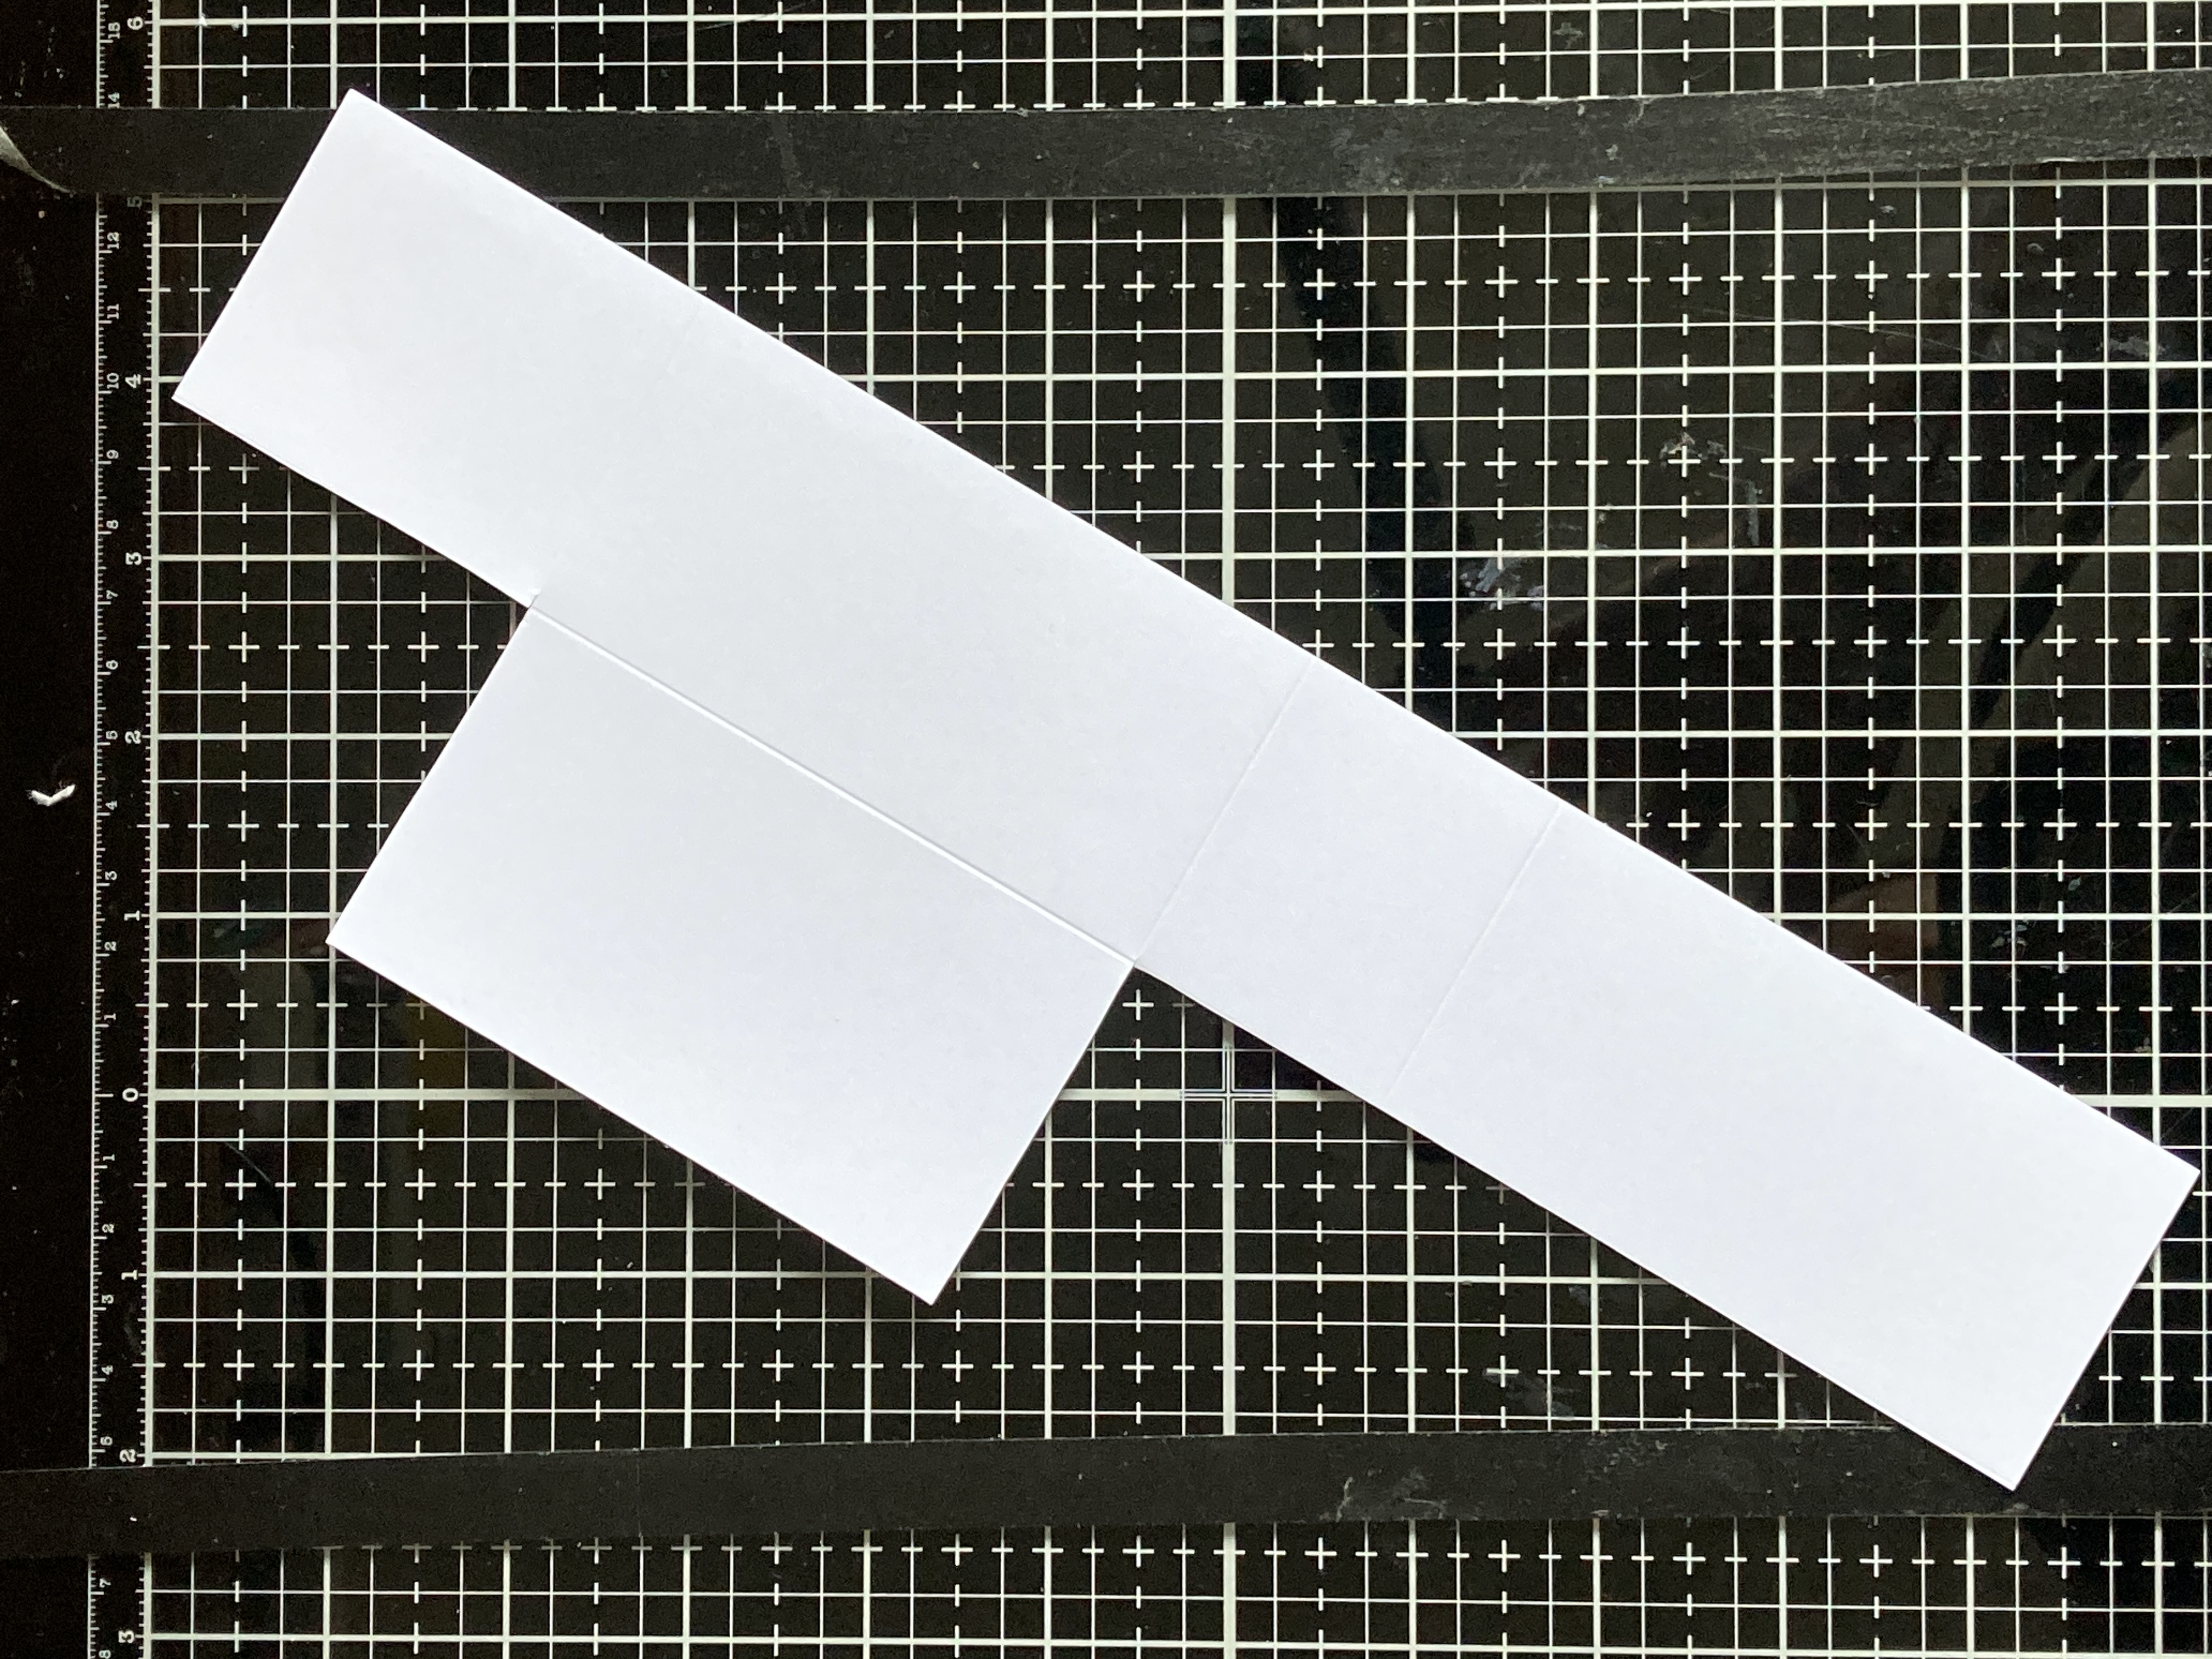
Prepare your cardstock
- Take your A4-sized cardstock and cut it in half on the short side. You now have a 29.7-centimetre by 10.5-centimetre piece.
- On the long side, make notches at 10 cm, 14 cm, 24 cm and 28 cm.
- Score the short side at 5.5 cm.
- At 24 cm, remove the entire corner at the top.
- Remove the corner to 14 centimetres at the top.
Make a window
- On the front panel of your card base, carefully cut out a rectangular window. On each side, I leave a 0.5-centimetre space so that there is a white border around the transparent window. You can use a hobby knife and ruler for precision.
- After cutting out the window, attach a piece of acetate to the inside of the card base to cover the opening. This will create a “window” through which you can see inside. If you don’t have acetate at home, you could also use a window from a packet of macaroni or something similar.
Fold and assemble:
- Now fold your scored cardstock to make the card box. The flap at the top is the back.
- To ensure your card base is sturdy, reinforce the scored lines by folding them well and using glue to secure the flaps.
With the card base in place, we are ready to stage our beach-themed card. In the next section, we’ll guide you through creating the background, complete with sunny skies, rolling waves and sandy beaches.
Creating the Beachy Backdrop
Now, let’s dive into the creative process of crafting the background for our beach-themed card.
Prepare Your Scene Elements
- Sun and sky: Start with a piece of white cardboard measuring 9.5 centimetres by 10 centimetres. This will be the canvas for our sky. You have the option of colouring the edges with blue ink or using blue-coloured paper to create a serene sky.
- Sunbeams: In addition, you will need another piece of white cardstock, this time measuring 9 centimetres by 9.5 centimetres. With this, we will create vibrant sun rays to bring our scene to life.
- Ocean waves: We need a piece of white cardstock to punch out waves. These waves represent the undulating sea in your beach scene.
- Beach hills: Prepare three pieces of craft cardboard to punch out beach hills. These hills add depth and texture to our sandy beaches.
Ink the sky
I chose white paper to use as the first layer of the background. I use blue ink, to colour in the edges.
Craft Sunbeams
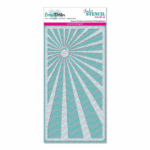
To create a sunny, radiant mood, use a sunburst stencil with your preferred ink colours. I used the following colours:
- Golden Sunset (40)
- Golden Retriever (71)
- Neon Yellow (47)
Apply this chalk ink through the stencil on the 9 cm by 9.5 cm piece of white cardboard to create an enchanting sunburst effect.
Assemble the background
First, attach the paper with the sun rays (9cm by 9.5cm) to the paper with the inked blue edges.
Then attach this to the back panel of our box.
Ocean Waves and Beach Hills
- Use white paper to die-cut the waves representing the sea. We need one strip. The strip should be 12 centimetres long and scored at 1 centimetre on each side.
- To bring the ocean waves to life, apply the following blue shades:
- Noble Blue (29)
- Blueberry (78)
- Pastel Blue
- For the beach mounds, you will need craft paper. You die-cut three mounds. There will be two between strips in the box, and they are 12 centimetres wide with a fold line on each side at 1 centimetre. And you die-cut a beach mound out of craft paper and attach it to our background.
- We add a little extra to our strips. On the strip with the water, I add some darker edges with blue ink, and do the same with brown ink on the beach mounds.
- Finally, we apply splatters with metallic paint. On the water, we do this with different shades of blue, and on the beach with different shades of brown.
Now that the background is beautifully designed, our beach scene begins to take shape. In the next part, we bring Surfer Emma to life with alcohol markers, giving our card-in-a-box character and charm. Get ready for creative colouring!
Surfer Emma: Coloring her with alcohol markers
Now it is time to bring our star of the show, Surfer Emma, to life. In this section, I tell you how I coloured her with my Twin Markers and what colour combinations I used.
- Skin: Tanned Skin (260), Peachy Blush (259), Salmon Pink (25), and Barely Beige (29).
- Hair: Leather (113), Brown Grey (104), Walnut (100), and Clay (116)
- Swimsuit, Flower, and Yellow Elements: Yellow (34), Deep Yellow (32), Lemon Yellow (35), and Pastel Lemon (39)
- Surfboard’s Blue Accents: Royal Blue (70), Indian Blue (63), and Cerulean Blue (63).
With these vibrant colours, Surfer Emma comes to life, ready to hit the waves.

Adding Coastal Charm
In this section, we get to work on creating additional elements that complete our scene. I will guide you in creating elements such as palm trees, waves, and sea creatures, each capturing the essence of the sea and the beach. These elements were die-cut from white paper and then brought to life with alcohol markers.
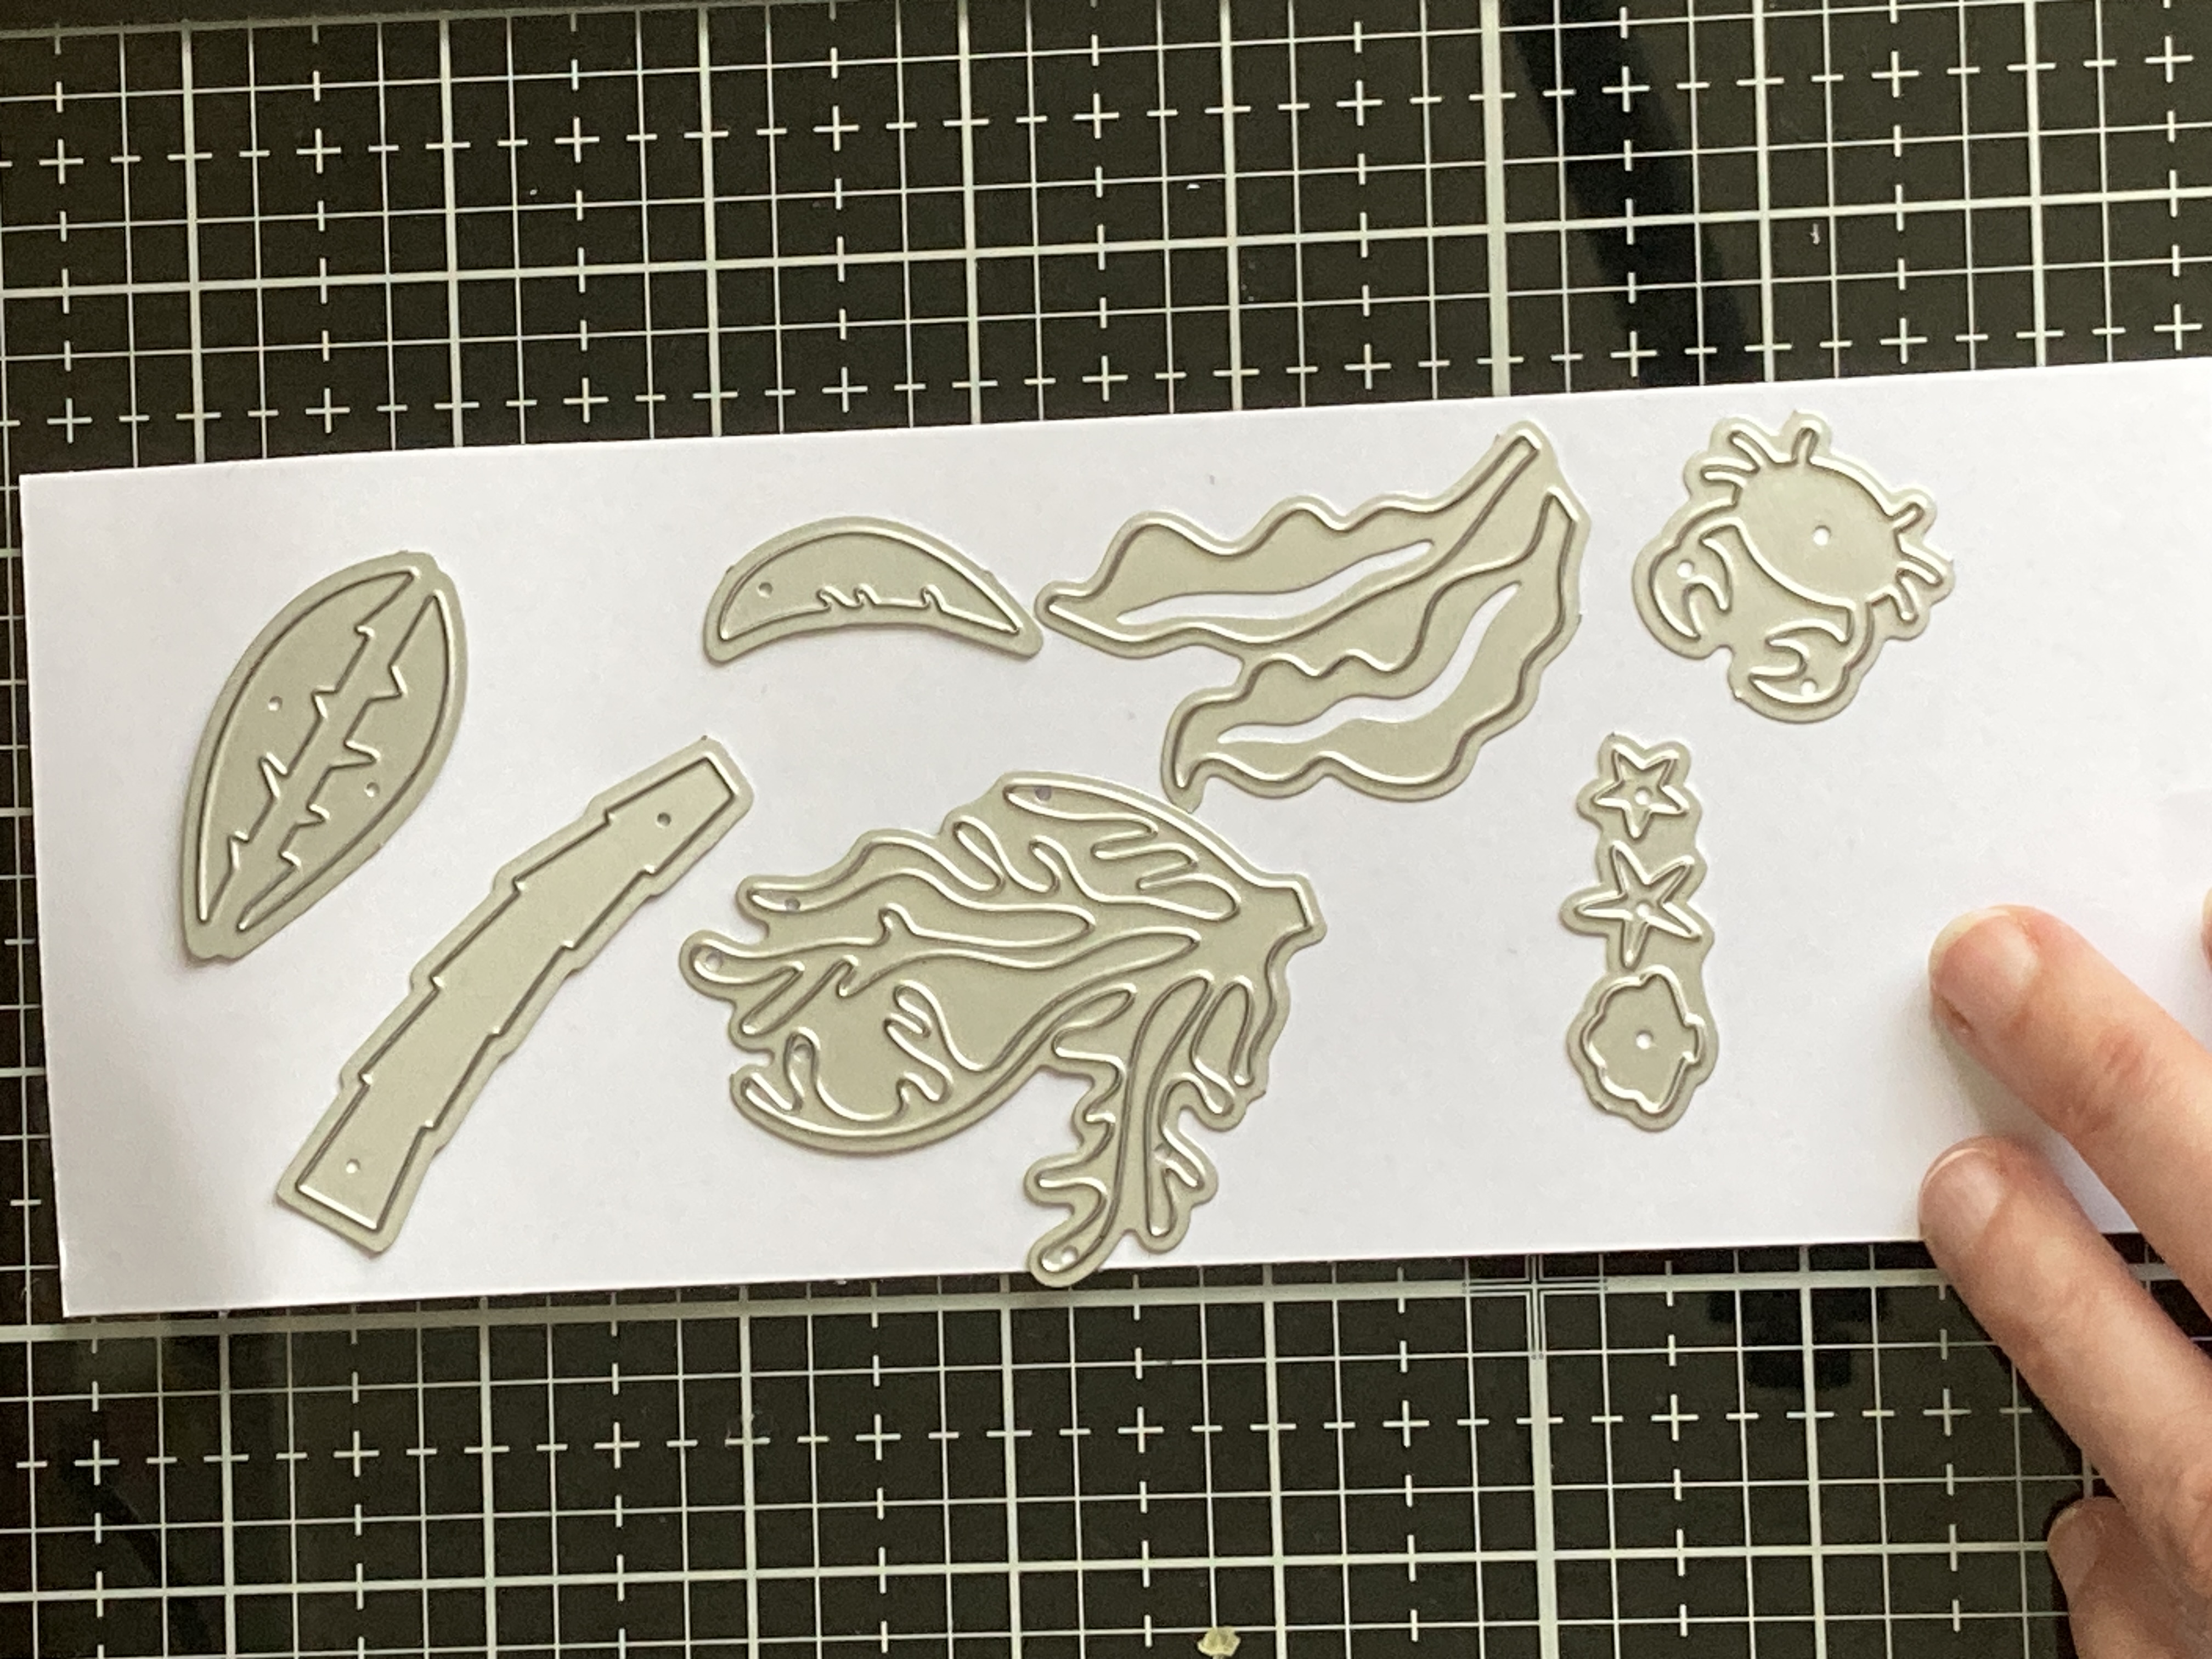
Here are the colour combinations you can use to create intricate details:
- Palm tree trunk: Sand (107), Walnut (100) and Clay (116)
- Palm tree leaves: Forest Green (50), Grass Green (47) and Weeds Green (162).
- Coral and Crab: Burgundy (247), English Red (249), and Burgundy (247).
- Seaweed: Greyish Green sage dark (230), Green Sage (227) Greyish Green Sage (229).
- Starfish: Deep Yellow (32), lemon Yellow (35) and Pastel lemon (39).
- Shell: Blush (136), Pastel Pink (17)
- Cocus nuts: Dark Wood (119).
Take your time and enjoy the process as you work on these details. The result will be a coastal masterpiece full of charm and character. In the next part, we will guide you through the final steps of putting together your 3D card-in-a-box and adding the finishing touches that make it truly spectacular.
Putting It All Together
Now that we have all the components ready – the assembled card base, the beautifully coloured Surfer Emma and the crafted elements for the beach and ocean – it’s time to bring them together into a card-in-a-box. Follow these steps to assemble the card in the box.
Placing Surfer Emma
Carefully place Surfer Emma on the beach hill in the centre of the box. She is the centre of this card.
Adding the Coastal Elements
Now we are going to place the palm tree and other elements. I place the palm tree on the sand hill in the background. I place a sand hill behind the acetate and place my crab, coral, and star on it. I allow seaweed to emerge behind this sandbank.
With all the pieces in place, your coastal-themed card in a box is ready to impress. When folded, it’s a compact treasure, but when opened, it transforms into a stunning seaside scene. Capture the essence of the beach and share it with your loved ones.

Ride Your Creative Wave Beyond
Now that this card is done, you can create your own masterpiece. Once you’ve created, I’d like to invite you to take part in the Penny’s Paper-Crafty Challenge. Our sponsors, The Paper Nest Dolls and LeAnns World have great prizes for you to win. Click on the link here to go to the challenge.
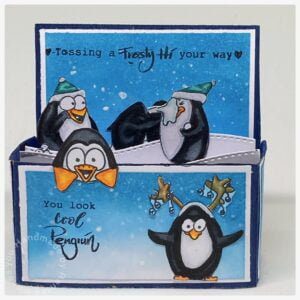
Looking for more inspiration? Here are three other fantastic card-in-a-box creations to explore and admire:
Happy Crafting!
Affiliate products used:
Affiliate Disclosure: This post contains affiliate links, which means I may earn a small commission at no extra cost to you if you make a purchase through these links. I only recommend products and services that I use and trust. Your support helps me continue to provide free tutorials and creative inspiration. Thank you for supporting my blog and helping me to keep sharing my passion for card making!
Nuvo Aqua Shimmer Pen

Non Affiliate products used
- Chalk ink from Decotimecrafts
- Twin markers from Decotimecrafts
- Ocean dies from Aveccreative
- Waves and beach dies from Aveccreative
- Palm tree dies from Aveccreative
- Metallic paint brand unknown
I would like to enter my card in the following challenges:
- A Place To Start: Anything goes
- Fab ‘n’ Funky Challenges: Show some colouring.
- Simon says stamp blog Wednesday: Stencil fun
- Krafty Chicks Challenge: Stamp
- Lil Patch of Crafty Friends Challenge …: Anything goes
- A Perfect Time To Craft Open Challenge: Anything goes
- Classic Design Challenge Blog: Anything goes
- Crafts Galore Encore Challenge Blog: Anything goes
Cute project. Thank you for joining us at the Crafts Galore Encore Challenge.
Hugs
Danka
Twórcze pasje Danki {My Blog}
Thanks
This is so cute! Thanks for the wonderful tutorial, I will have to give this a try! Thanks for sharing with us at A Place to Start!
Hugz,
Chana Malkah, Owner
Thank you so much. Love to see it when you make it 😃
Lovely card. Thank you for the step by step directions. Thank you for joining us this month at A Place to Start. Hope to see you back here again soon. Judy DT https://hereisaplacetostart.blogspot.com
Thank you
A fabulous box card with a lovely summery beach scene- great tutorial- very comprehensive.
Thanks for sharing at Fab’n’ Funky