

Welcome to my blooming creative space! As a member of the design team for Penny’s Paper-Crafty challenge blog, I’d like to take you on a journey to create a card featuring a flower garden.
For the challenge you can create anything you like with the theme “Anything goes using paper”.
Before we dive into the crafting adventure, let me introduce you to our sponsors:

Prize: 3 digi images of the winner’s choice.
Sheepski Designs (affiliate link)

Prize: 3 digi images of the winner’s choice.
I got to work with the digital stamp “Would you buy flowers” from the Paper shelter. Let’s get started.
The Materials and Dimensions
Before we start, here are the materials you’ll need and the dimensions used for this Flower Garden card:
- Square Card Base: 13 x 13 centimeters ((approximately 5.1 x 5.1 inches)
- Background Panel: 12 x 12 centimeters (white card stock). (approximately 4.7 x 4.7 inches).
- Blue Paper: 12.5 x 12.5 centimetres (approximately 4.9 x 4.9 inches).
- Digital Stamp: “Would you buy some flowers” (or any digital stamp of your choice)
- Colouring Medium: Alcohol markers (or any colouring medium of your preference)
- Background Inks: Blue ink (or any blue ink you have) for the sky and green ink (or any green ink you have) for the grassy landscape.
- Cloud Stencil (you can also create your own by cutting out a cloud shape from paper and using it as a stencil)
- Grass Stencils or Grass Dies (if you don’t have dies, you can use a stencil or create your own by hand)
- Hill Stencil or Hill Die (if you don’t have a die, you can use a stencil or create your own by hand)
- Glue and Scissors
Now, let’s dive into the crafting process and bring this card to life!
Crafting a Garden Landscape
To make this card, I went back to work with a digital stamp. With the “Would you buy some flowers” stamp at my disposal, I had the perfect image for my blooming garden. The size of this square card is 13 by 13 centimetres, leaving enough space to show a flowery garden.
Crafting a Charming Background
Before I could start making the flower garden, I had to work on the background. You need the 12 by 12 centimetres background panel here. I took out my trusty cloud stencil again and using my blue chalk ink “Cookie Monster”, I made the clouds on the background.
For the grass, I used my grass and hill stamps. First, I used my grass dies to die-cut the two first layers. For the back part, I wanted to give the impression of a grass hill a bit further away. So I didn’t want to use the detailed grass die for this. So I take a mound die for this. I work all three parts with my green chalk ink. I used green inks (“Green Beans”, “Bottle Green” and “Green Belt”) from my chalk inks to add depth and texture to the background for a picturesque setting.
Colouring the “Would you buy some flowers” Digital Stamp
Now it’s time to colour in the digital stamp. I got to work again with my trusty Twinmarkers (alcohol markers).
These are the colour combinations I used:
- Skin: Barely Beige (29), Salmon Pink (25), and Peachy Blush (259).
- Hair + Basket: Leather (113), Brown Grey (104), Walnut (100), and Clay (116).
- Dress: Pastel Lemon (39), Lemon Yellow (35), Deep Yellow (32), and Dark Yellow.
- Apron: Baby Blue (144), Sky Blue (76), and MIDI Sky (190).
- Wheelbarrow: Sand (107), Natural Oak (91) and Burnt Sienna (95).
I created this card with vibrant summer tones, as we are now in the summer season here. But you can also use this stamp for all other seasons, creating a different look each time.

Having trouble editing or colouring digital stamps? Download my free guide for extra tips and tricks to help you perfect your digital stamps!
Blooming details – Adding Flowers
Now that I have coloured my digital stamp, it is time to start adding extra details. To add the flowers, I used some different floral stamps. I first stamped these on a piece of DCP paper and then coloured them in with my alcohol markers. I chose to use the colours yellow and blue in the flowers as well.
These are the colour combinations for the flowers:
- Blue flowers: Baby blue (144), Sky Blue (76) and Midi Sky (190).
- Yellow flowers: Pastel Lemon (39), Lemon Yellow (35), and Dark Yellow (31).
- Leaves: Forest Green (50).
I cut out the stamps. I couldn’t cut out the stamps exactly on the edge so I left a white border around it. But in a scene card, I don’t really like the white border around it. So then I grab my alcohol marker that best matches the background in terms of colour and colour in those white lines.
I cut out the stamps. I couldn’t cut out the stamps exactly on the edge so I left a white border around it. But in a scene card, I don’t really like the white border around it. So then I grab my alcohol marker that best matches the background in terms of colour and colour in those white lines.
- To match the green grass: Weeds Green (162)
- To match the wheelbarrow and fence: Burnt Sienna (95)
Adding Highlights and Details
To give it a little extra I added white highlights with my white gel pen. With the white gel pen, I carefully added subtle highlights to the apron, wheelbarrow and blooming flowers. These little touches create a sense of dimension and bring a touch of brightness to the scene, adding to the card’s overall charm.
Adding the Finishing Touch
Now that the flower garden is almost done, it’s time to add the finishing touches that will add something extra to the scene.
- With a bird die I made two flying black silhouette birds.
- I also have a stamp of a butterfly and I want to add to the sky. I coloured the butterfly with the same colours I used for the dress.
- And of course, a sentiment cannot be missing on the card. I had already printed out this text and now I finally have the right card that I want to use it on.
Assembling the Flower Garden Card
Now I can start putting all the parts on the card.
First, we are going to apply the background elements to the card. On the panel of the clouds, we first apply the mound of grass. And above that on the first layer of grass. Then we place the gate. And then we place the front layer of grass exactly over the bottom of the posts of the fences.
I would also like to place some flowers behind the fence. So first we look at where we want the flowers. And then glue the bottom of the stems. Now we can put up the fence.
I fix the digital stamp in place with foam tape. I place three more stamped flowers around her.
With my flower garden scene set against the background of the blue card stock, the card was one step closer to completion.
Crafting Inspiration and Tips
Creating this flower garden card was truly a labour of love. The inspiration behind it came from the simple joys of the season and the desire to share that joy with others. As fellow crafters, I encourage you to embrace your creativity and let it bloom into your unique works of art.
And there you have it – my enchanting Flower Garden card! An ensemble of summer colours and creativity brings the scene to life. I enjoy the process of making a card every time. Even more than the end result.
Thank you for starting this creative journey with me. I invite you to share your beautiful creations in Penny’s Paper-Crafty challenge blog, where a world of inspiration awaits. I look forward to seeing your beautiful creations.
Inspire, Create, Share, and More!
As we come to the end of our journey in creating a flower garden card, let’s take a moment to appreciate the creative process and celebrate the joy of card making. Let’s continue to inspire and share our love of crafting with others
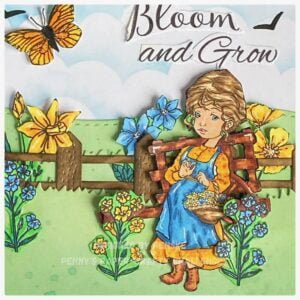
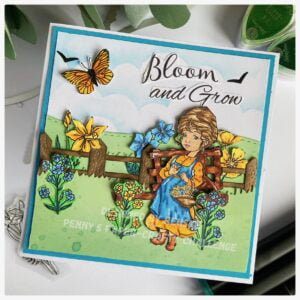
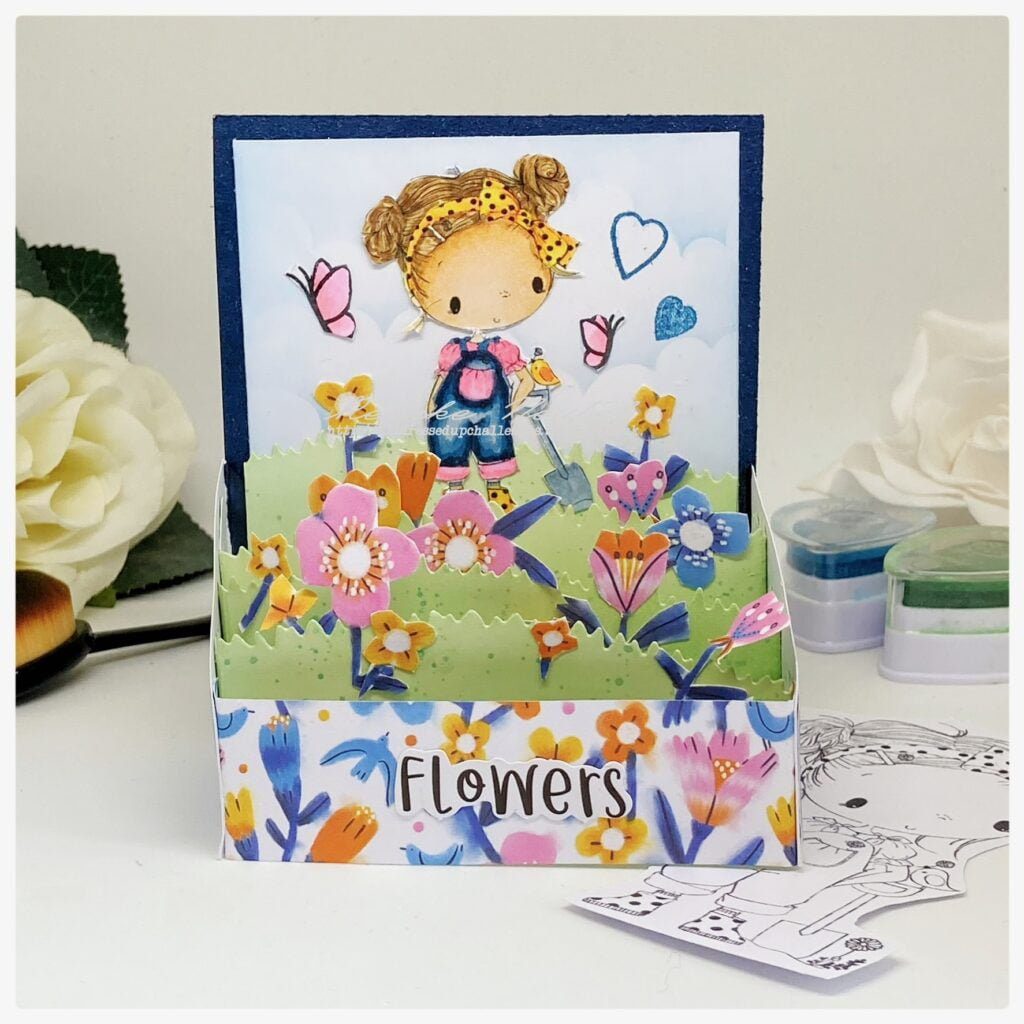
More flower garden card inspiration
Looking for more flower garden card inspiration? Check out these related articles for additional ideas and techniques to try:
Products used
Please note that some of the links in this blog post may be affiliate links, which means I may earn a small commission if you make a purchase through these links. This comes at no additional cost to you and helps support the continuation of my crafting journey and the maintenance of this blog. Rest assured that I only recommend products that I personally use and love. Your support is truly appreciated, and I thank you for being a part of this creative adventure!
Products used affiliate links:

Products used with no affiliate links.

The following products I bought in the Action NL store:
- Grass die from Aveccreative
- Hill die form Aveccreative
- Flower clear stamps from Craftsensations.
- Chalk ink from Decotimecrafts
- Metallic paint brank unknown.
I would like to enter my card in the following challenges:
- The Paper Shelter: Anything goes
- Krafty Chicks Challenge: All occasions
- A Perfect Time To Craft Open Challenge: Anything goes
- Classic Design Challenge Blog: Anything goes
- Crafts Galore Encore Challenge Blog: Anything goes
- The Creative Crafters: Anything goes
Such a beautiful card, loving the scene you have created. Thank you for joining us at the 114# Crafts Galore Encore Challenge.
Thank you ❤️
Beautiful creation! Thank you for sharing with us over at The Creative Crafters.
~ Sherry DT/Admin xx
Thanks
The end result is so sweet, all your time and work paid off! Adorable card! Thanks for sharing with us at krafty Chicks!
Thank you so much ❤️
Dit kan je niet eens een gewone kaart meer noemen, maar gewoon een klein kunstwerkje!
Je hebt er echt weer wat moois van gemaakt met veel details!
Ah dank je wel! Dat is lief ❤️